This past weekend we were able to get alot accomplished. Josh was beginning to feel better by Saturday afternoon, so we headed out to put the shutters up. This was the easiest most impacting change we've made so far to the house!
Here is the before:
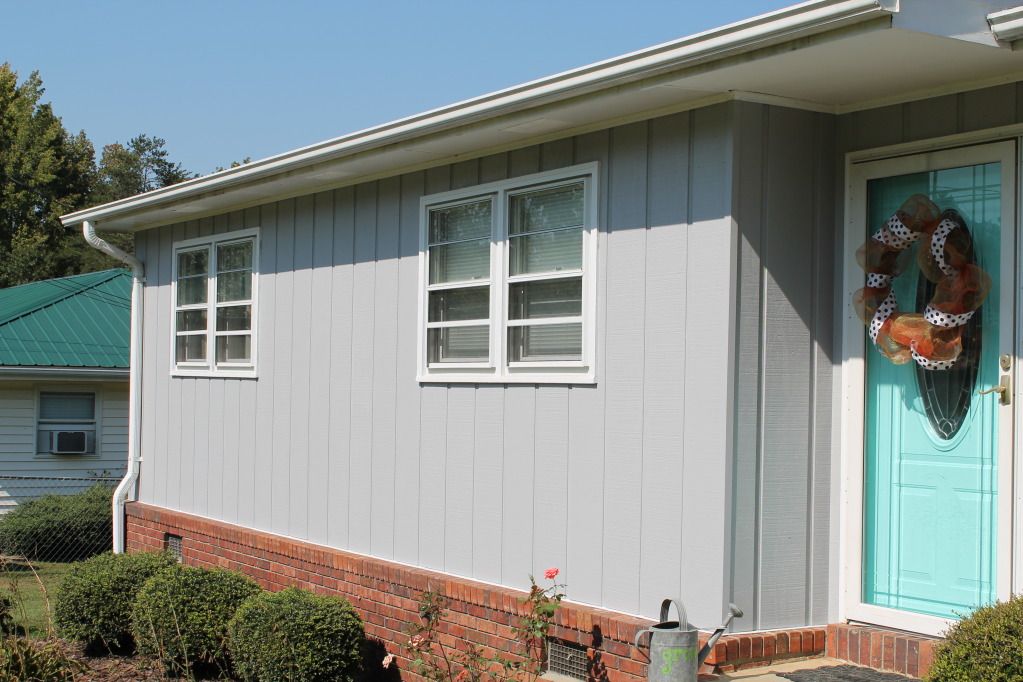
This picture was taken right after we got a new roof. Notice the siding is the old stuff. And the shutters are blue (the shadow makes it hard to see, but you can trust me).
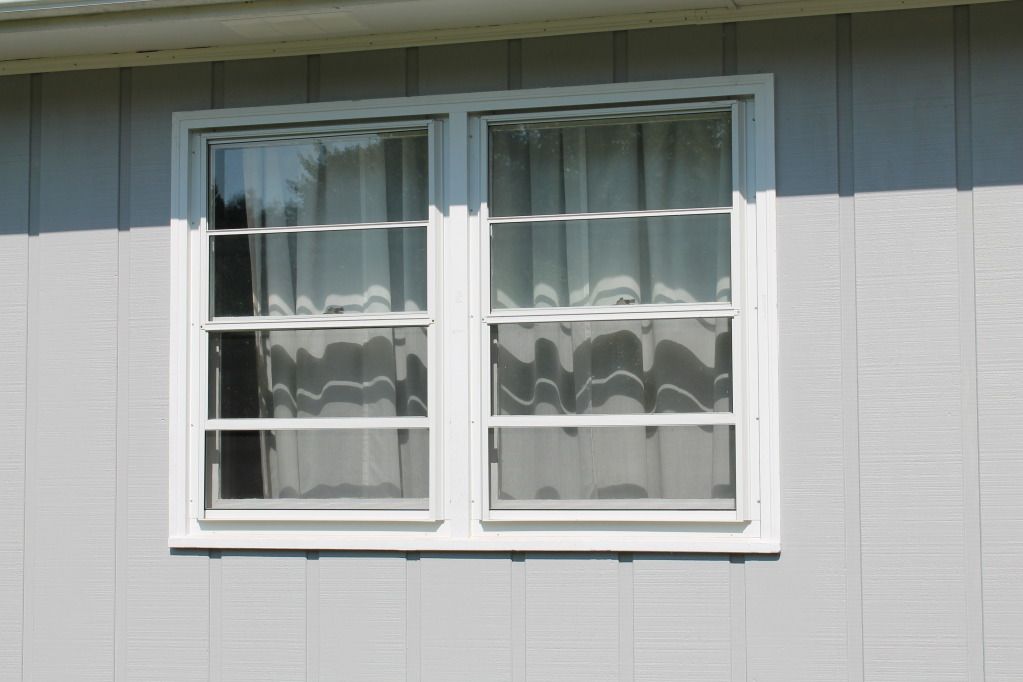
After the siding was installed and the shutters came down here was the view. We seriously contemplated leaving the house shutterless. But there is just something about the finishing touch of shutters!
The most complicated part of this whole process was finding shutter fasteners to replace the old ones. Because these shutters are plastic, they are put on with fasteners. Once the fasteners are taken down you can't use them again. Home Depot had black fasteners, and since we were leaning toward black shutters, it made that decision easy. It just took us a while to finally agree to put the shutters back up, choose black, and then start the process of looking for clips. Looking back it was flawless, but we weren't sure how painting the shutters would go or if the paint would match the clips. Lots of decisions!
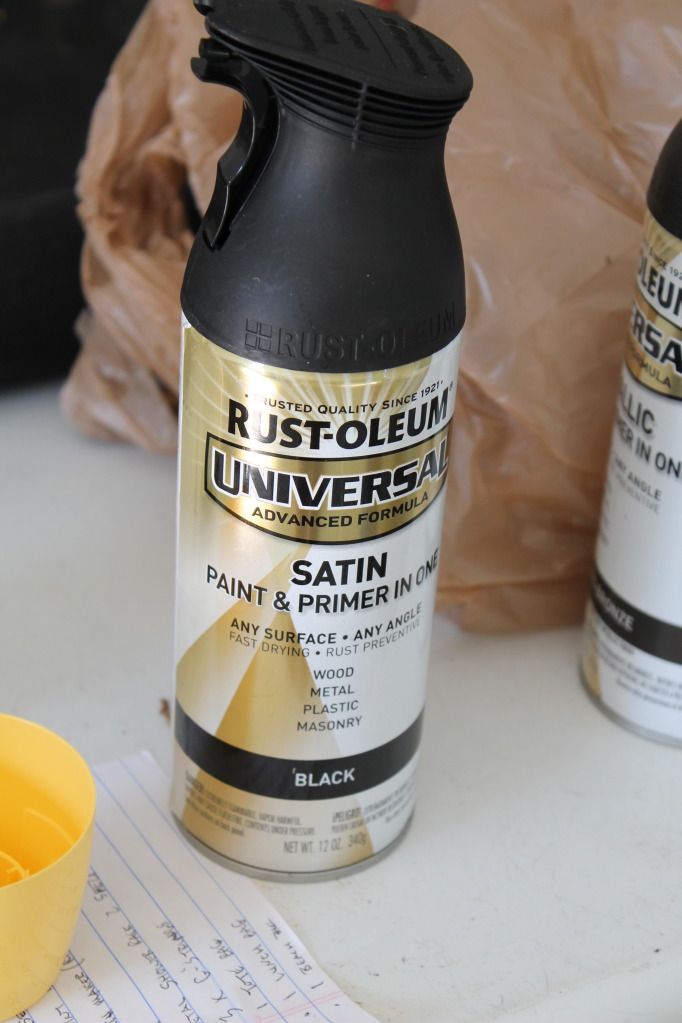
I bought a 3 $6 cans of spray paint- Rustoleum's paint/primer in one in Black Satin and painted those babies!! The paint went on SO well that you really only needed 1 coat. I put 2 on for good luck :) One can painted 1 set (2 shutters). I did have to paint the back of them since at some angles you could see through the slats.
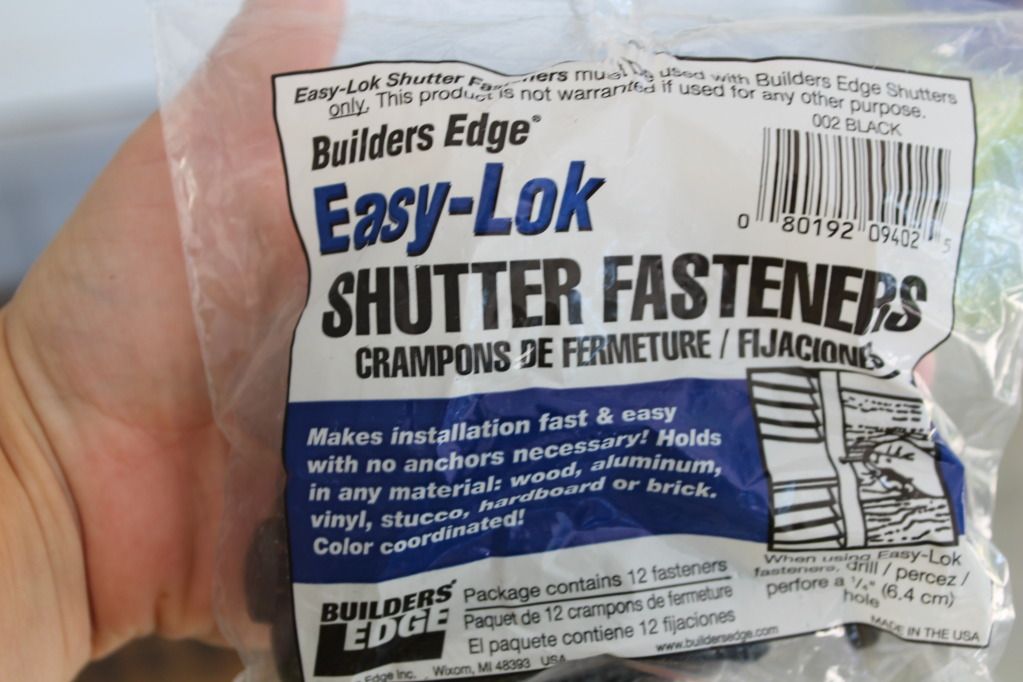
Here were the fasteners we got to match. It took 3 packs (with 12 screws included) for $6 a pack. We only put up 6 shutters (on 3 windows) even though we took down 8. The shutters in the carport didn't make it back up.
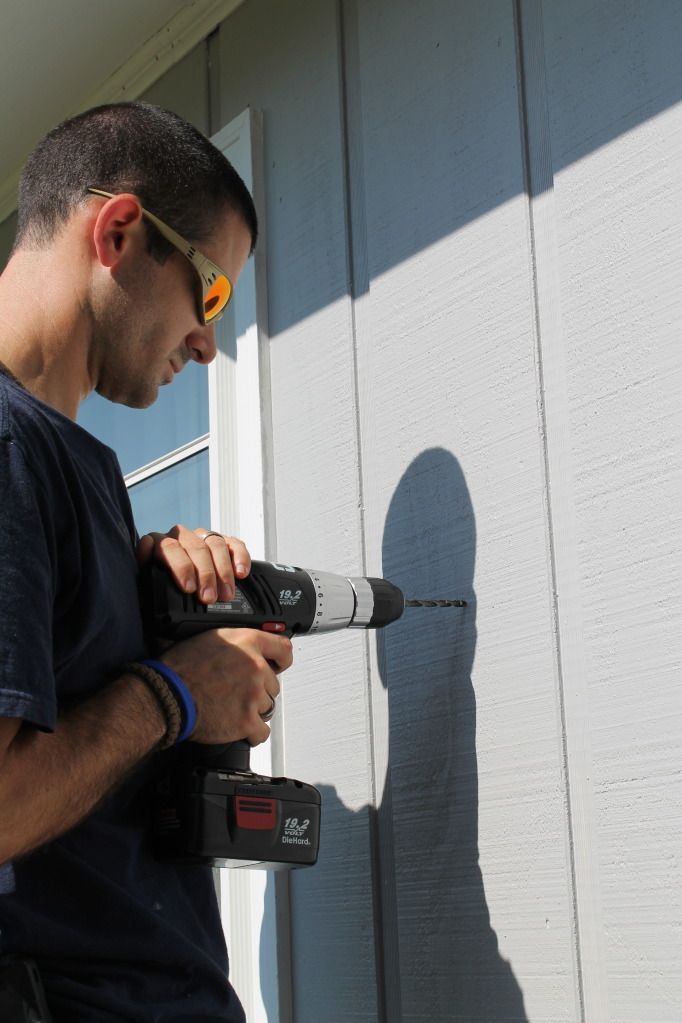
They even had what size drill bit to use on the package making this process 100xs faster!
Here are 2 waiting and ready to go:
I held the shutters while Josh marked where the hole would go. Each shutter had 6 holes. This was definitely a 2 person job. He then predrilled all the holes, matched the shutter holes up to the pilot holes, and hammered in the shutter fasteners. Easy peasy.
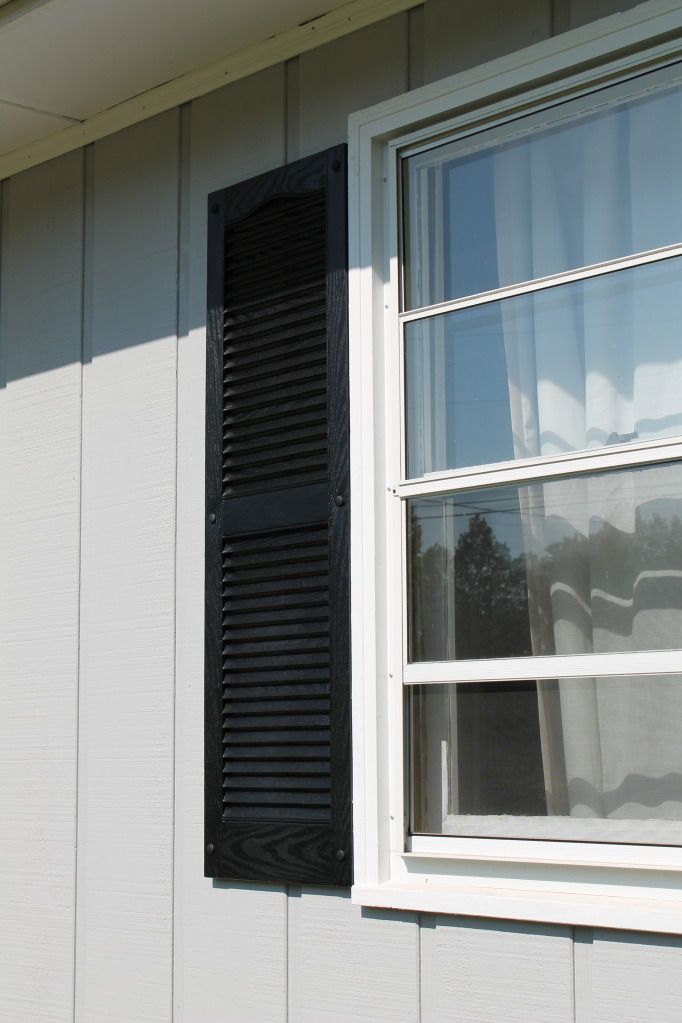
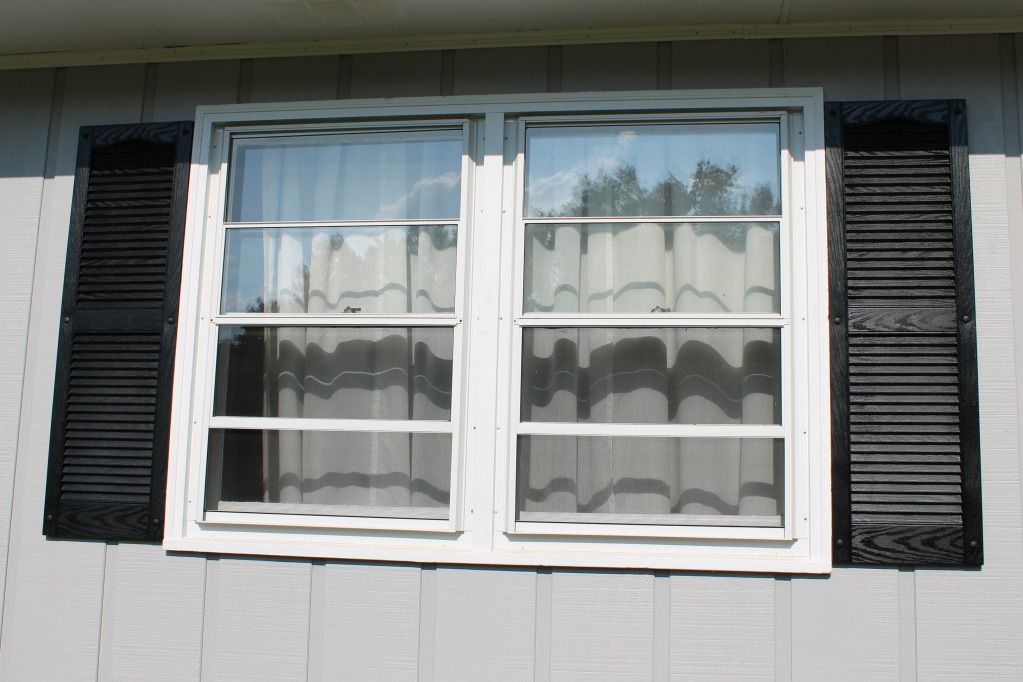
Love!
The whole process only took 20 minutes. It was really quick and really effective!
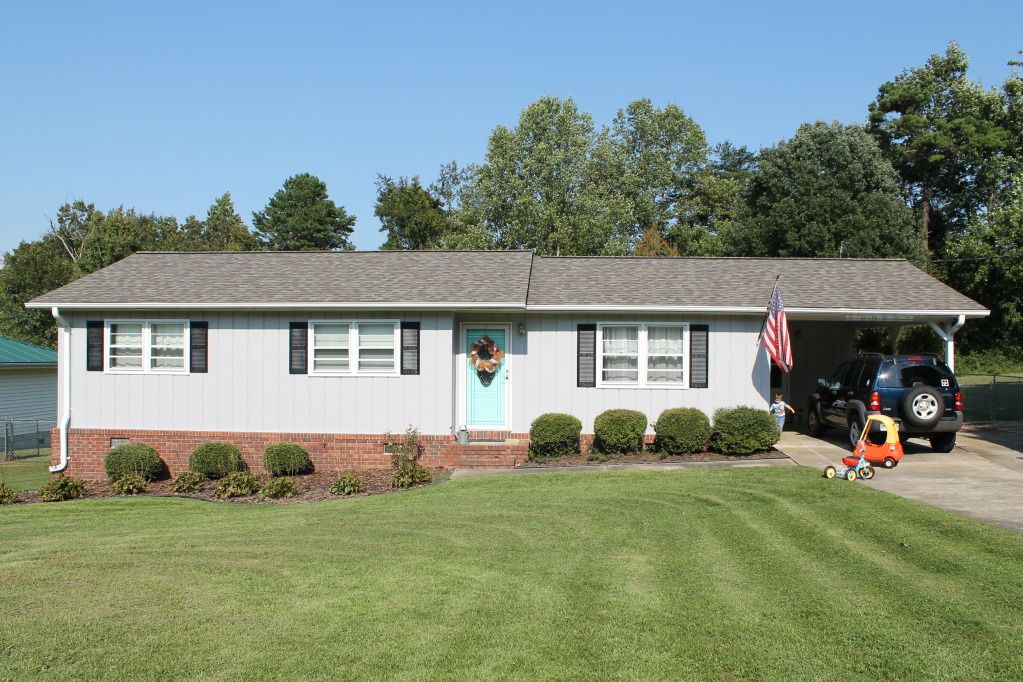
Whole house after:
I still love the front door color with the shutters too! I have always wanted a gray house with black shutters!! There is just something so classic about that combination! Oh yeah and we only spent $36 on this whole project. 1 pack (with 2 shutters) of brand new shutters for 1 window would end up costing between $50-$60. We were glad to save almost $150 doing it this way. We anticipate the paint fading. But honestly- the plastic had faded in all the years they were up. So $36 every 5 year or so it totally worth it in my book!


this is really nice to read..informative post is very good to read..thanks a lot! Roller shutters perth
ReplyDelete