I have finally eliminated all the brassy knobs in our house! My eyes are so relieved and every bit of trouble that we went through (I'll explain later) to get them to this point was was totally worth it!
We sprayed the knobs (both sides), hinges, and the part that goes around the "tongue" that stays on the door. When I started this whole project
way back when, I also sprayed the kick plate (that mounts on the trim). After so many door closings it does wear off. So for the second half of this project we decided to purchase Oil Rubbed Bronze kick plates. They were $2.50 for 2. We never expected this quick cheap fix to cause such a headache.
I took all the hardware for one door and then sprayed it making sure I didn't mix up anything. I even tried to keep up with the top hinge, middle hinge, and bottom hinge (although sometimes I know I mixed them up). I stuck the pointy pieces in a cardboard box, labeled the box with which door it went with and took it all outside. At the peak of this project I had hardware for 4 doors outside. It just makes it easier to spray it all at once! I did 3-4 thin coats of ORB until all the gold was gone. It was a beautiful day but the temperatures dipped at night so I carried the boxes inside so the knobs could cure for 2-3 days. This is when the headache begins...
I began reattaching the knobs (easy) and the hinges to the doors (easy). When Josh got home we mounted the doors back on the trim and screwed in the hinges to the trim (still easy). As we went to actually close the doors we realized that this wasn't as easy as pulling everything off and putting it back on. Most of the doors wouldn't close, and the ones that did wouldn't latch. Wahhh wahhhhhhh. Josh spent 2 hours (1 hour one night and another the next day) figuring them out, sanding down doors/trim, and chiseling out a new area for the kick plate so the door would actually close properly.
Like I said in the beginning, it was a headache, but TOTALLY worth the end results. I promised him I wouldn't touch another door in this house ;)
And in case anyone is counting- here is the number breakdown...
Doors/knobs- 10
Hinges- 30
Hinge Screws- 89: for some reason a screw to a hinge on Luke's door never made it back.
Next came painting the trim and hallway! Door knobs lead to trim. Trim leads to paint. So it was a conglomerate project that just kept moving forward.
I bought a bunch of Martha Stewart paint when Home Depot was clearing it out last spring. I was able to snag a gallon for $12 (almost half the price of other paint brands). While I was there I had the paint mixed to "Gray Horse" by Benjamin Moore. I knew I loved it the second I painted our master bath and I quickly decided that it would eventually be our "whole house color".
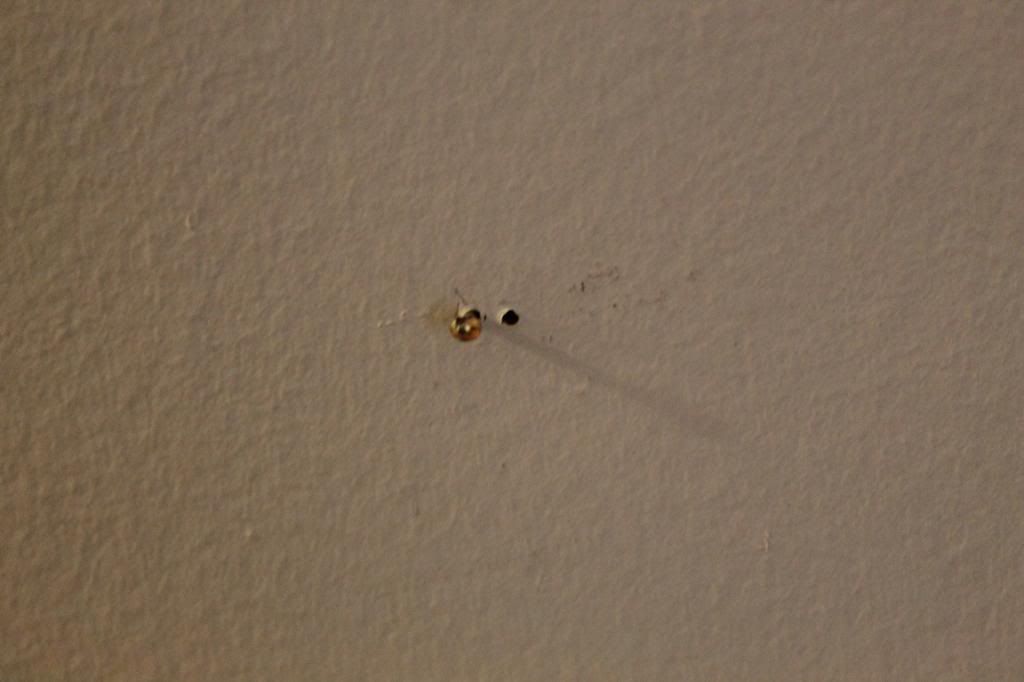
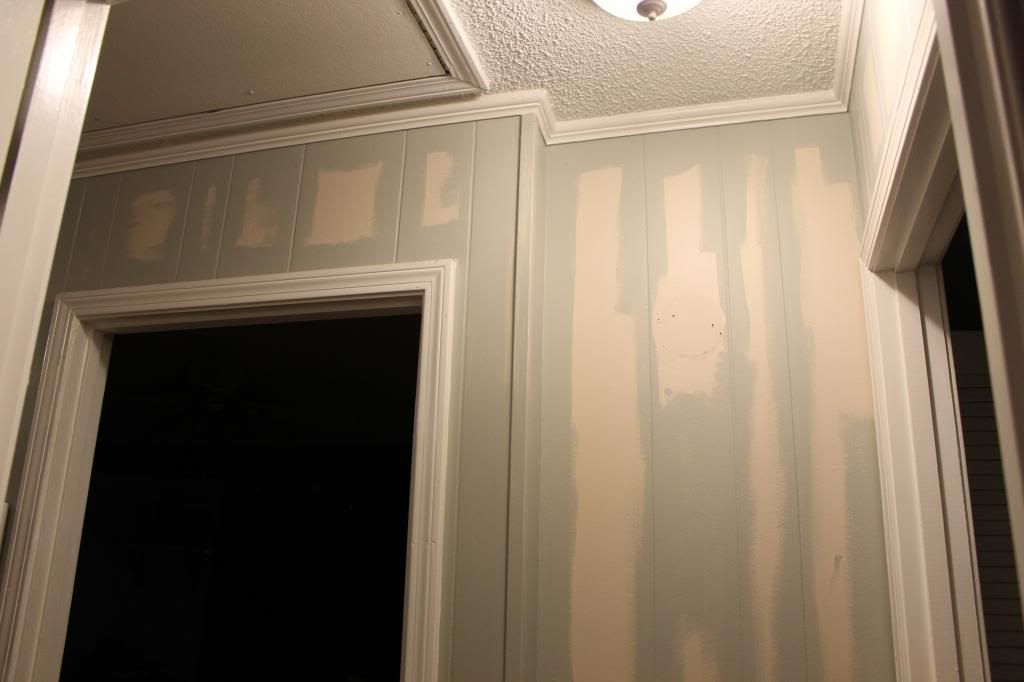
Before painting, the hallway needed some serious prep. When I put up the
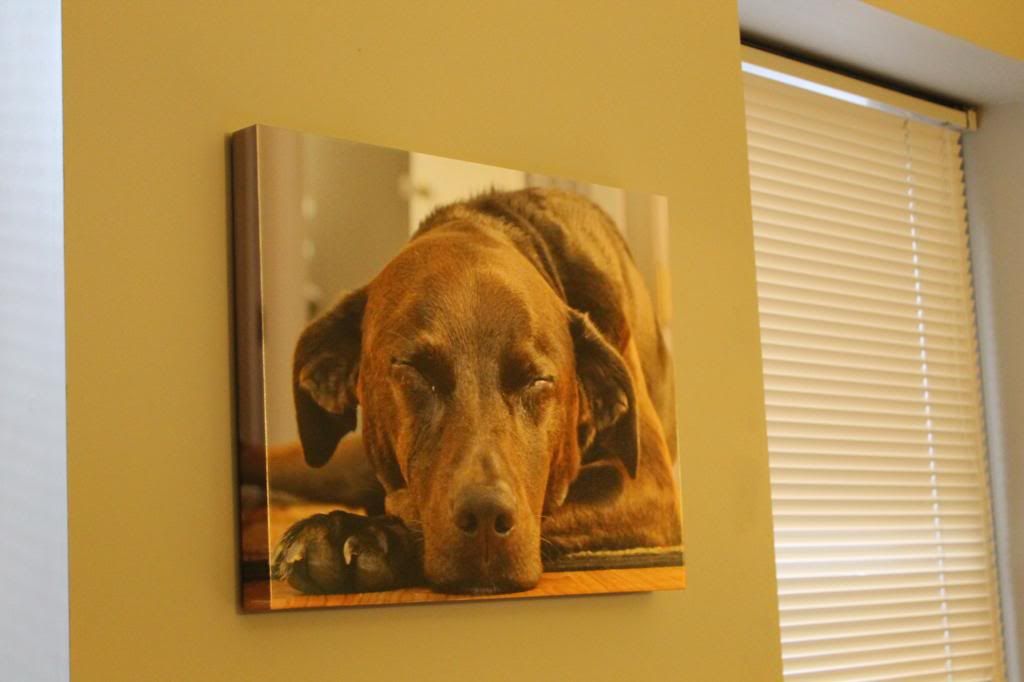
collages and made sure everything was hung properly sometimes I would accidentally put 2-4 unneeded holes in the wall as I tried to find the perfect placement. I went through and circled all the holes I needed to keep (seeing as I was going to hang the collages up the exact same way) and spackled the unnecessary holes.
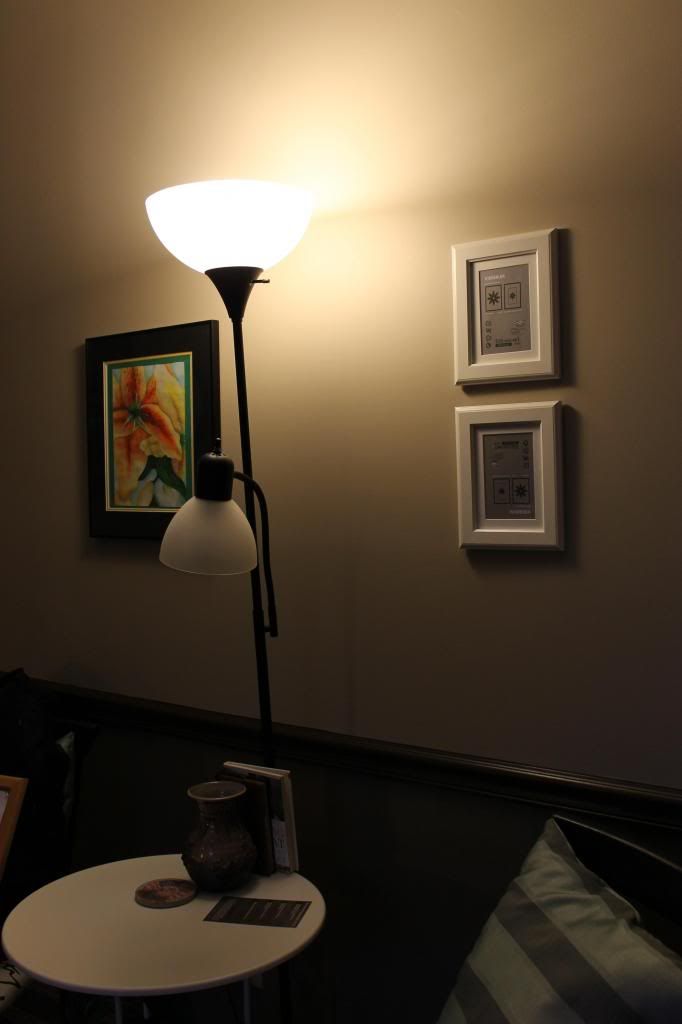
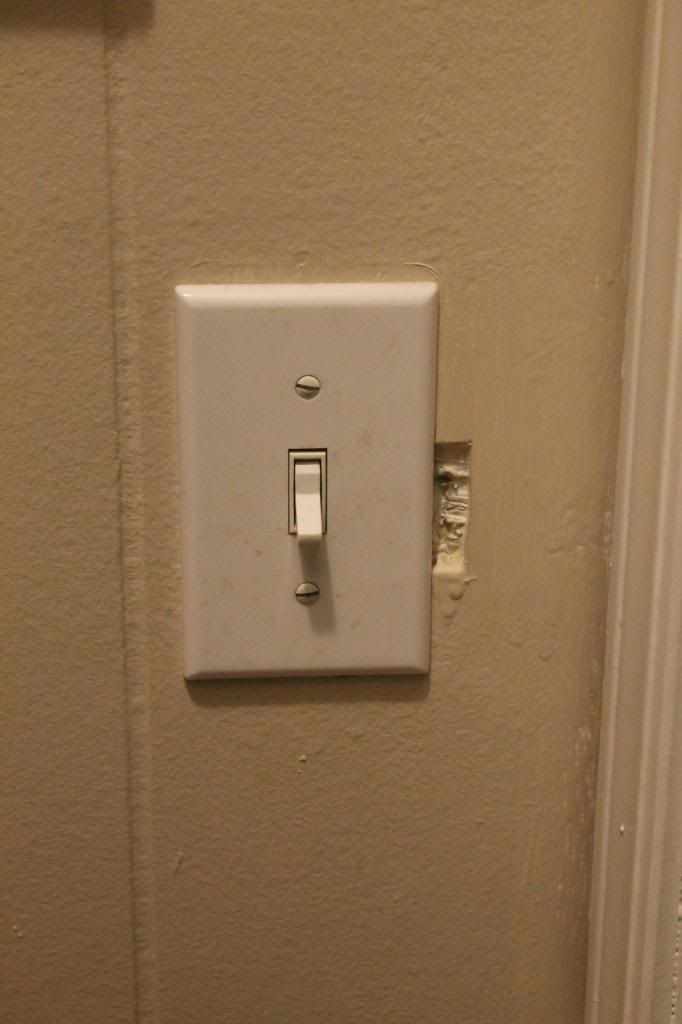
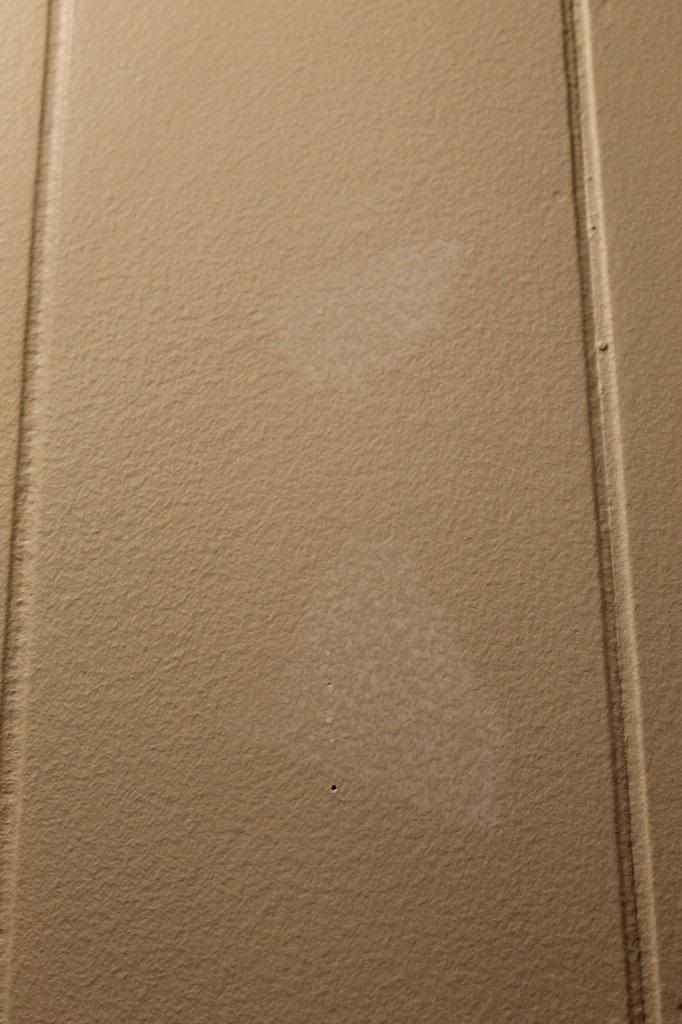
One area that needed some major TLC was the hallway light switch right outside our master bedroom. I'm not quite sure what happened there and as I was spackling I really couldn't figure it out- but it needed to be covered regardless!
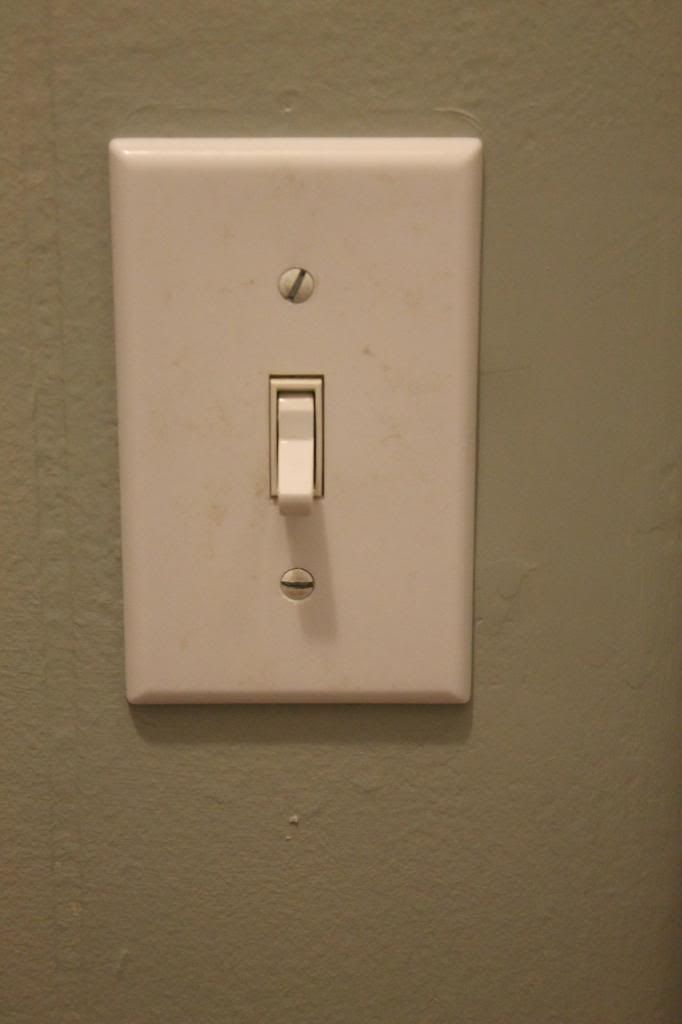
It took 3 coats of spackle and sanding in-between each coat to completely cover it up. The results were seamless! (ummm ick- that cover needs a good cleaning!)
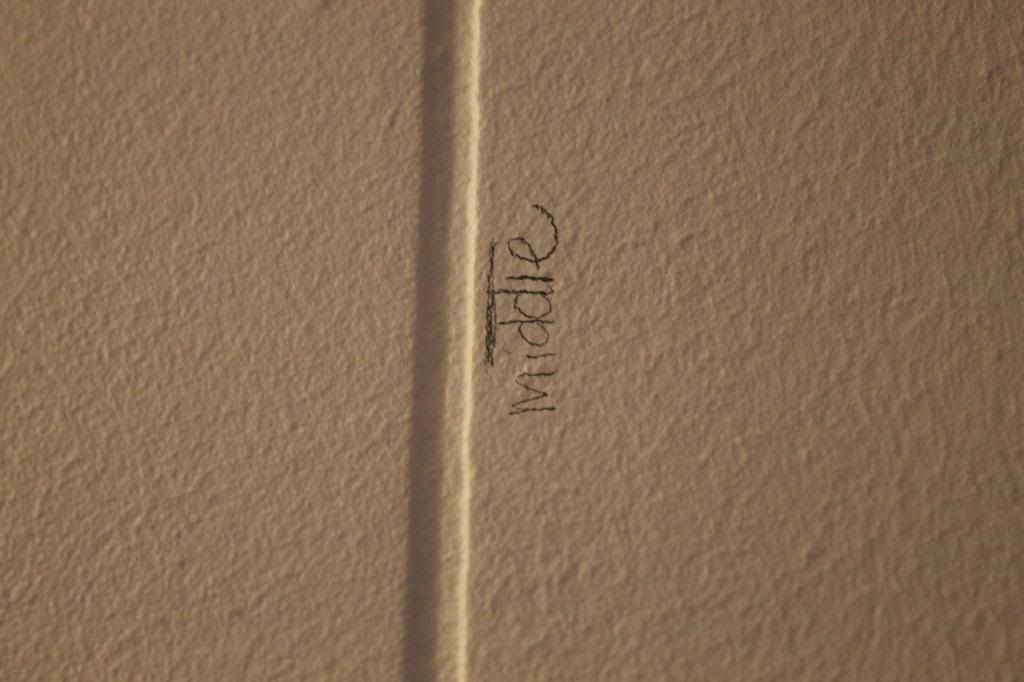
There were also some markings on the wall that needed to be covered- like the "middle" point.
Once all the holes and random chunks in the wall were spackled, dried, and sanded, I primed each spot with Kilz. This is CRITICAL for a perfect finish. Once the Kilz dried I felt each patch to double check that all I felt was primer and not spackle.
All the floor trim got a new coat of gloss white and all the door trim got new coats. I can't believe how fresh trim brightens everything!
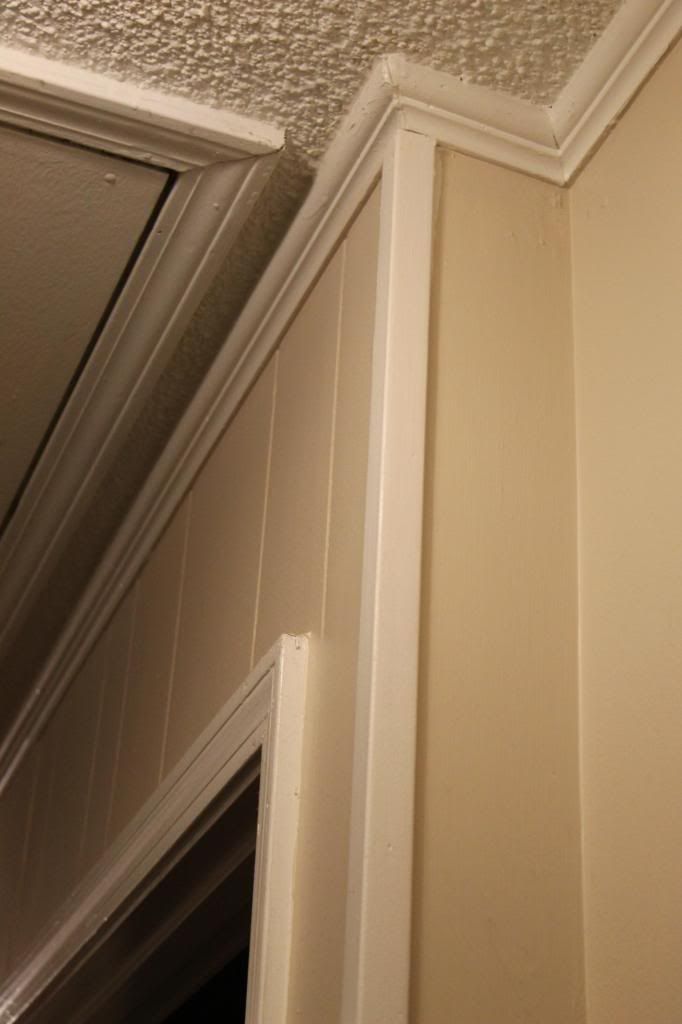
Also there were a few places that had white trim where the paneling came to a corner that our previous owners painted white. I wanted it to blend in more with the wall color so I painted those pieces gray.
Before:
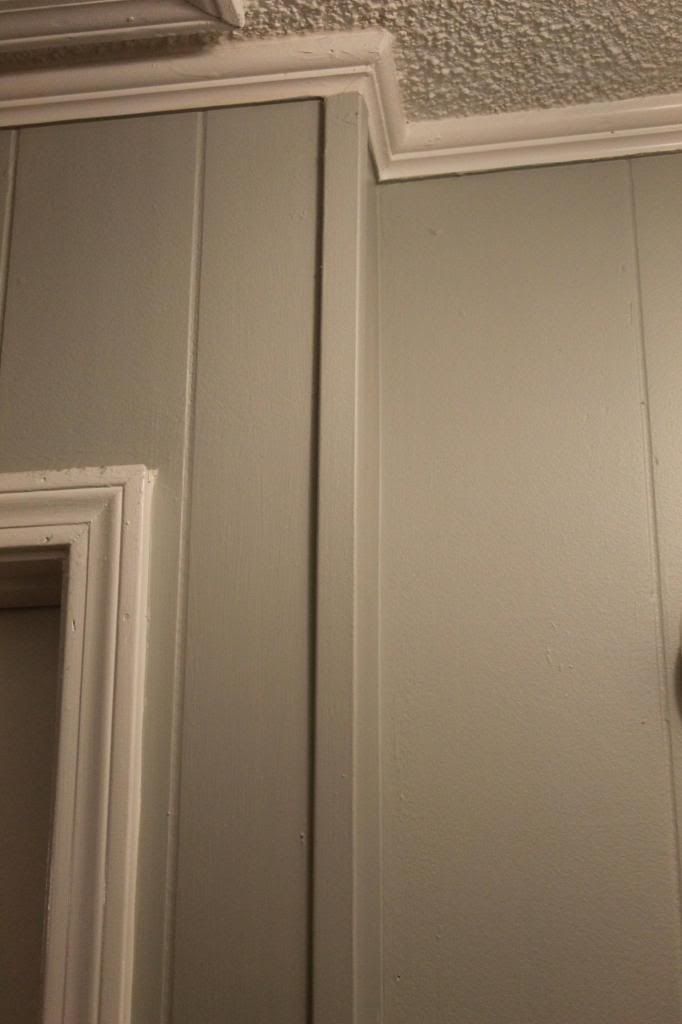
After:
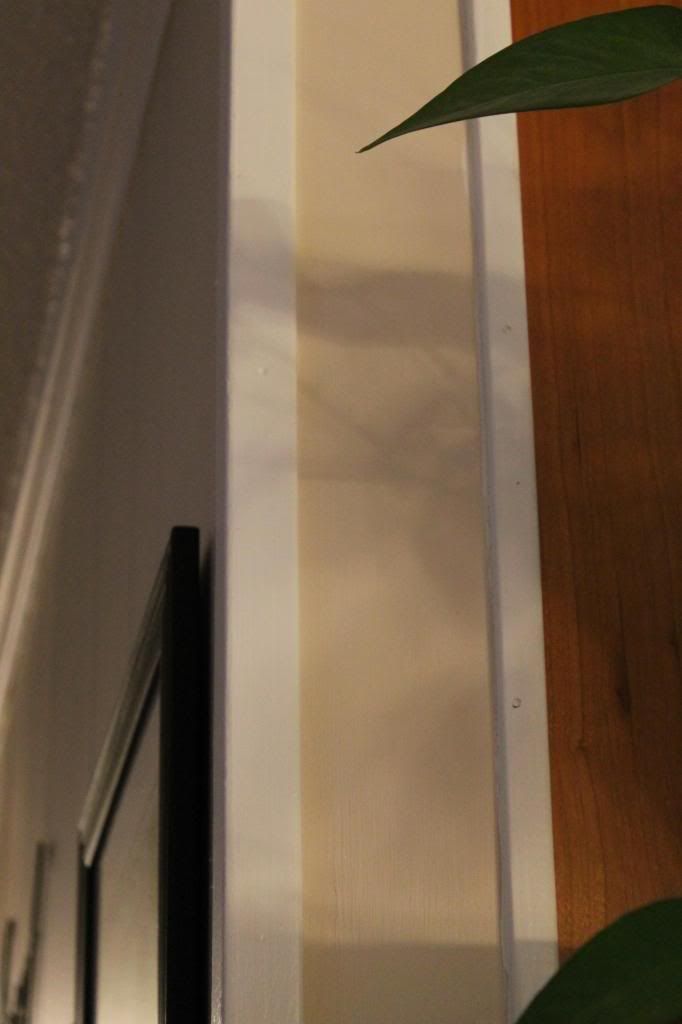
There was one spot right at the corner to the kitchen that had a piece of trim, 2-3 inches of wall space and another piece of trim.
I decided to paint it all glossy white to give it a more seamless look. I didn't really follow any rules- I more just went with what felt and looked right. I feel like it looks almost like a chunky column as opposed to trim, wall, trim.
Cutting in took the most time, and since we have paneling, it took even more time. I try to do one coat with the brush down each crack in the paneling, that way when we go through and roll with a paint roller, it gets 2 good coats in there.
Rolling was the fastest, easiest, most rewarding part. It took all of an hour to complete once all the prep work had been done.
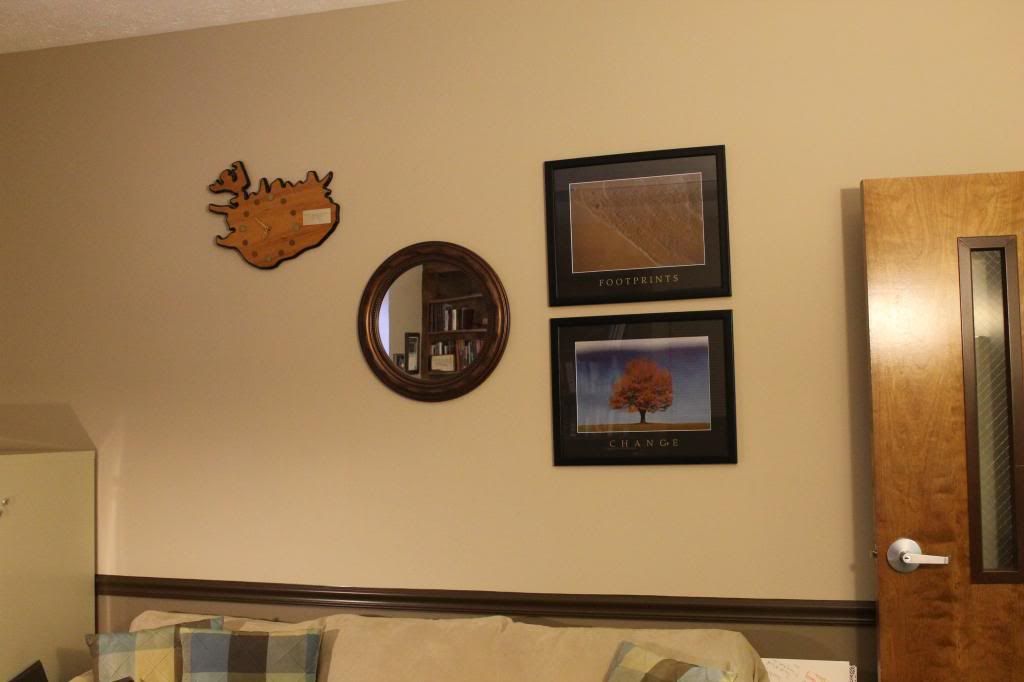
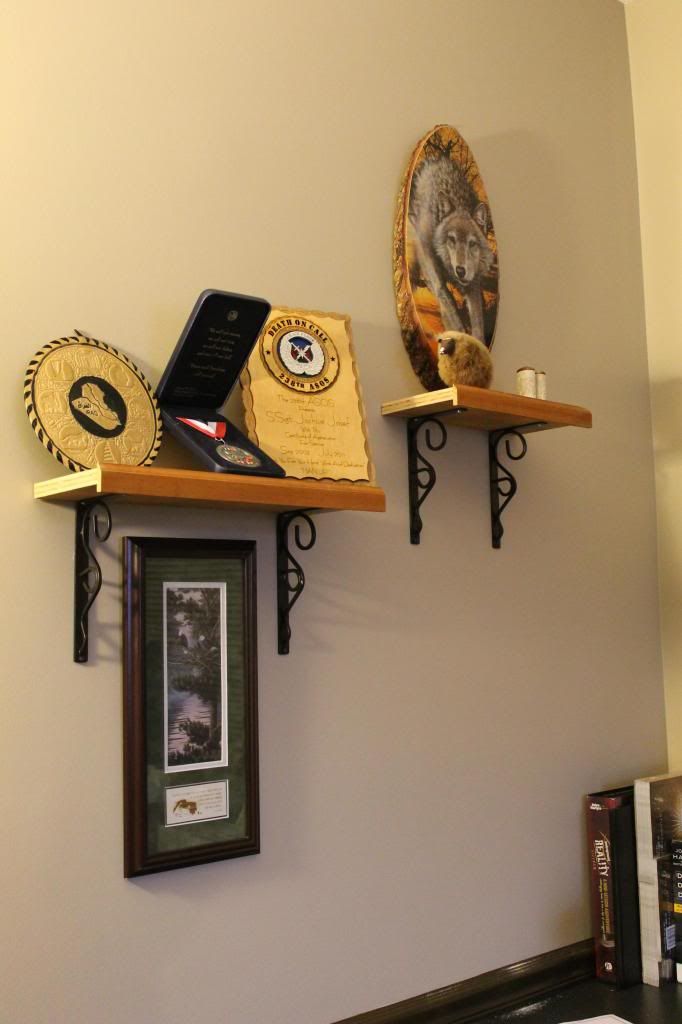
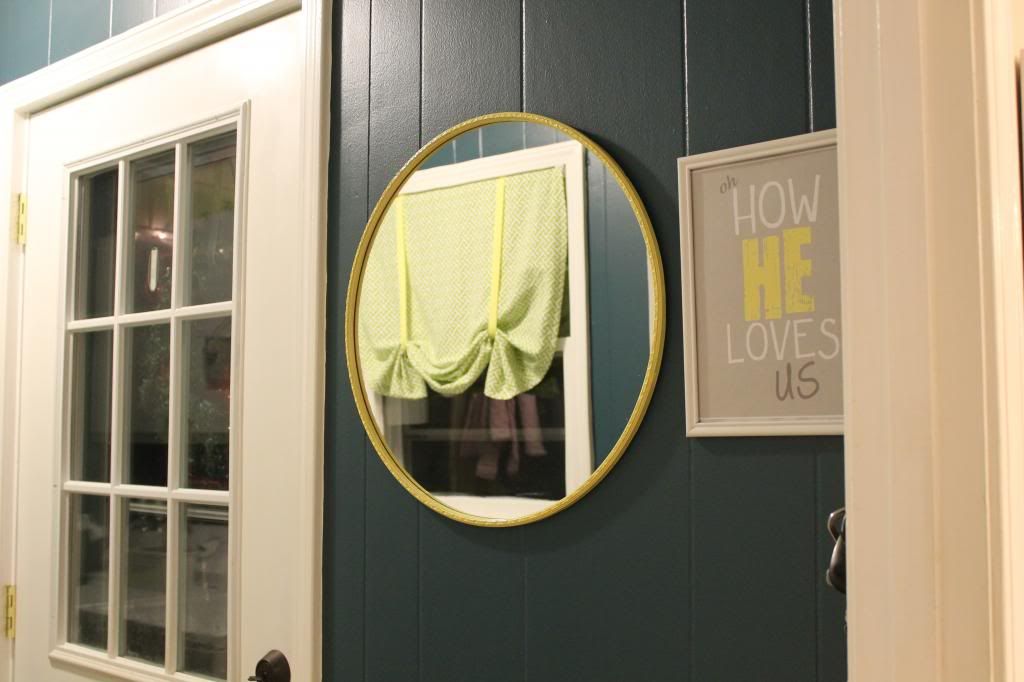
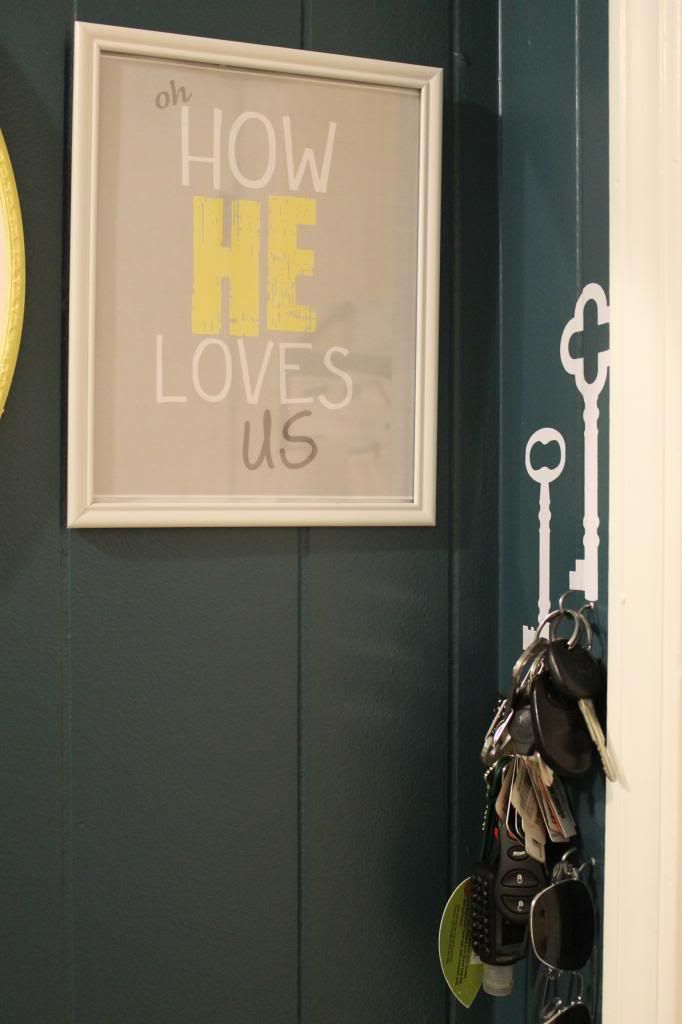
My plan worked perfectly and all the holes that needed to be patched covered perfectly and the holes that needed to stay (so I could see where to rehang my collages) showed perfectly through the paint. I rehung each frame one by one until it was all put back together!
Have I mentioned I LOVE this color?? and I can't wait until the rest of the living/dining room can feel the love (most likely in the few days after Christmas). Gray horse is the perfect mix of gray. It looks greenish in some light, blue in other and just a plain gray with a black base in other light. It's perfect!