Let's talk chores

I am amazed by how much my little man grows everyday. He has been such a joy to raise, even in the difficult times. As I witness this amazing growth (both mentally and physically), I am constantly looking for ways to challenge him. Not only does he get bored easily, he LOVES being hands on. He wants to help whenever he can and he always wants to be in right in the middle of the action.

My husband and I determined that he was plenty old enough to start doing chores. Why not use his genuine curiosity to help with the function of our home? He's a member of the house and he is old enough to help it run smoothly.

So without further ado, he's what he does. He turned 4 in December.

1. Puts away his laundry.
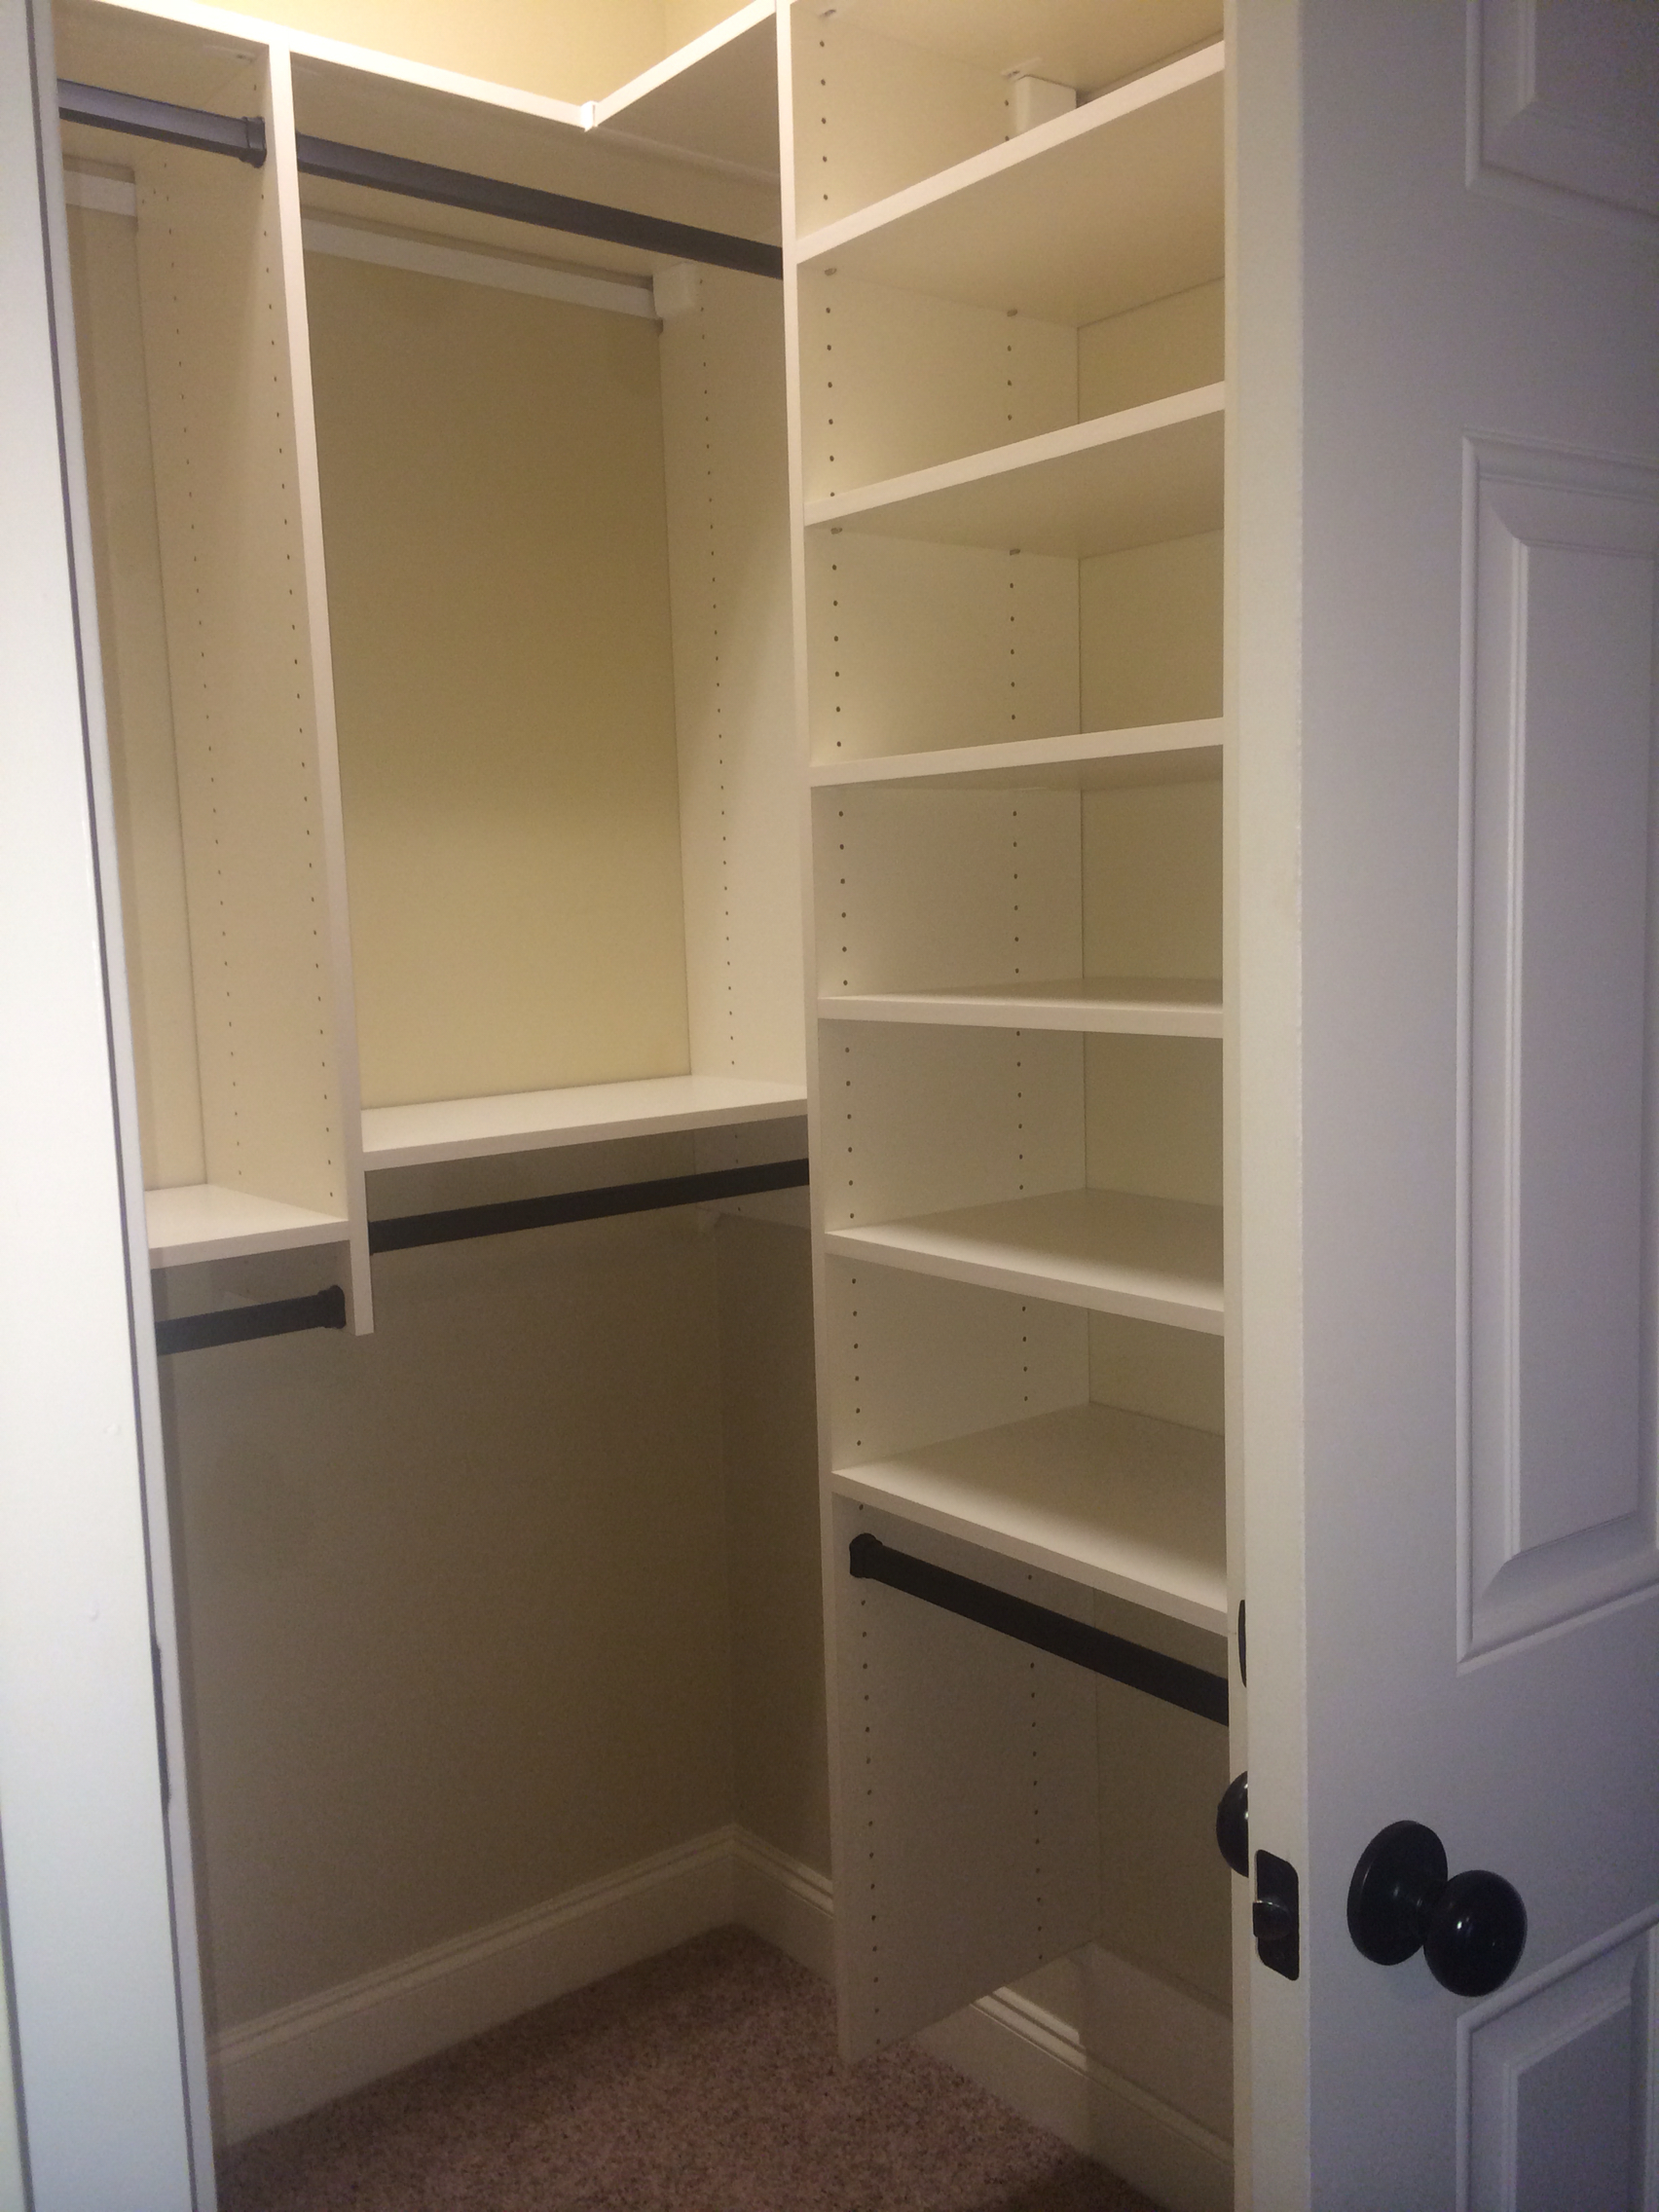
While I sit in the middle of the hallway in the middle of a huge pile of laundry I make a pile for each member of the family. At this stage it's easy (baby girl clothes, boy clothes, husband clothes, my clothes, and house linens). As I sit there I make sure to do Luke's first. I fold his underwear, pjs, pants and match his socks. Then he comes and takes the piles to their respective locations. His dresser is in the closet and he knows what goes in each drawer. I put the hanging stuff in a separate pile and I do that later. It saves me about 10 minutes lugging stuff to his room and then putting it away. He loves this. And I love that he's REALLY helping.

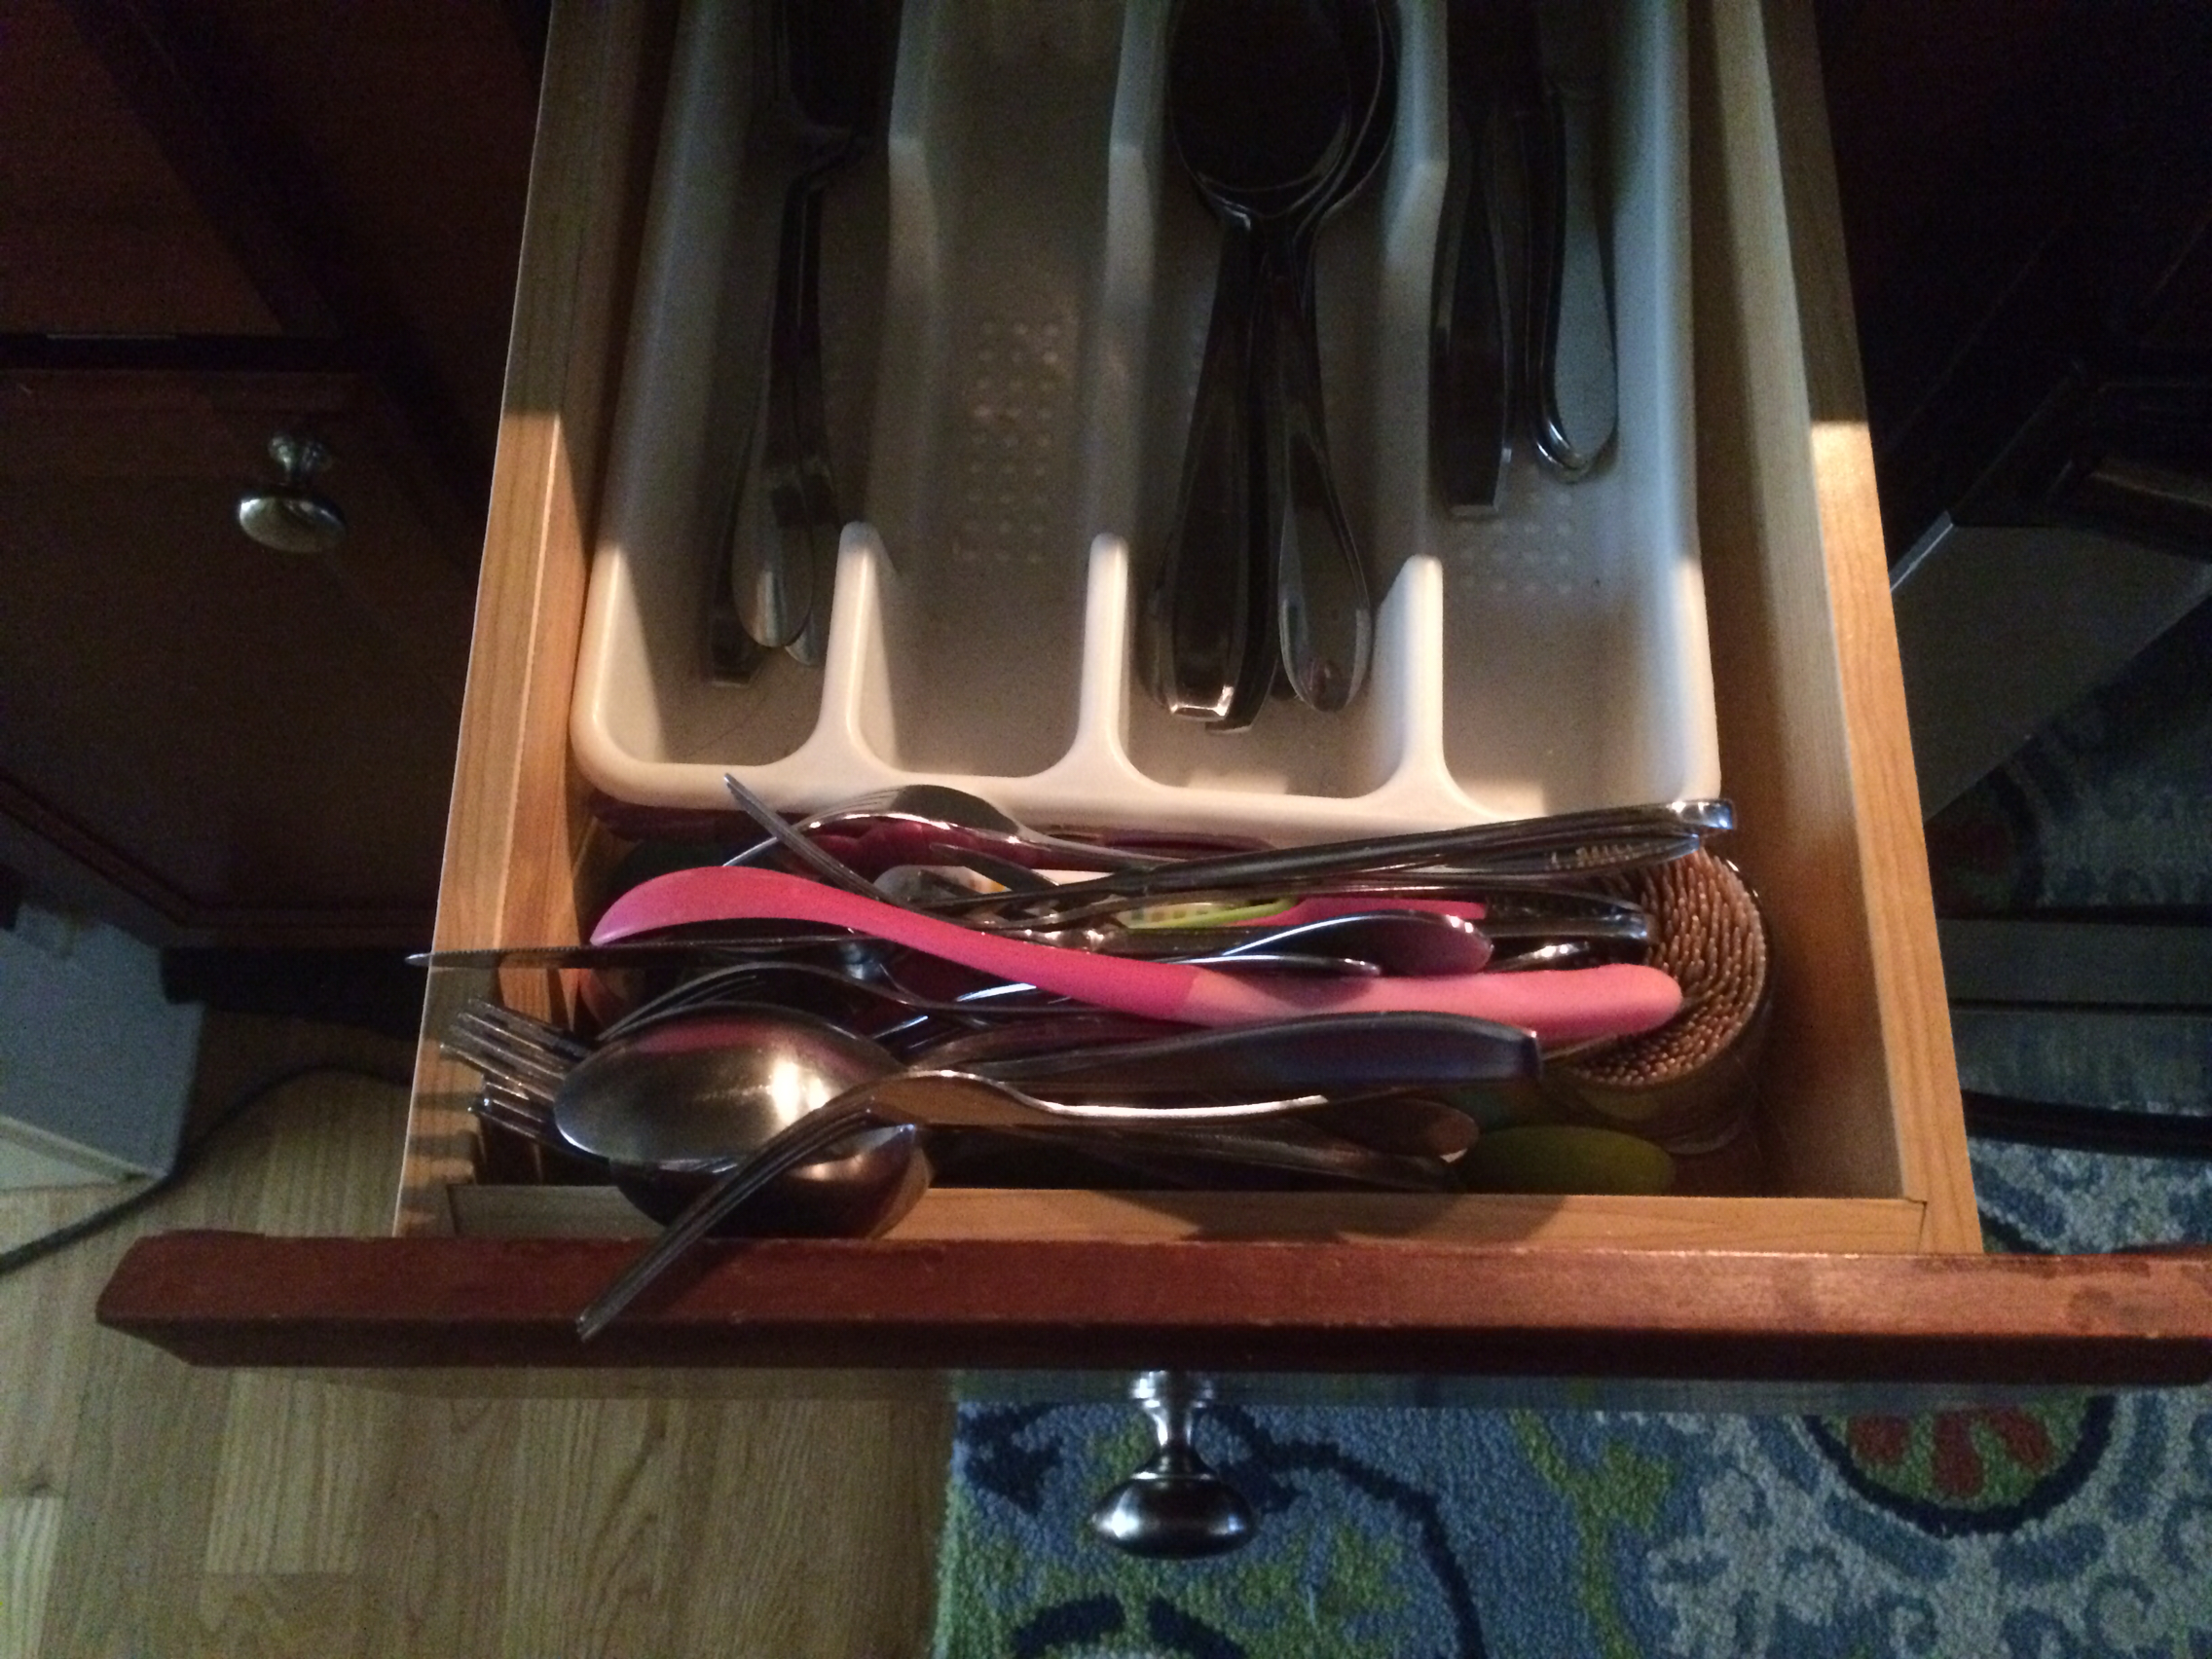
2. Sorts the utensil drawer.
Everytime I unload the dishwasher I make him a nice pile of little forks, big forks, spoons, not sharp knives, and baby utensils. They are in a huge pile and he stands at the silverware drawer and sorts them. Oh and of course I make him wash his hands before! He LOVES it when dishes are clean. He LOVES when I unload the dishwasher because it's something that he can do, and it's something he does well. There are times I've caught him using a fork to flick a ball around the living room, but he's 4. He's going to get distracted. And you can be assured those forks end up back in the sink.

3. Picking up toys. Oh for the love of everything holy, please do not pick up your child's toys! He has been doing this for over 2 years. It doesn't hurt that he has his father's OCD clean genes. He loves when things look clean. Every night before bed his toys must be picked up and put away in the correct place. Of course if he's working on something (Lincoln Log village or his train tracks) he can leave those out. But little pieces of things that don't go to anything get put away. Food from their kitchen gets put away. And anything that doesn't get picked up goes in time out for the next day. Of course there have been nights where fits have been thrown. Other nights we get home late. I have to make it a priority that I help remind him before he gets overtired. I want to set him up to be successful. We try to have everything picked up BEFORE dinner. Then after dinner we snuggle, read, occasionally watch TV and take baths. If we wait until 8pm to start picking up it usually ends in a disastrous screaming, crying, toy throwing event. And do the piles get picked up EVERY night? No. But I'd say 5 of 7 nights they do. Not too bad.

4. Setting the table.
When I cook, I usually go ahead and fill the plates before they are on the table. I've found that we dirty more dishes when I bring a bowl of green beans to the table. Why not serve straight out of the stove pot? This makes an assembly line on the counters and typically once plates are filled I like to get them on the table. I usually call Luke in and have him take plates to the table. Has he ever dropped one? No. Will he? Most likely. It'll be ok. In the time when I don't have anything for him to carry he sets out the utensils and napkins and carries condiments to the table. I like knowing that when we sit down to dinner that we all had a hand in making dinner a success.

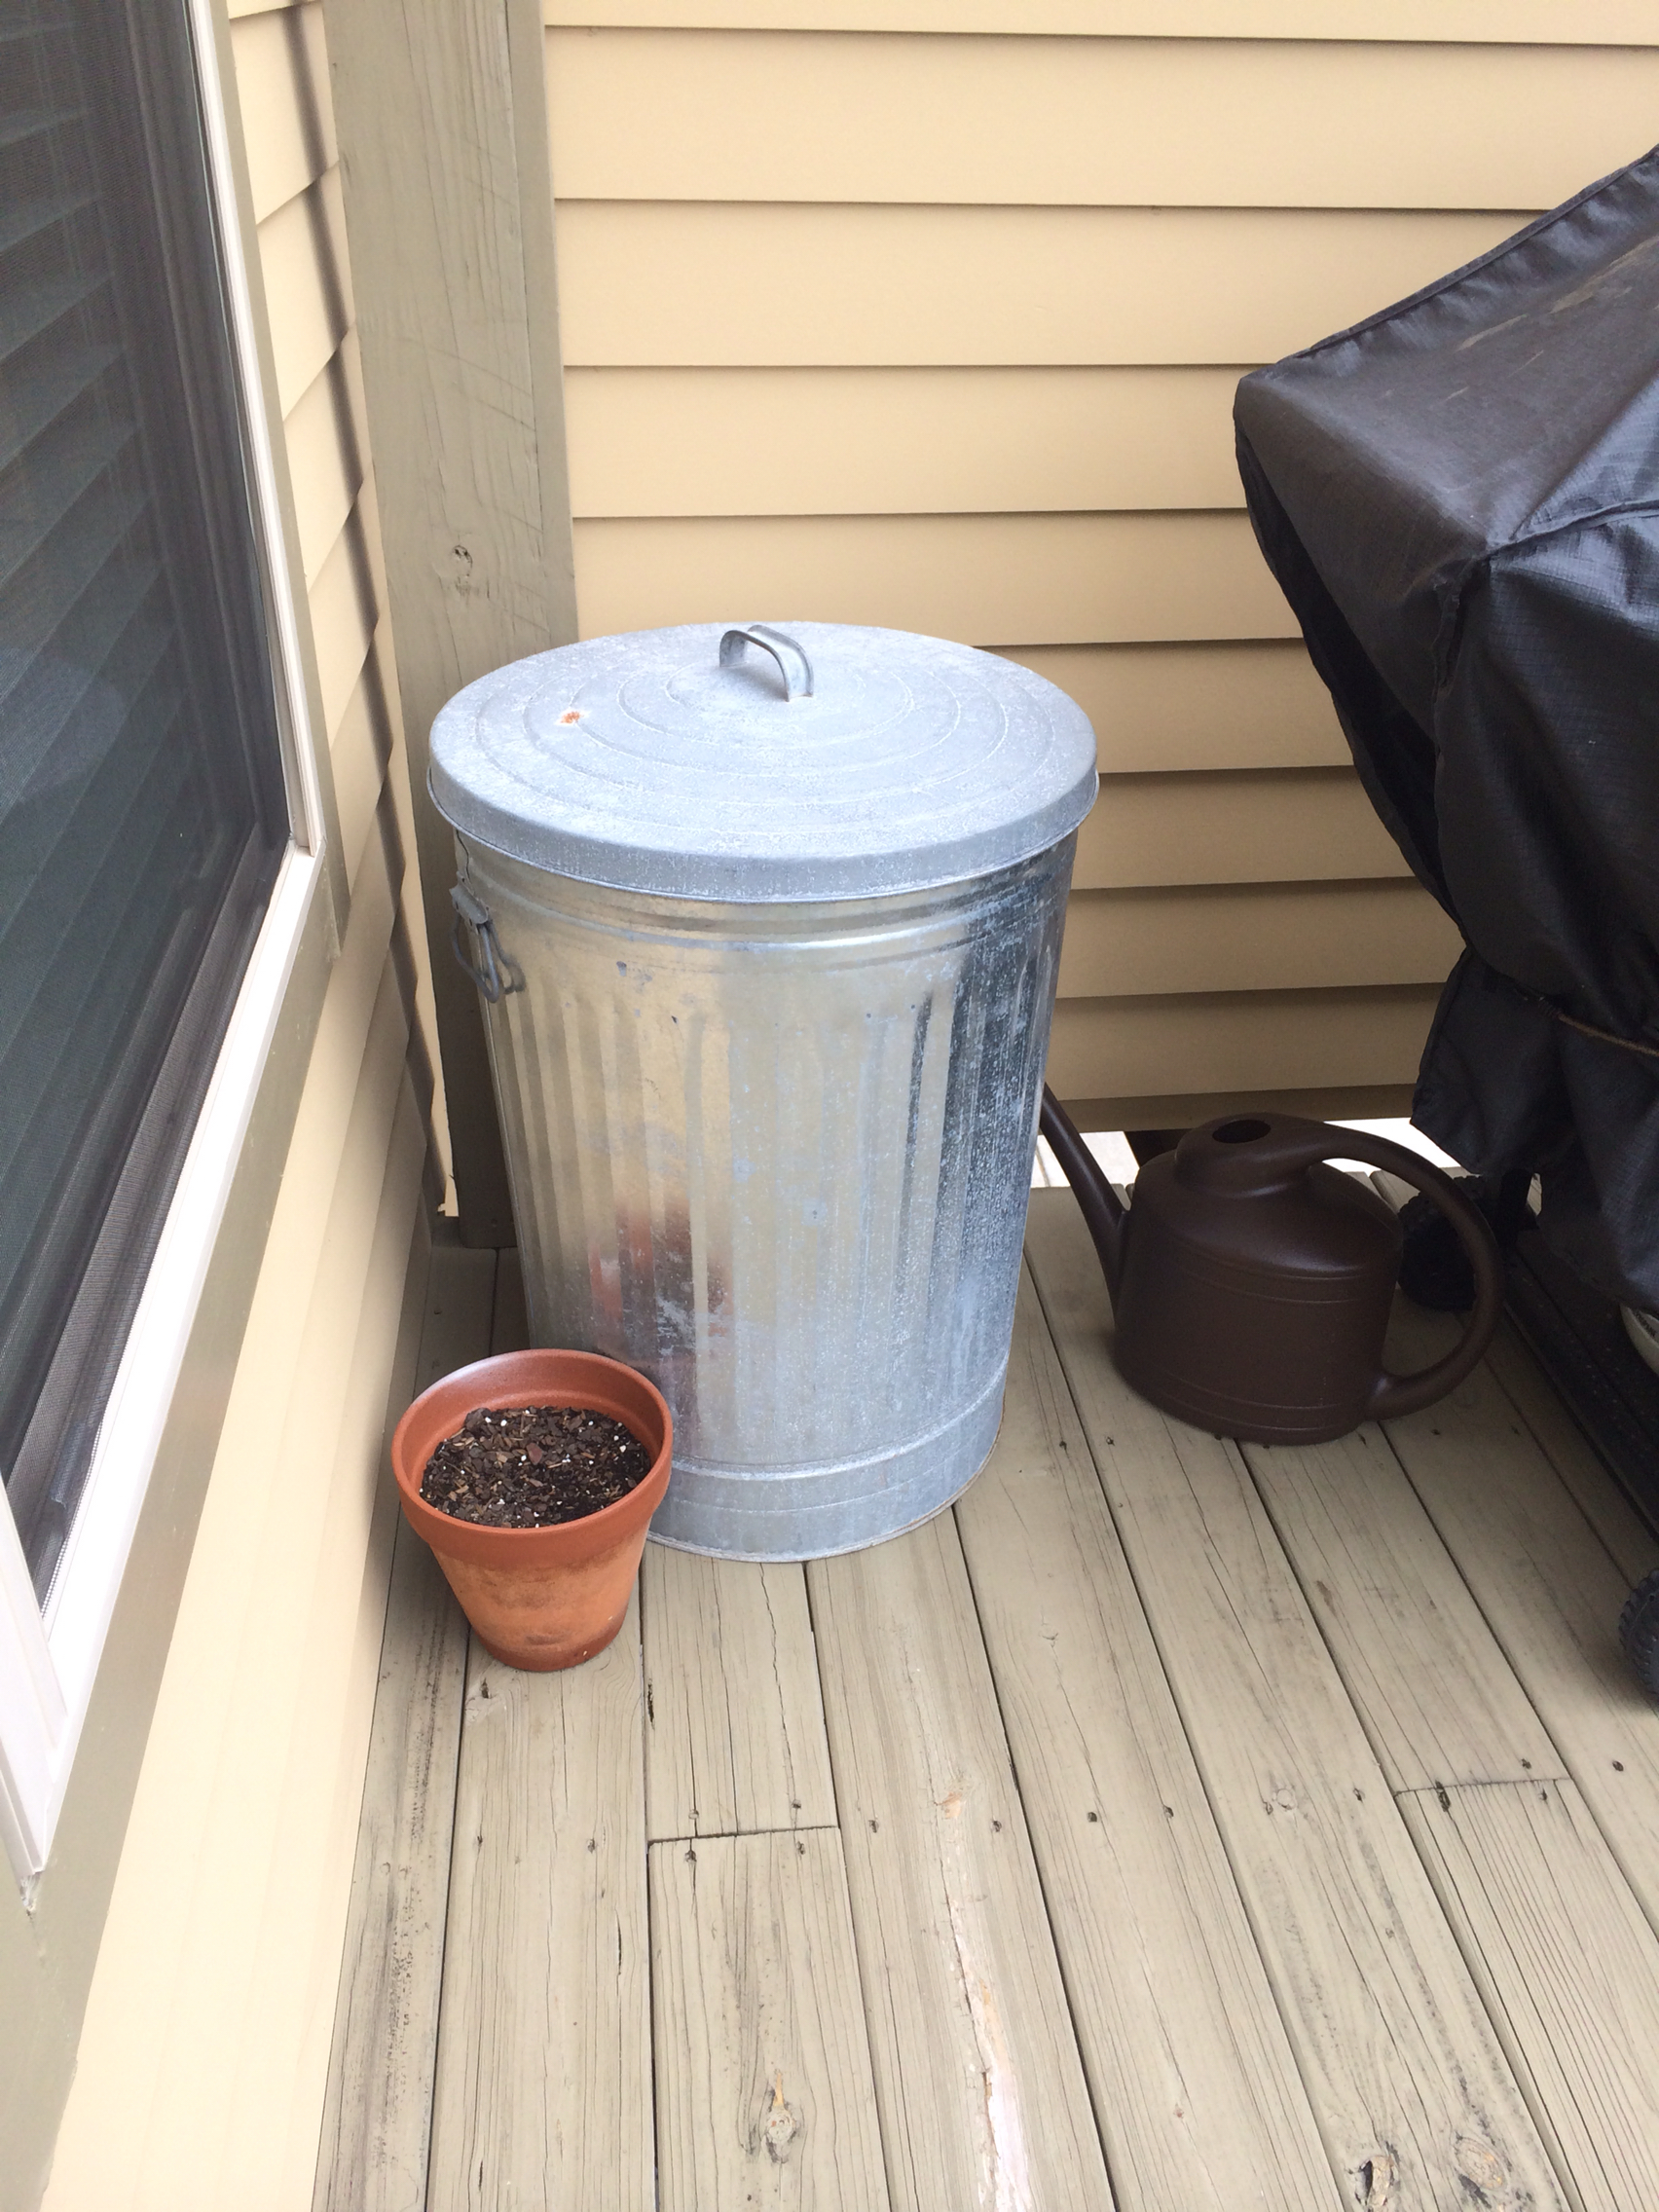
5. Feed the dog. As much as I've tried to ban him from opening doors, he has figured out how to get around the child locks. He hits them with his fist and they pop off the doorknobs into 2 pieces. SO I put his genius to work. Now that he can open the back door his morning chore is to feed Sadie. He gets her cup, pulls the top off the big galvanized can, digs it in and pours it in her bowl. He loves this. Also since he can reach the water dispenser in the fridge I let him fill her water bowl. I'm sure there will be accidents, but NOTHING teaches him as much responsibility than to care for other members of our family. He did leave the top off of Sadie's food the other day and it rained but he learned a valuable lesson!
6. Take down recycling. We try our best to recycle paper, cardboard, glass, and plastic. Back when we didn't pay for trash pickup and we could drop it free we only had about 1 bag a week since paper, cardboard, plastic and glass took up SO MUCH SPACE in the trash. By streamlining our garbage it was amazing to see how quick we as Americans are to throw stuff away. Now that we have trash pickup at home, we still only have about 3 bags a week (and that includes my sewing trash, some diapers- we do cloth diaper about 80% of the time, and regular household trash). We keep a small container right next to our trash and when it's full Luke takes it down stairs to sort. We have 2 white containers for paper and plastic and then 2 smaller black containers for cardboard and glass. Cardboard usually takes the most space so we sometimes end up stacking it on top if it gets out of control. When those containers are full we lug it all to our local recycling bins in town. My point in telling you this? Luke empties the white container whenever it's full. He takes it down to the garage and sorts it in the correct pile because we've taught him where it goes.

I love to challenging him with chores. He's not allowed to say I can't. And he can't pull the "PLEASSSSE help me clean my mess" gig. I nipped that a long time ago.  I also like to give him chores that I have to teach him how to do. He goes from having no idea how to do something to being completely proud of himself for finishing the task. It's an amazing morale booster.

And I can promise you this. After teaching nearly 500 10 year olds over the course of 5 years I know that not every child is made to do chores. And you can tell the chore-ers from the non-chore-ers. :)

I taught kids that wanted me to do everything for them (I'm not talking helping them with work- I'm talking about picking up pencils, jackets, and cups for them off the floor). Good thing for 2 of those years I was very pregnant and couldn't bend over anyways. I remember quite a few times the phrase "I'm not your momma and I'm definitely not your maid" slipping out of my mouth. This is a life skill that will benefit them all throughout life!

I'm also looking to add more as he gets older like dusting the baseboards (which he can probably already do), putting the vacuum away, cleaning his bathroom counter, etc. But for now I am very proud of what he does to help!

H54F!

High Five for Friday!

1. WHERE did this week go? I feel like I say that every week, but we just live such an odd schedule/life that it's always either becoming a weekend or ending a weekend, so I feel like I'm always goinggggggg! Josh is off Tuesday/Wednesday for now so while everyone is gearing up for the week (Monday)- that's my Friday. And when he goes back to work Thursday everyone is getting ready for the weekend (which is really my "mid week". It's crazy and a total brain teaser!

2. We repainted and furnished our deck this week! It was a blast (well Josh did the painting so I'll let him have the last word about that). Can't wait to share details!
3. My son brought me 18 flowers to my bedside one morning after he took the dog out with daddy. "EIGHTEEN to be exact, mom!" 

And my daughter learned how to make a duck face way too early!

4. We had our master closet redone by California Closets. It was one of the best home improvement decisions we've ever made! I'll have a post with the details later!

5. Luke is getting to the point where he LOVES games. Candyland was his choice this week. I totally dominated (but we're trying to teach him how to win with humility- so I had to tone down my excitement). We're really competitive.

Watermark Part 2- Watermark It Pro

I left off talking about watermarks here. I had created a watermark in picmonkey, saved my file, and was able to use it over and over on my computer for photos I upload from my camera. The only problem? About 40% of what I post is from my phone.

I needed a way to do the exact same thing, only from my iPhone. By the way we are almost completely an apple family so I don't speak any other language. Not sure about other phones/ways to do this.

I used the exact same file as I saved before with the transparent background and I attached it in an email and sent it to myself so I could pull up the image in my phone.

Once it came through I held my finger on the picture until this screen popped up. Since the writing is so light it actually looked like a blank page, but there was a picture there!
Next I downloaded the app Watermark It Pro.

The app was $1.99. I usually never spend money on apps, but I tried the free version and it wouldn't allow me to upload my own photo. So in the end the $1.99 was money well spent.

When you open the app this is what will appear:
Click "choose photo" and click the picture from your camera roll that you want watermarked. On the bottom left there is a place that says "images".

This screen will pop up with a bunch of pre made watermarks.
Scroll to the bottom and there is a blank album that you can add and save you image to. In my app the folder is the "images inside" with the "2" bubble on the bottom right. Click on that album.
Click add new image to folder
and choose the watermark from your camera roll. I think because the image has a transparent background my phone freaked a little and the thumbnail is not the same as the actually picture (weird)- it actually looked like a screen shot I took a while ago with some fonts I wanted. Crazy.

But when I chose it a screen popped up "image saved successfully". Then you can click "use existing image in folder" and it will be saved there.
I actually made 2 watermarks- one for lighter pictures (that has darker letters) and one for darker pictures (that has lighter letters).

Click on the watermark and it will add it to your photo (It'll be really small at first- use 2 fingers to make it bigger and place it where you want it to be).
Then click next and it will "fade" to be how you made it in pic monkey.

Then click finish and save it where you want it. I save the newly watermarked photos right in my camera roll and then go back and pull them whenever I need to add something to my page. I haven't synced my flickr account yet, but this will help with my blog photos since I use flickr to upload all those.

Again, the first time you do it, it may feel complicated because you are having to import the watermark first. BUT after you do that the first time, it's easy after because the image is already there. When you go back after the image is saved you open the program>choose the photo to be watermarked>click images>click your watermark>make it bigger> save! Done.

There has been major drama on some of the embroidery boards I'm on with stolen pictures and people posting other's work to their own page and passing it as their work. Figured this post was timely considering how crazy some people are!

License Plate Wall

It's amazing what things inspire me. I love looking for unique quirky things to decorate with. Remember my wedding card collage? Currently I'm collecting all my thread scraps to display in a unique colorful way. I love taking ordinary things and taking them to the next level.

I was in my parent's garage one day and I noticed a box of license plats. By the way- every time I spell the word "license" I misspell it- and auto correct ALWAYS fixes it. So I never actually learn how to correct the bad habit. Notice I pretty much call them "tags" in the rest of the post. :)

They had a box FULL of old tags. And since we had just moved, I noticed that we had quite the collection too. Not on purpose- but we have owned quite a few vehicles. It got my wheels spinning (<--punny- sometimes I can't help it) about how I could display them without being tacky. There really are stories behind each tag and I want my house and its walls filled with memories.

I brainstormed a few places to put this collection. The kids bathroom was high on the list since I haven't done ANYTHING in that room. But there really isn't an appropriate wall besides the wall the toilet is on- and I didn't want to have to work around that. Another place was in the basement. It's kind of where guy stuff lives (except for my hoarderish fabric collection). But again, I wanted this to live somewhere special.

I can with all honestly say that Luke's room is the first complete room in our new house.

And he had the perfect wall. I made it my mission to paint his room first so that he had as little change as possible with the move. He told me he LOVED our new house, but there were no blue rooms. So the weekend after we closed (right before we moved in) I got to painting. We literally bought the paint 10 minutes after we got the keys at closing.

It was pretty easy to fill up his space, especially after setting up his new bed. I don't think it'll ever be done. There is always more to fill, and tweak, take down and put up. But I'm content right now. And since I decided the license plate wall would go in here I got right down to business.

The biggest decision was figuring out how to center it. Do I measure the middle of the wall from actual side to actual side. Or do I measure the center with the door open? Either way it would look off center. Unfortunately that's where my thought process stopped.

Here it is with the door opened (so it looks uncentered):
And here it is with the door closed- you can see it's centered on the wall:
My initial goal was to eventually put his big boy bed (BBB) that I talked about here on this wall. I even measured it's height so I made sure to start the tag wall high enough.

But what I didn't think about was that his BBB would be directly underneath the tags and that puts his bed too close to his door (in my opinion). I hate it when you feel like you trip over a bed the first second you walk into a room. By sitting and staring at the license plate wall long enough I figured that I could remove the vertical row on the left, remove the first horizontal column, put the first row where the horizontal column is and build onto the right. It would pretty much move everything over 9 inches which is exactly what it needs to be centered on the wall with the door open. Live and learn.

Or I'll eventually put his big boy bed on the other wall. No biggie.

Now for the nitty gritty- I didn't want to damage any of the license plates (or put half a million large-ish holes in our walls), so my first thought was to hang them with on command velcro strips. But those are expensive (for a project this big) and some of the tags are slightly bent.

Josh had the idea to use straight pins. You may be totally side-eyeing me now that I put straight pins in a wall that my 4 year old son can reach. *gasp*. But they are so secure in the wall that I can't pull them out with my bare fingers. Also he has been warned that if he touches them it will feel like a shot- and 4 year shots are still a close memory so he has stayed far away. The wall has been up for almost 4 weeks and 1 plate was knocked down once (the pins stayed secure).

First I measured and figured out exactly how high off the aground it needed to be (so I measured the bed first). Then I had to figure out how large I actually wanted it. I made a masking tape grid on the floor as a diagram. Then I laid out all the plates. I tried to use the unique ones, but I ended up needing so many that I used most of them.
I also knew I wanted to create a border using them for a more polished look. That part was a little tricky. I'm not spatial at all so I just had to lay it out and play with it.

Then I found the center of the wall (side to side) and the middle (from the bottom piece of tape to the top. That's where I started.
To check for straightness I used a little level and figured out to best place to put the tags.
Then I held it still and marked the top holes where the pins would go.
I pulled the tag down and then tapped the pins in place VERY gently. Too hard and they bend. See how the pins are barely noticeable?

A few fun facts with a visual:

-There are 5 states represented (New York, Georgia, Illinois, Pennsylvania, and Mississippi).
-New York has 2 duplicates since they require a front and back plate. 
-There are 3 tags on the wall that are still "current". 2 expire this month and 1 in August of 2014. 
-I noticed that only Georgia and Mississippi have counties listed.
-One tag has my initials only in a different order. And it was dated 1977- long before I ever existed.
-The sole Mississippi tag is the same tag Josh had when we met. It also went on our honeymoon.
-There are 2 Olympic tags.
-There's 2 "personalized" tags- Alto 2. My mom used to sing with the Atlanta Symphony Orchestra and this was her chair position. Cute right?
-The other personalized one was the New York one at the top. NF stood for Niagara Falls (where my dad grew up) and the number 1621 was his childhood house number. He said that was a really common thing to do back then.
-There are 2 antique tags on the wall that went on my dad's restored 70 Chevy. 
-There are 4 counties from Georgia represented- Cobb, Cherokee, Stephens, and Gwinnett. The funny thing? My mom's not sure where the Gwinnett County one came from. Dad is almost certain that the Cherokee county one was from a Mustang he bought my mom for her 40th. Romantic huh?

I really loved this project! It's fun to make something fun out of practically nothing. And the minor tweaking that needs to be done shouldn't be a big deal. Sometimes it's hard to visualize things before they're actually up and to think through all the ifs and buts!

High Five for Friday!

1. Our house and the story behind it was featured in the "home finder" section of our local paper. I was pretty excited to finally see it in print. It was actually a really fun process that I'll share sometime.  For those who weren't able to read it the gist of what was printed I wrote about here. <--every time I read that post I cry. 
2. I spent the first part of the week sorting through boxes and boxes of hand me down clothes that were given to our children from some very generous friends. I am SO THANKFUL that both our children's closets are stocked until next summer (and many larger sizes are quickly filling up). I love recycling clothes, and I can't wait to pass these on to someone else once we are finished. Such a great feeling to take care of each other!
3. We had a pool day on Monday. We spent like the WHOLE DAY there, picnic lunch included! They both LOVE the pool and splashing around. 
4. I have been in high gear with my shop this week. I posted that I wanted to list 10 items on Etsy by the end of last week and 10 more by the end of this week. I actually had 20 posted by the end of last weekend and my goal is to hit 30 by this weekend (I'm at 27 now). I also had my first sale which was incredibly nerve wracking! I have been selling personalized and appliquéd shirts for YEARS but for some reason when it was through Etsy it stepped it up a notch! One of the things I've been lacking has been fabric samples so I worked one afternoon to get those together. Still have a few photos to snap but overall I'm pleased with how they came out. I had to cut out over 150 samples, organize them, "code" them, and put matching fabrics together. It was quite the undertaking! My new goal is to have 40 items listed by next weekend. We'll see how it goes!
5. I just love this sweet girl and her girly girl clothes! This outfit just melts my heart. 

Luke's Room and the ACCENT Wall

I've mentioned before that when we moved in to this house I wanted as little change as possible for the little man. He had a lot of change in 2013. He gained a little sister, stopped going to his school, we left our church (and his buddies there), moved away from friends, moved in with my parents, started a new school, made new friends at a new church, and the new house. So I wanted the new house move to be as seamless as possible. 

Luke went in every house with us that we walked through. He was very eager to choose "his room" in each of the houses. His only request about this room was that it had blue walls.
He actually made my life really easy since this is the only color room he's ever known. We've carried the red, white, and blue theme since his crib days:
I STILL love that crib set. It was a gift from my old co-workers and I just can't part with it. Maybe Emmie or Luke will have a boy and I will use it again one day...

The red/white/blue works for us. We love it and know that there's meaning behind it since Josh fought so hard for those colors. We will always be proud to be Americans!

Since Luke insisted... we covered all that tan. Home Depot was literally our first stop after the closing papers were signed! I wanted to get it painted before our moving truck arrived. And that proved to be a very wise move since Emmie's room STILL isn't painted. Sigh. 
After the blue- before the accent wall. I mean let's be real. He's 4. #nojudging

After:
(I have a post coming later this week with details about the license plate wall)

So what did we do?
1. Painted 3 walls and the ceiling "Serene Sky" blue (the same color as our playroom ceiling).
2. Painted the accent wall the same color as the trim (antique white).

First of all- I was shocked when I walked in this house and every ceiling was painted the same color as the walls. And actually I like it! We have 9 foot ceiling on both the first and second floors. The same color on the ceiling makes it feel forever high.

So I followed suit. I knew his room was going to be blue with a white accent wall. I thought the accent wall and ceiling being the same color would look weird. So I went with the blue. No regrets.

Next is this antique white... if I'm being honest it's not my first choice. I'm more of a crisp white girl. Notice that his comforter is crisp white, and the accent wall is more of an off/antique white. Since every last baseboard, moulding, and door is painted this antique color I'm much more willing to embrace it than change it. Heck I barely finished all the trim in our old house and this is 800 more square feet! So I caved and painted the accent wall antique white. I found the color in the garage and it's an exact match (leftover from the painters).

We lived with the blue room and 1 tan wall for about 5 months. One day it just annoyed me enough to change it. So I grabbed the bucket of paint, and a brush and went at it.

Eventually I would like to "panel" this wall. Eye candy here:

On to the rest of the room.

We moved the futon from the basement to here. We figure when we have guests we'll turn his room over to them. You can sleep 3 plus the floor. Also the guests would have their own bathroom.


This little man has the most amazing closet. Oh to have that space! We are planning to put hooks along the left wall and label them with the days of the week so I can choose and hang up his clothes a few days at a time. Right now I just throw them in a pile on the floor but I thought the hooks would be a nice touch.
We would eventually like to rework this closet, but for now it works. I mentioned here that Luke's bed will eventually be Emmies. This dresser will be hers too to make the set. So this will be tweaked down the road. 
This is a well loved and very played in room. I love every last detail and how it all came together!


I shared earlier this week about how we swapped out his light too!
Once his closet is finished and we do the final furniture switcheroo a few years down the road this room will officially be done! I love it and I can't wait to tackle the princess' room next!