Weekly Update: 11/11-11/28

I have slacked on the weekly updates- heck I've slacked on the whole blog here lately. My biggest pregnancy symptom seems to be lack of motivation! But I am back- with lots of fun projects!

Here are some things that have been happening!

On Veteran's Day we headed to Olive Garden in Anderson for a free meal for Josh. We have successfully managed to avoid eating out for the past year (if at all possible with a 2 year old). So I was a little nervous how this would go. The second Luke saw croutons in the salad he was hooked! He ate salad, breadsticks, and spaghetti! 
Luke loves Josh's ears (?!) so I captured this sweet moment of them tickling each other's ears :)
Josh headed to Nicaragua on a mission trip 2 Sundays ago and spent the whole Thanksgiving week there. Luke and I came to Marietta and I have satisfied my shopping craving! I make lists of things I need to pick up while I'm in Atlanta so when I come I try to hit all the stores I love. We went to the Aquarium (more on that here), and spent the week just relaxing. 

This picture is proof that my son can pose properly for pictures. The last 3 school pictures he's taken have turned out horribly because he refused to smile. I love those sweet cheeks!
We picked daddy up at the airport on Black Friday. We went to the part of the terminal where we could watch the planes. 
The funny thing? That's daddy's plane landing!! He texted me 2 seconds later and said they had just touched down. We watched it taxi to the gate and I snapped this sweet picture:
And here's the travel weary team! They had to leave the hotel at 4am that morning. They look pretty great dontcha' think?
My morning sickness has come back with a vengeance. I didn't get sick for 2 weeks and now I've been sick twice in 3 days. SO annoying! Fortunately I had an appointment Tuesday and she hooked me up with dissolvable Zofran- really excited to see how it works. 

Speaking of baby... here was my 12 week picture:
ummm now I'm 15 weeks! Where is this time going? We have our gender ultrasound next Tuesday BUT we are the crazies that aren't finding out! The tech will put the results in an envelope and we will have a friend make cake pops colored to the gender. We won't actually find out until December 23! The funny thing? I seriously could CARE less what the gender is. I would love another little boy... and I would love a little girl. Win win.

We have decorated for Christmas and I'm ready for December! I may not say that a week from now but I am excited about this season!

Laundry Room Curtain

Our laundry room is slowly but surely coming along... Here is a sneak peek at our curtain. I'll explain how I did it in this post...
I started with the intention of making a faux Roman shade. Womp womp. It was a major fail. I even got to the point of sewing and it just didn't look right. Since I share the good and the bad... here's the bad. 
That was the stage right before I sewed it together (and I couldn't find a picture of the sewed together version). It still gives the basic reason why I hated it. See how the sun shows through some places and it's dark in others? It was really annoying. And I immediately pulled it down and re-started. 

So back to square 1 it was... I started with an old mini-blind.
I cut all the strings so that just the the metal top part remained. This mini-blind came from the laundry room, so I knew the hardware was still mounted in the window. 


Next I hemmed the edges of the fabric on 3 sides. 
The one edge that I left unhemmed I rolled and hot glued around the top of the mini-blind attachment. 
Once the hot glue dried I mounted it back up in the window. This part is now hidden by the fabric. 
I didn't get a picture of fastening the ribbon but it was pretty self explanatory. I just sorta went with it. I cut the ribbon to length, hot glued it where I liked it, and matched the 2nd to the first. Here is the finished product again.
Even after the Roman shade disaster, it still ended up taking just about an hour. I am LOVING that I wasn't afraid to try something, and when I didn't like it I tried again! Such a great reminder that somethings just take time! BTW the fabric came from Hobby Lobby.

And here are the other posts about the laundry room (and there is another one coming very soon because I found a rug at IKEA!)-
Part 1
Part 2

Aquarium

Last year Josh and I won tickets to the GA Aquarium. Come to think about it, I've never paid to go to the Aquarium! I went right after they opened because my mom's company rented the place out for the night. Then I went to a bullying conference with school (it was in one of the ballrooms). I was totally mesmerized by the beluga whales the whole time! It was at the bullying conference that we won 4 tickets to go back! Then last spring we took our 5th graders there. We decided we would save our tickets for when Luke was old enough to appreciate it. Unfortunately Josh missed this (being in Nicaragua) but we still have 1 ticket left over that we'll probably use next summer.

Just a warning- this will be a post filled with lots of pictures! Feel free to just skip it- I'm sure Josh (who can hopefully read this once he gets back to the hotel/wifi) and other family will appreciate a million pictures of Luke :)
This was the display as soon as we walked in. He was absolutely enthralled!!


This was his favorite attraction. Although he couldn't reach the sting-rays, he loved splashing in the water.
and sweet little feet that don't reach!


This is my favorite guy in the aquarium... except for the belugas of course!


And here are my faves! These guys are just the best!

and again... because I really would take one home!

Organizing Paint (for real this time)

I shared a while ago how we store our paint. Although it worked for the past 4 years, it just wasn't working now. We are trying to absorb an entire room in our house into the rest of our house. And an entire corner in our closet devoted to paint storage just wasn't using our space wisely.
I came across a post on iheartorganizing about organizing paint. What made the most sense about her method was how efficiently it used space. There were many gallons of paint that we had that only had a quart or even a pint left. I had no idea that you could store paint in mason jars (and that it would last)! But I should have known- I had a can of Martha Stewart sealer in it's original can and every time I used it, the lid would be sealed shut. I poured it into a mason jar and it has kept for over a year! I just never put the 2 and 2 together.

Here was all the paint that came out of the closet- wow how it accumulates over the years!
I started this project by buying 2 inch round stickers. In the iheart tutorial she used her Silhouette (print/cut feature). I didn't want to buy something I hadn't tried before, so I found the 2 inch stickers at Wal-mart. I went to the Avery website and downloaded the template and started designing. Although I played around with it for a good 2 hours, I decided going with a neutral gray with white letters. I used the font "boyz are gross". One perk of using my Silhouette on my desktop computer is having all my pretty fonts downloaded!
It took a couple tries (and I had to buy an ink cartridge mid-project) to get it perfect. I included the brand of paint (mainly Behr), name of the paint, and what sheen I used (eggshell, satin, semi-gloss, etc.).

I LOVED the inspiration blog and how she used different colored labels but I felt myself going slightly ADD with seeing the colored label and a different color paint. It was just too much for my brain. Another idea is to make the label the color of the paint?

Next was the fun part. I expected this to take FOREVER, but I was able to get it all done in an evening (maybe 1.5 hours). I set up a work area and started (making sure to have TONS of paper towels on hand!)
The easiest way to pour the paint was to make sure there was no rust around the rim (if there was I tried to scrape it off without letting it fall in the paint). Then I used a spoon to help with the paint flow. A spoon was 100xs easier to clean up between each paint color than a paint brush. I started with a paintbrush to scrape the sides of the can, but it would get too wet after washing and obviously wouldn't dry in enough time to do the next color 5 minutes later.

I was shocked at how rusty many of the cans were. Fingers Xed that the mason jars solve this problem!
As that picture shows all of the paint needed a good stir.

There was no fancy way to get it in the jar- I just used a steady hand. Likewise there was no exact way of knowing whether to use a quart size jar or a pint size jar without just eyeing it. We realized that we are huge fans of neutrals and blues!
Also if we had any barely used or unopened gallons, those stayed put. The jars are mainly for touch-ups/other small projects. It would be slightly annoying to have to use 4 quart size jars (and 4 stickers) just for 1 color.
The "oops" is paint I buy off the shelf on sale. I use this to paint closets. I always look for light neutrals. It saves 50%-75%!

It's amazing how much space the mason jars save!! This amount of paint is the same amount that was in the first picture. It really saved us a ton of space!

hem fest

The title of my blog "a stitch..." and the heading "life in the fast lane" is basically what this post is all about! Being a busy working mom I have to have clothes that I like- and that fit, because honestly I wear "work clothes" for over half the year.

Being just over 5 feet tall (5'1") on a good day, it is really hard to find pants that fit my frame. I guess it's not even really hard.. it's impossible. Every pair of pants I own (except 1 pair from American Eagle- go figure b/c they are built for teenagers) are hemmed. And when you take into consideration that I own 11 pairs of pants, 17 if you include maternity there is no way I'm footing the bill to have someone else alter my pants. Also I usually have to hem all my capris as well. They typically come to my ankles instead of mid-calf. 

This post may seem elementary to some, but I figure that if I could give anyone insight on how to save a little moolah- that it would be worth it! I grew up with a momma that sews, so hemming pants was second nature. I have found some tricks along the way to pass on to you!

Some people (yes me included when I'm in a pinch) try to use "hem tape" as an alternative to sewing. Although hem tape is great (and I use it on curtains frequently), it does not hold up through the washing machine. It'll hold the first 2-3 times, but then it will start falling out. And there is nothing more annoying then feeling your fallen pant hem all day long. 

Here is an example of the size (and yes I buy all my pants "S" for short). And that is the amount I still have to hem! I always try the pants on first, fold up where I want them to "fall" and iron the line. I usually iron it inside out first (because when I'm trying them on that's how I fold it up) and then I have a line to go by once I flip the flap in. 

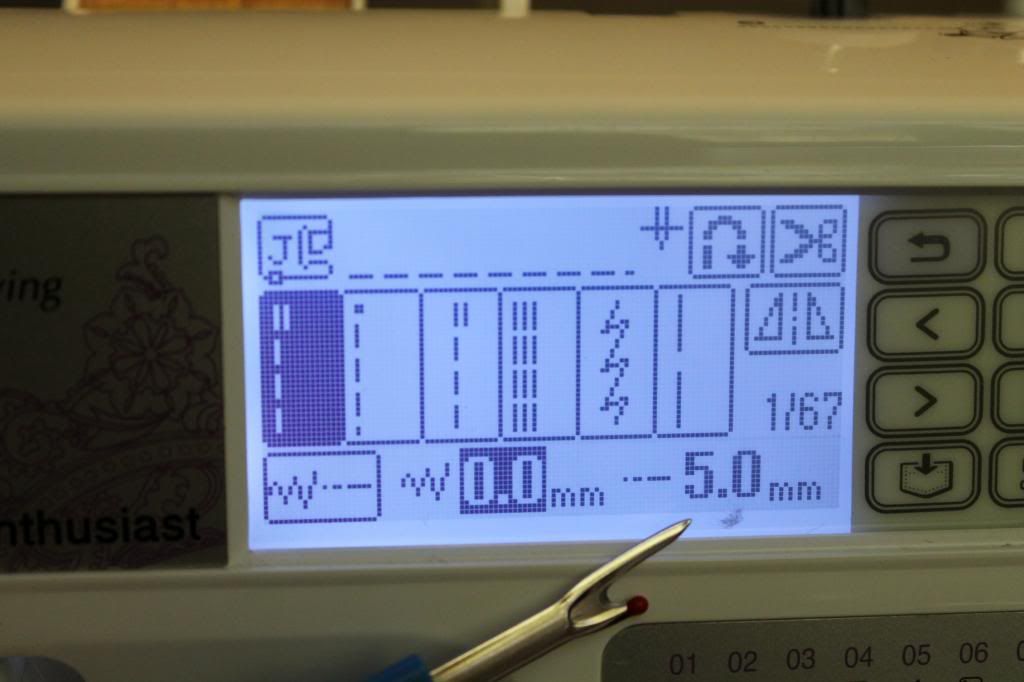
Next I set my machine. I have a GREAT machine where everything is done electronically. If your machine isn't electronic, you can still manually set the stitch size. 

I choose the typical stitch:

and it's default stitch size is 3.5mm. 

I reset the size to 5.0mm. 
It makes all the difference in the world and makes the stitches a little farther apart. Typically with jeans and the type of khakis I wear, the stitching down the side is larger rather than small. So I try to match it as best I can and the 5.0mm seems to be a happy compromise. The larger the stitch the more likely that it may come undone, but the risk is worth it to me because I like the way it looks!

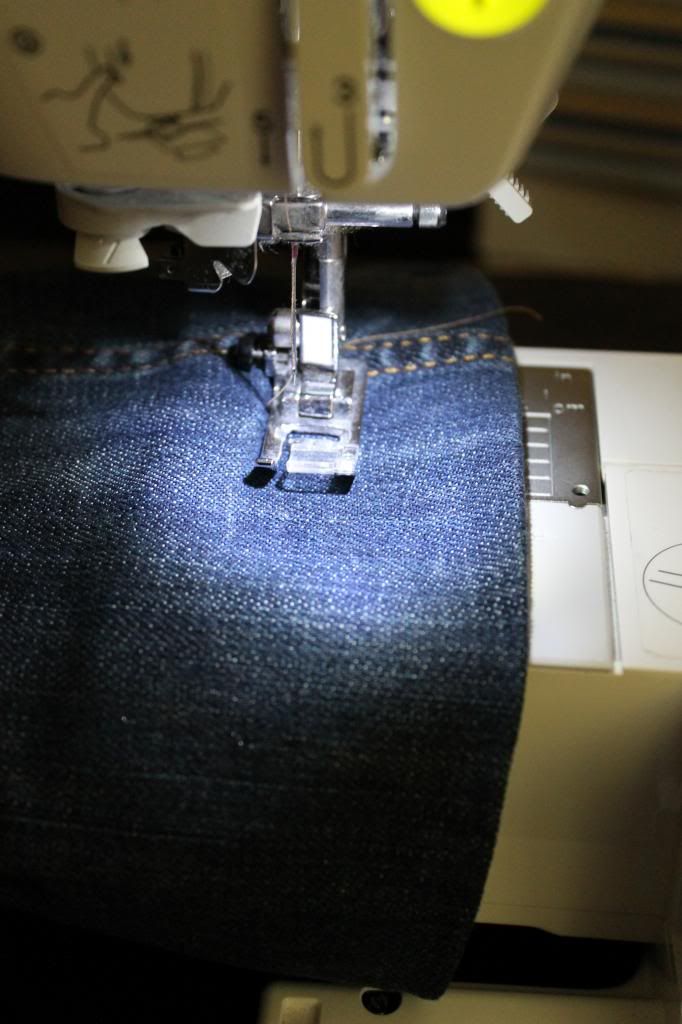
Next I position the pants on the machine 
and I always start on the inside seam of the pants. That way if the lines don't exactly match up no one will notice. 

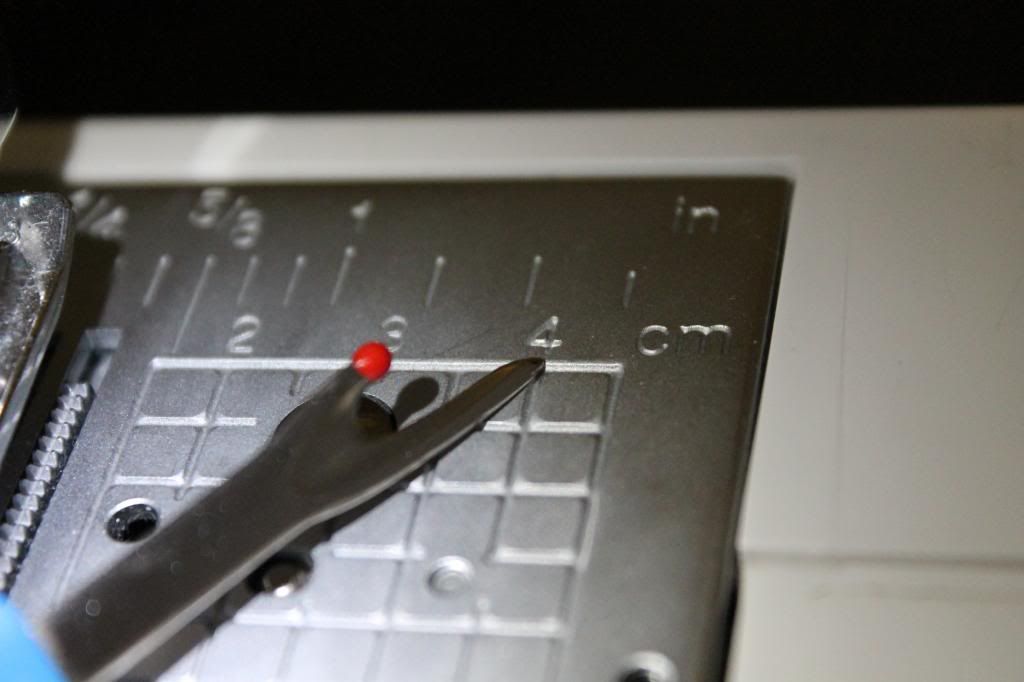
I also line up the bottom hem with the grid on the right of my machine. The measure of the hem will depend on how much fabric you turned up. I usually turn up alot of fabric so I line it up on the 4. If your machine doesn't have a grid I've seen people use a rubber band wrapped around their machine as a guide.

As I sew I make sure that the bottom hem stays even with the number 4. This ensures a straight line!

I always try to keep "slack" to the left of my machine. If the pants are pulling down, the tension will be wrong and the stitching won't be evenly spread apart. 
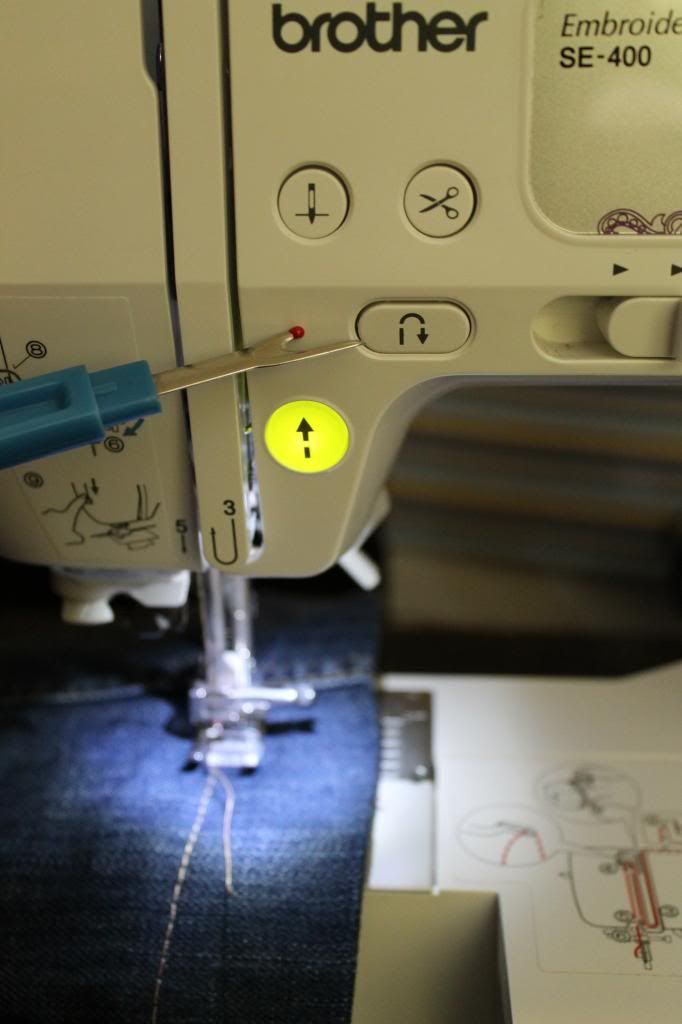
Once the machine comes full circle and I end up where I started, I always push the reverse button to sew back over where I started/stopped. This just reinforces the seam. 
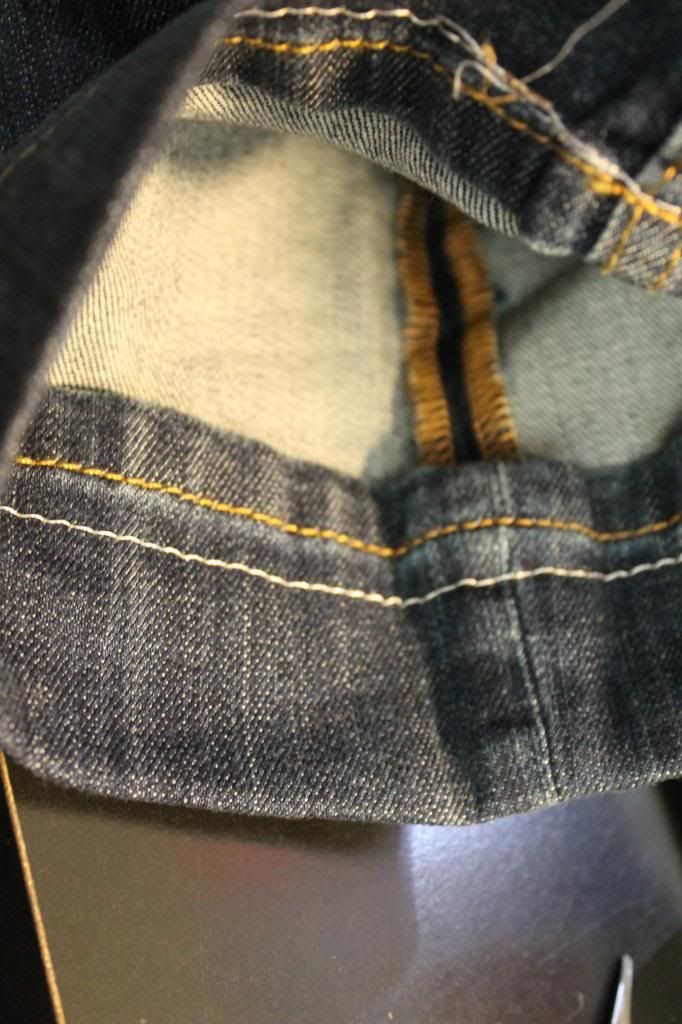
Here is a view of the inside once I finish. Not the most beautiful. I always use white bobbin thread. You could always switch it out for the color of the pants so it isn't seen. I just hate winding bobbins!
I don't ever cut the original pant hem unless there is just too much leftover. If you cut, it will fray and stick out the bottom of the leg over time.

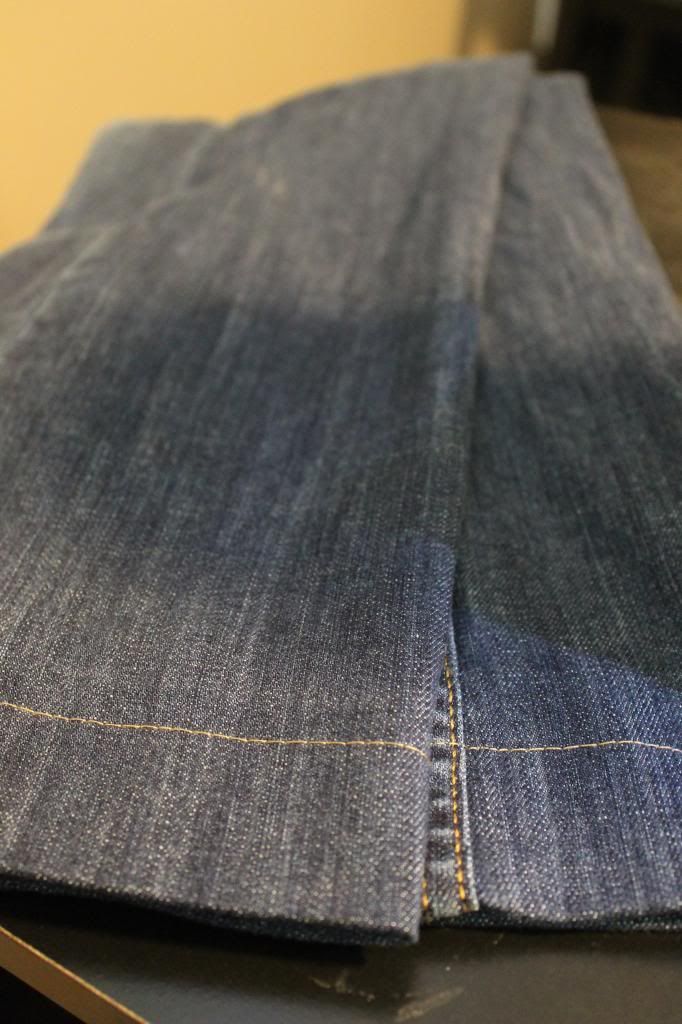
And here is the finished product! 

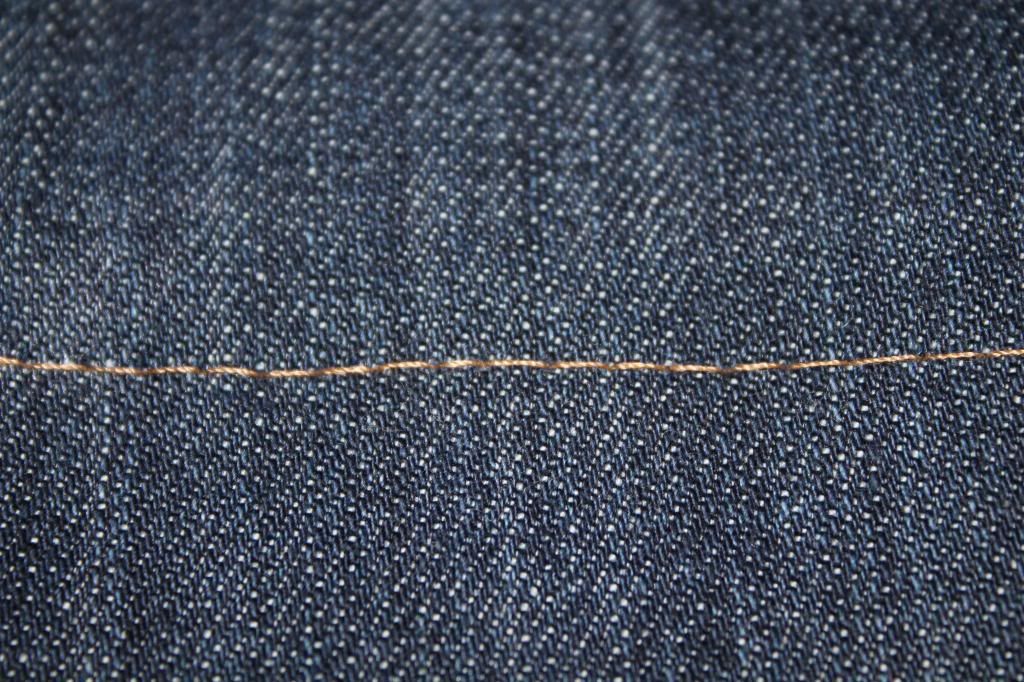
And a close up of the 5mm stitching!
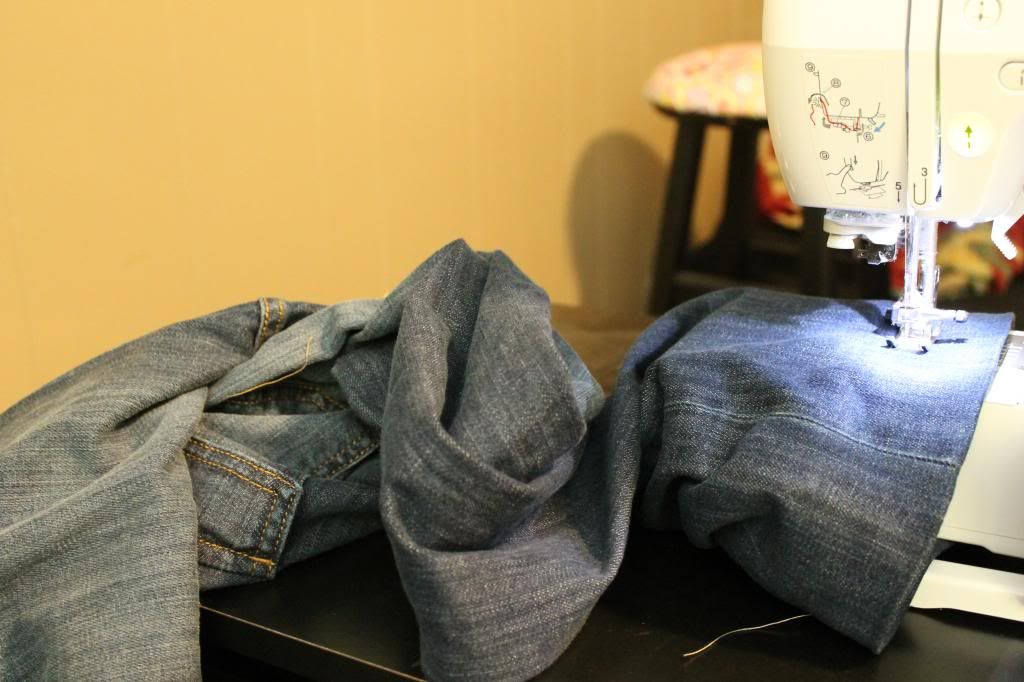
I usually collect a large pile and hem all my pants in one sitting. Today I had 4 pairs to do. Total time spent from trying on, ironing, and sewing (and taking pictures for the blog) was about 35-45 minutes! Not bad!

OOOh and I will never wear skinny jeans, so I have no idea how they would hem. I would think that them being so tight around the ankle that it would be hard to hide anything folded up. Just thought I'd throw that out there!