

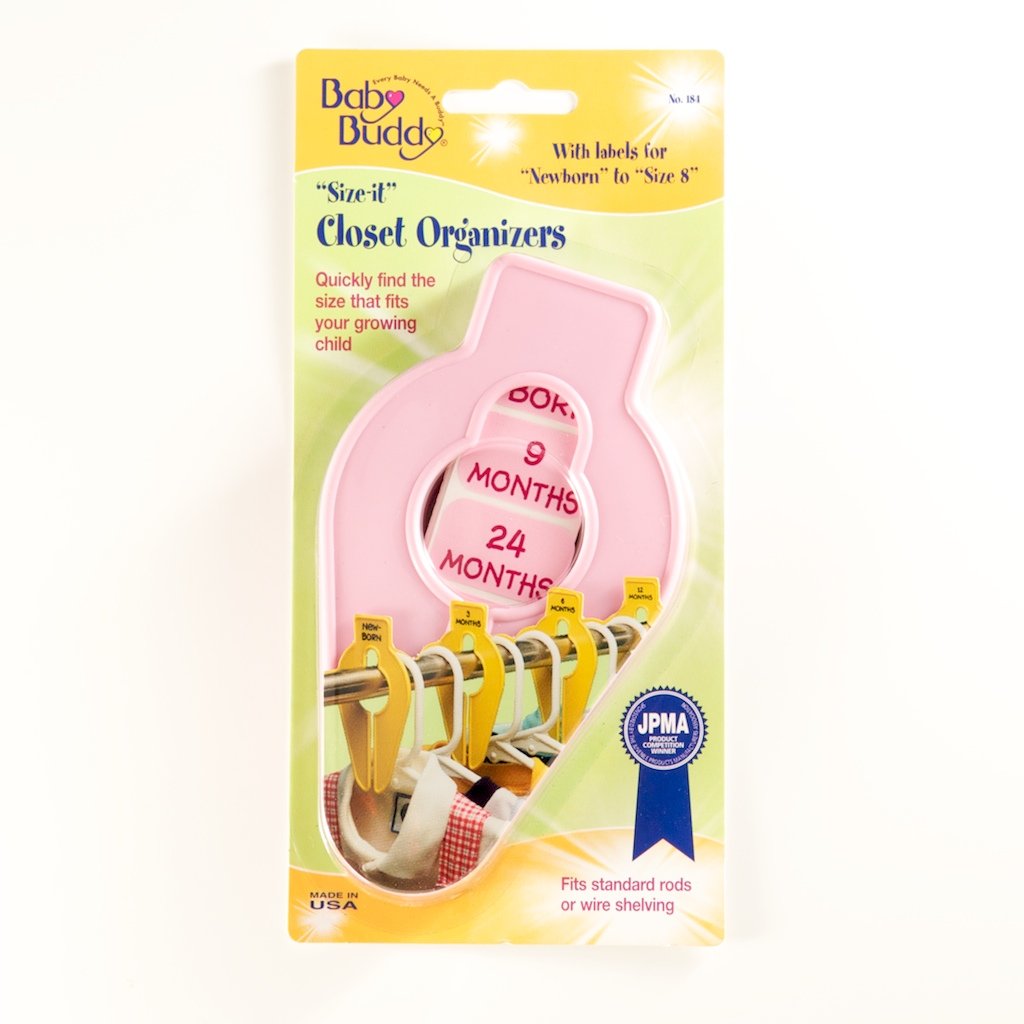
I made Luke's closet dividers before he was born. It was a great idea, but this was before Pinterest/keeping up with blogs, and before I really thought through anything. We blew through these sizes super fast and then I never had the energy to make more.

Like this:
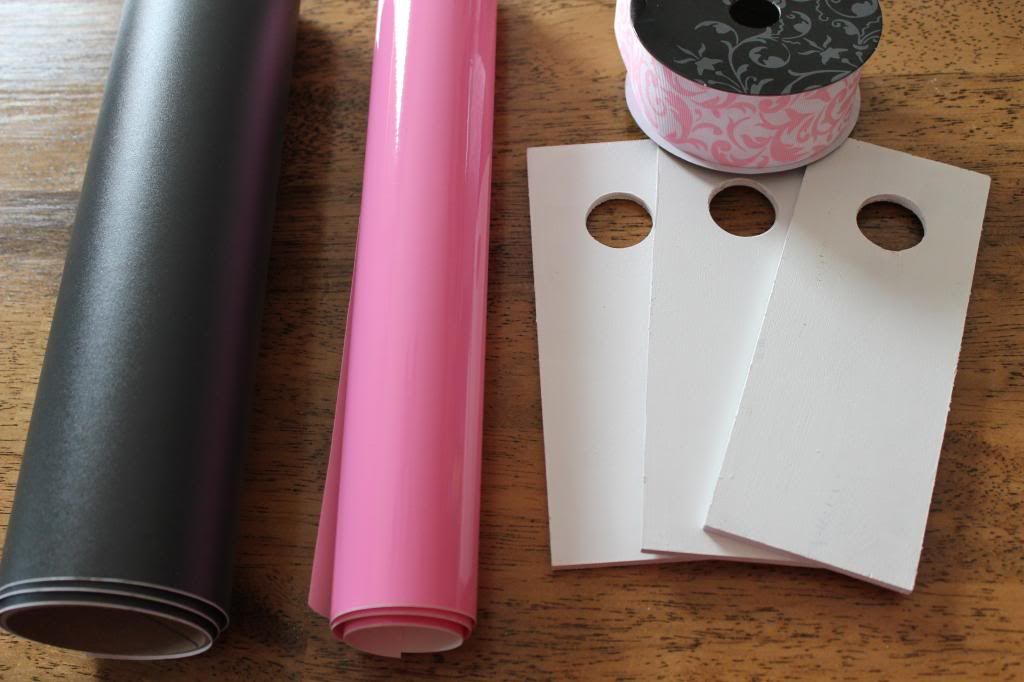
I used the supplies I showed above along with my Silhouette to whip these up! The chalkboard vinyl makes this project so flexible!
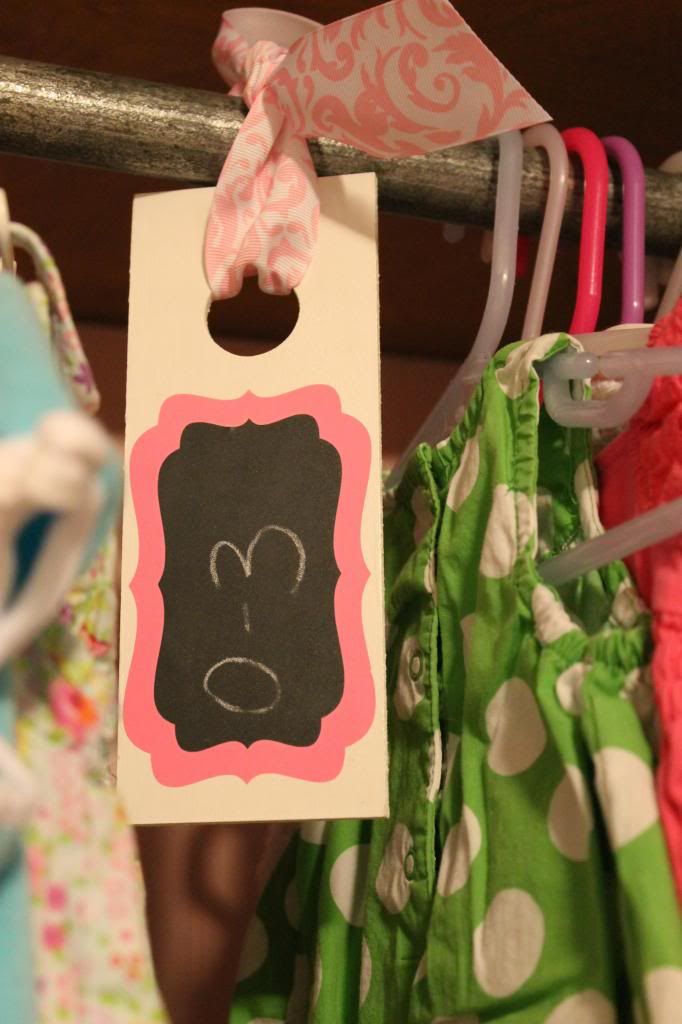
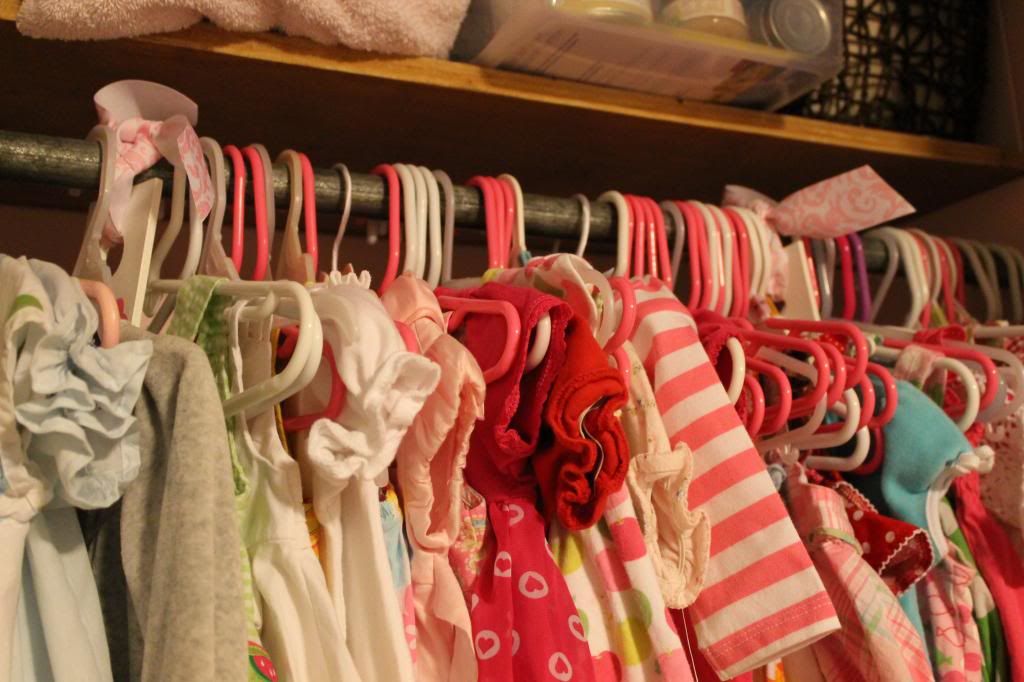
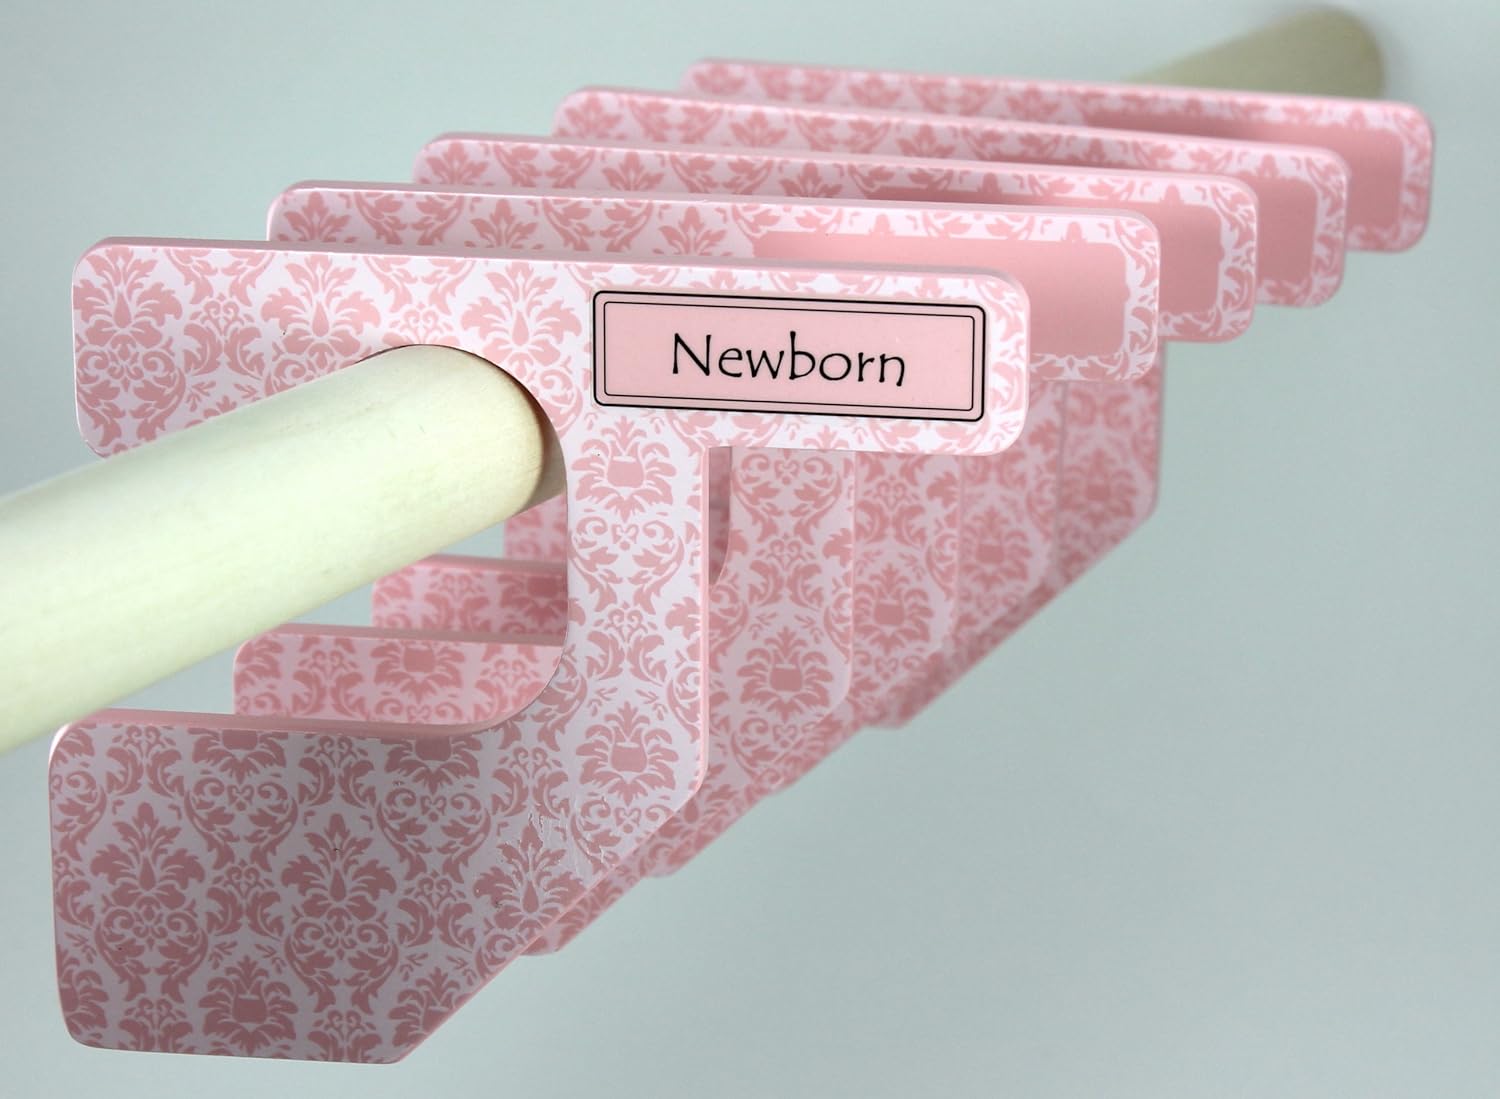
{See how the hanging ribbons split up the closet?}
Since I was already making the closet dividers for the nursery I decided it was high time to start on her collage wall. I've mentioned before that I want this to be a work in progress... adding things as she grows. But I would love to get it started so there is SOMETHING on this wall!

...until I came across this pin:

{source}
I'm not usually one to like pictures of flowers... but these are just so whimsical and the circles satisfy my need for geometric shapes! And since I had the canvas, paint, and all of the circles were done with my fingers, this project rings in at $0!
Of course I added some vinyl to her wall that says "You make me happy when skies are gray". I just love the symbolism that the sky is gray in the painting and there are pops of happy pink all over! I'm so looking forward to adding more to this wall over time!

 I also love that each of my children have hand painted art in their room by yours truly. Here is Luke's:

I am loving free week! Whipping out projects that cost nothing and get things marked off my to-do list is the best ever!
No comments :
Post a Comment