
I shared my plan for Luke's room here. My original list was:
7. IKEA spice shelves for books
8. Paint white trim around ceiling
9. Work on the other empty wall
10. Add an area rug to bring color to the floor
Seemed pretty easy right? Except when I came up with this inspiration post and my mind began exploding with ideas.
Let me share some things I've been working on...
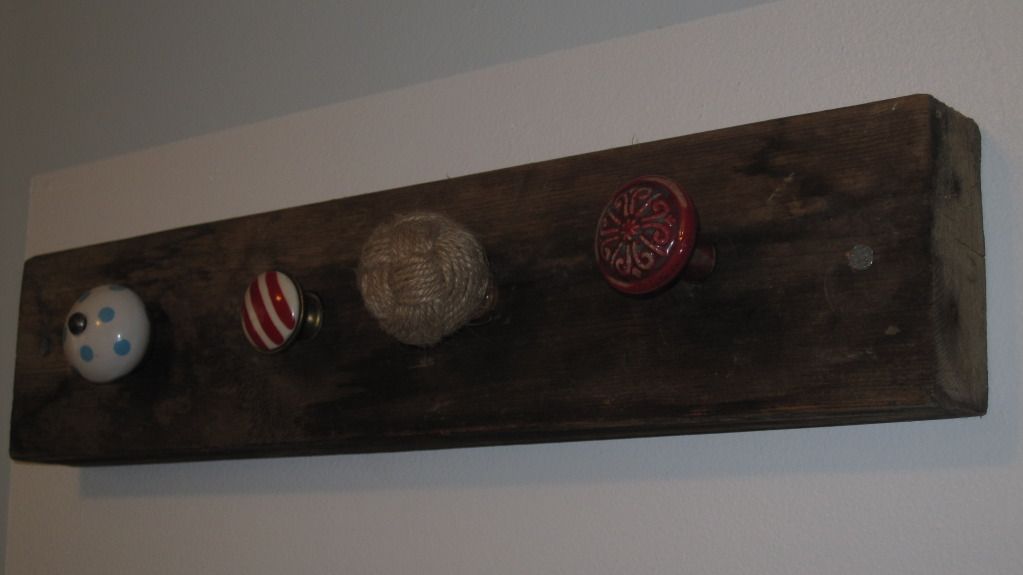
{a coat rack-post coming soon}
His door moulding needed some serious TLC. We suspect something went on in this room before we bought the house. It's the only room in the house that has drywall. And the moulding in the whole room seems pieced together (like it was taken down and put back up). Maybe a fire? or roof leak? And this huge gap was really starting to irk me. So it got a bead of caulk.

And the doorknob and hinges got a beautiful coal of Oil Rubbed Bronze. It is a 101 goal to do this in the whole house. We started here when we completed a small master bath renovation.
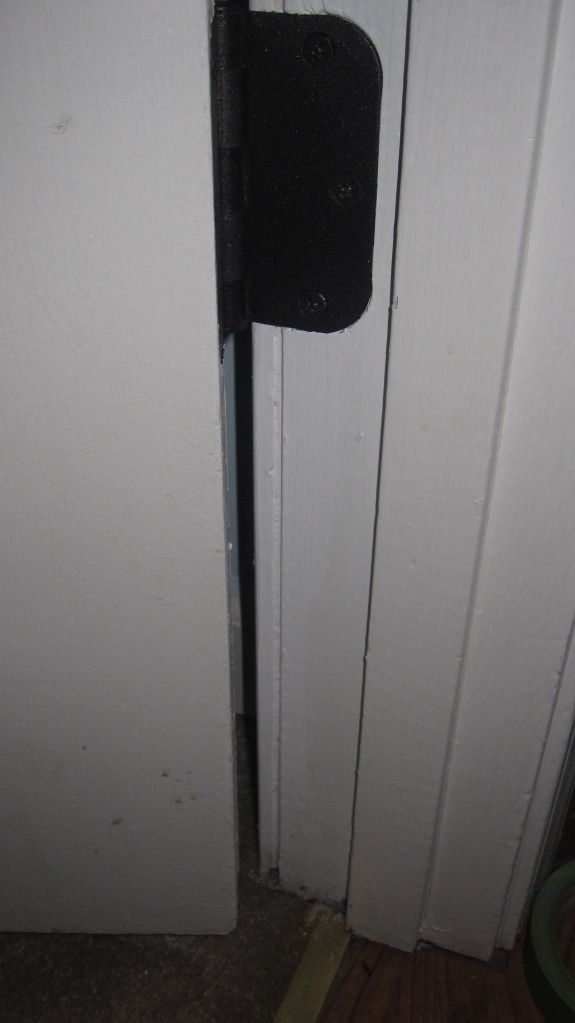
Here it is with new caulk and I also touched up the white trim in a lot of places. I am really thinking new doors are coming. These are beyond cleaning/repainting- we'll see.
I added his "sme-art":

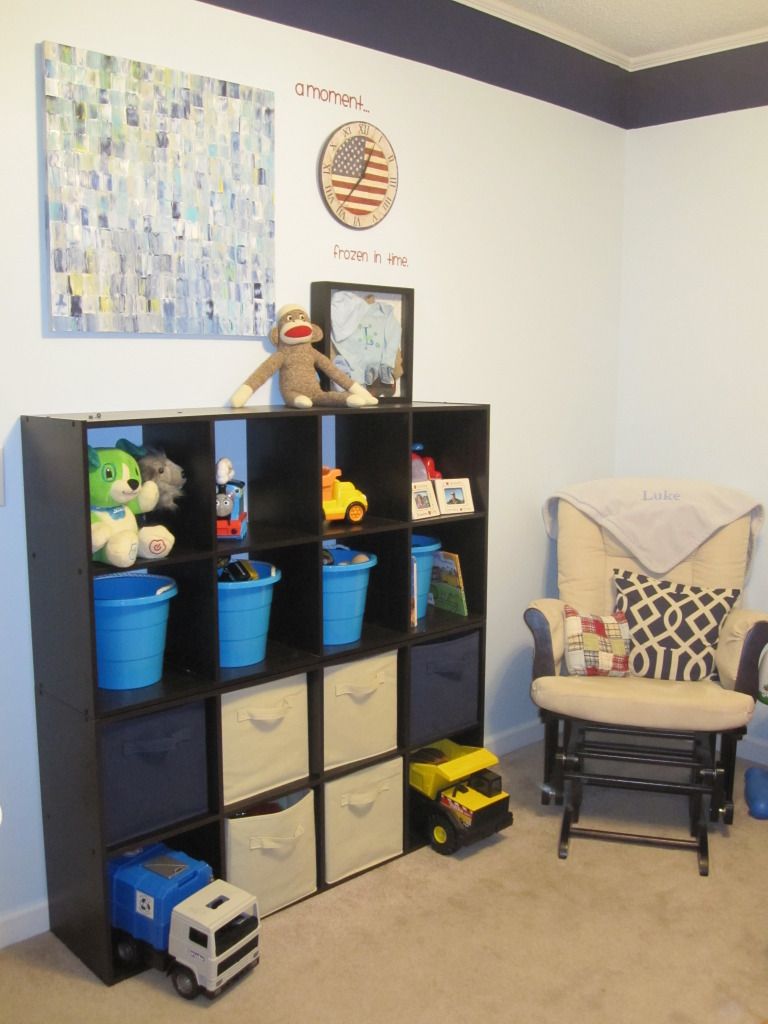
We have also added another closet-maid shelf. Here is the before:

and the after. We really wanted to mimic the idea of an IKEA Expedit shelving unit, while still using what we had. We also snagged the second matching shelf for an out of this world price. Target was running a sale for $39.99 an we got free shipping using our RedCard. (shipping alone would have been $31!!). Total spent? Just over $40!! (and that combined with the $60 we paid for the first one plus the price of the bins, we got it for less than an Expedit!)

I have also been working on the big blank empty wall. I added his "coming home" outfit. The clock idea came from pinterest (it's the time he was born) and using my Silhouette I cut out the vinyl for the words.

Here is what I still have...
1. paint bookshelf (this is next to his "read wall")
 This is my inspiration (found on pinterest):


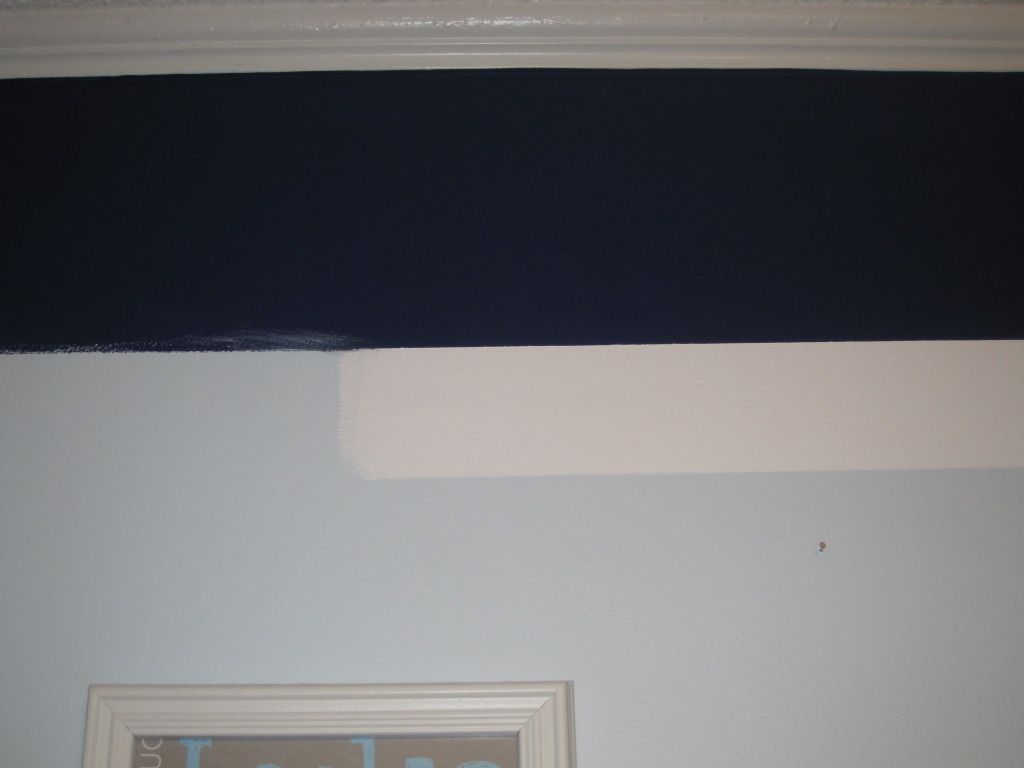
2. finish white stripe around navy border (I'm about halfway done with this)
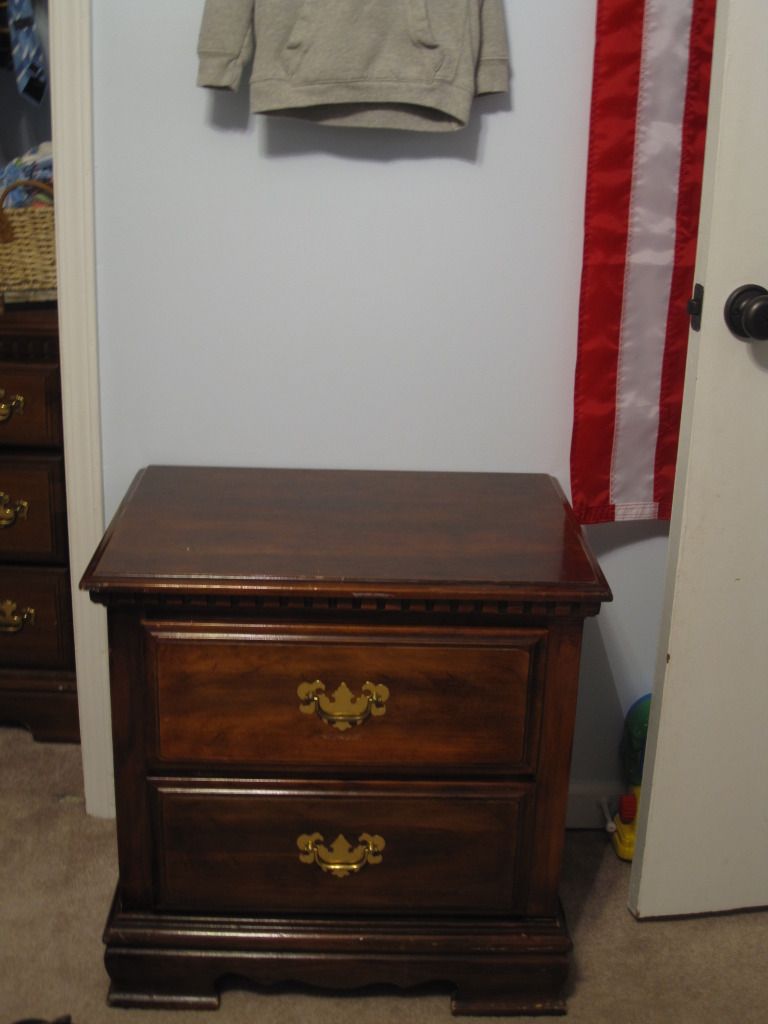
 3. arrange his side table
 4. touch up navy paint (sometimes the white "leaked" onto it)
5. labels his bins on toy shelf (I'm thinking vinyl on the bright blue ones)
6. get his baby toys packed up- rotate some "well loved" toys for new ones
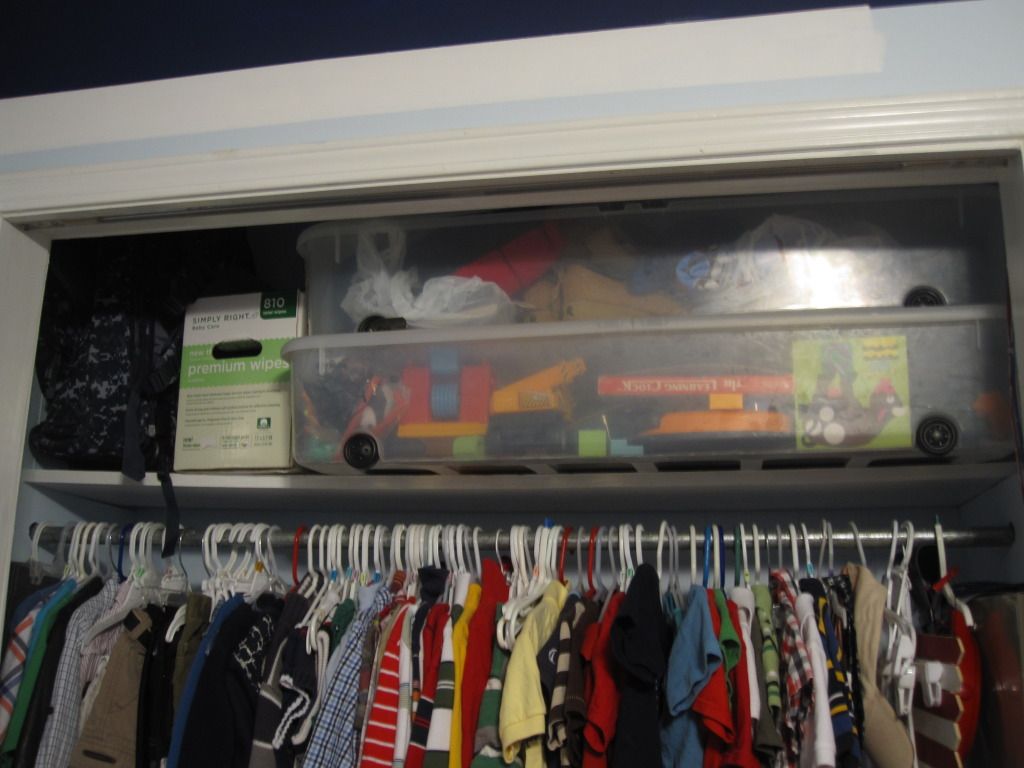
7. arrange the top of his closet (this makes me cringe- it's totally impractical to have the under the bed bins at the top of his closet, but none of our beds fit under the bed boxes- go figure). Also since we have no closet doors, it's vital that this is well organized and pretty.
 8. find an area rug to match
I have abandoned the idea of the IKEA spice racks for bookshelves (#7 on the first list). So see how just a "few more" ideas have turned into 8 more??! :) But it's coming along and we're having fun along the way!!
No comments :
Post a Comment