
Back in July/August I came across a lamp at Goodwill. I loved the curves, loathed the brass. After a quick test to make sure it worked in the store, I bought it for $4. I knew it had a future somewhere in our home, but I wasn't sure where.
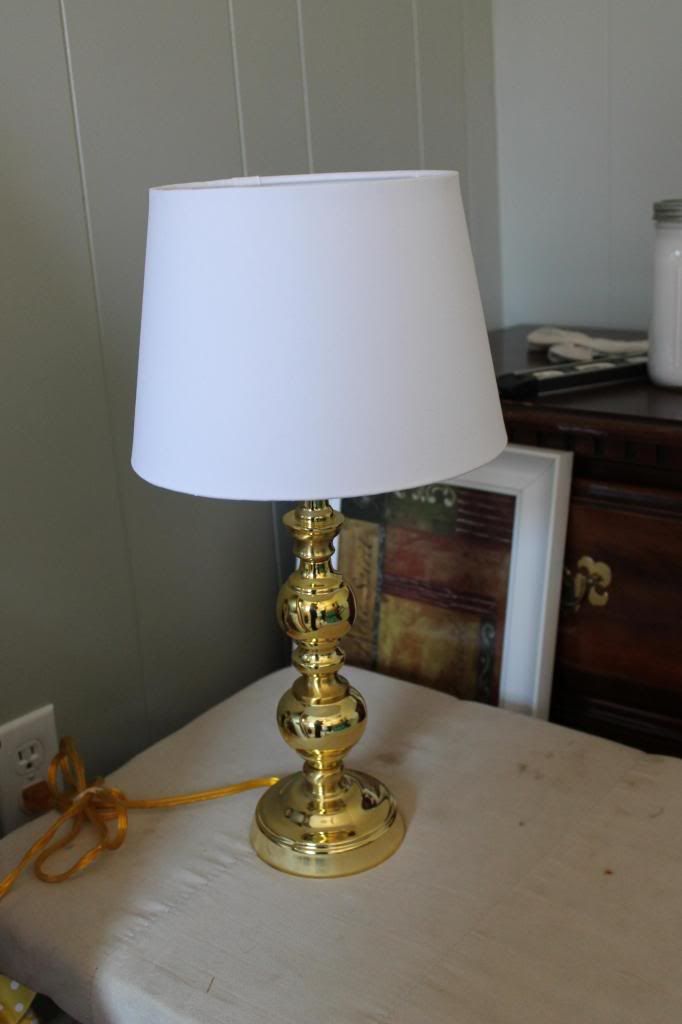
So I stuck it in the attic in my project box, hoping to use it someday. September gave us a +pregnancy test and the excitement of getting to work on a nursery again. But we didn't find out what we were having until December- so the lamp sat.
Of course I did my fair share of Pinning in the meantime and came across some "to die for" lamps. Here was some inspiration:

{source}
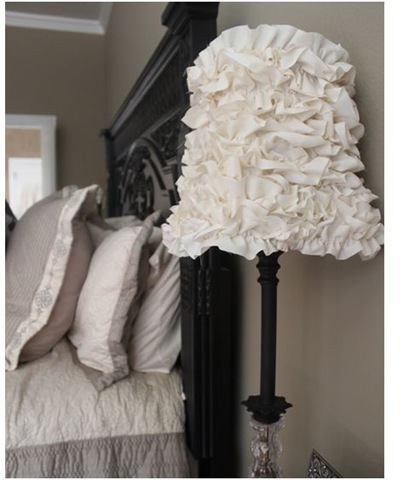
{source}
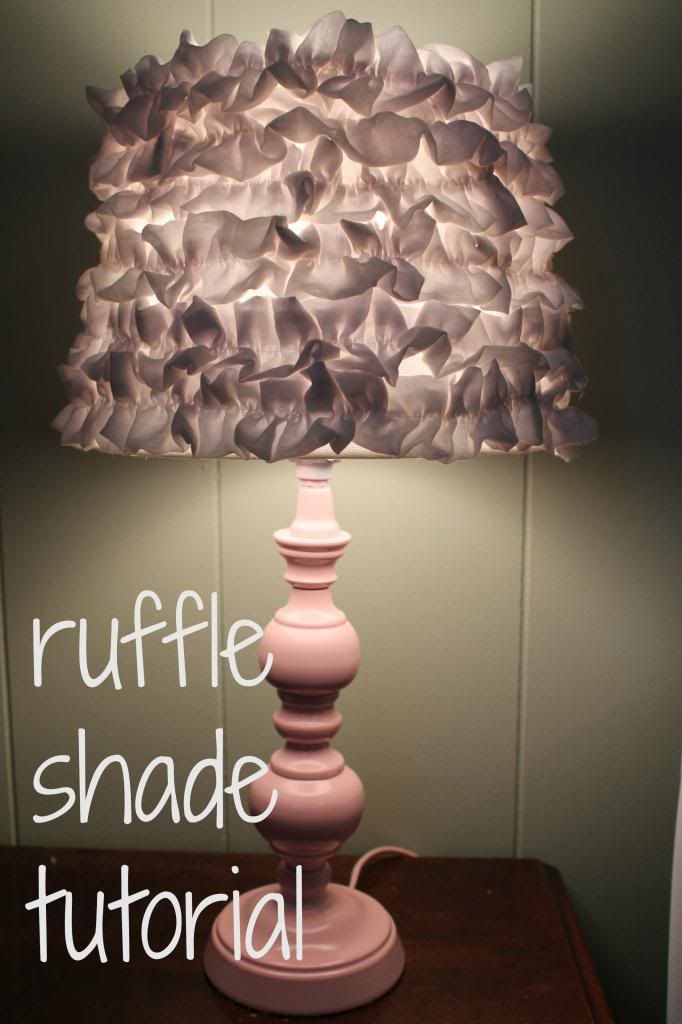
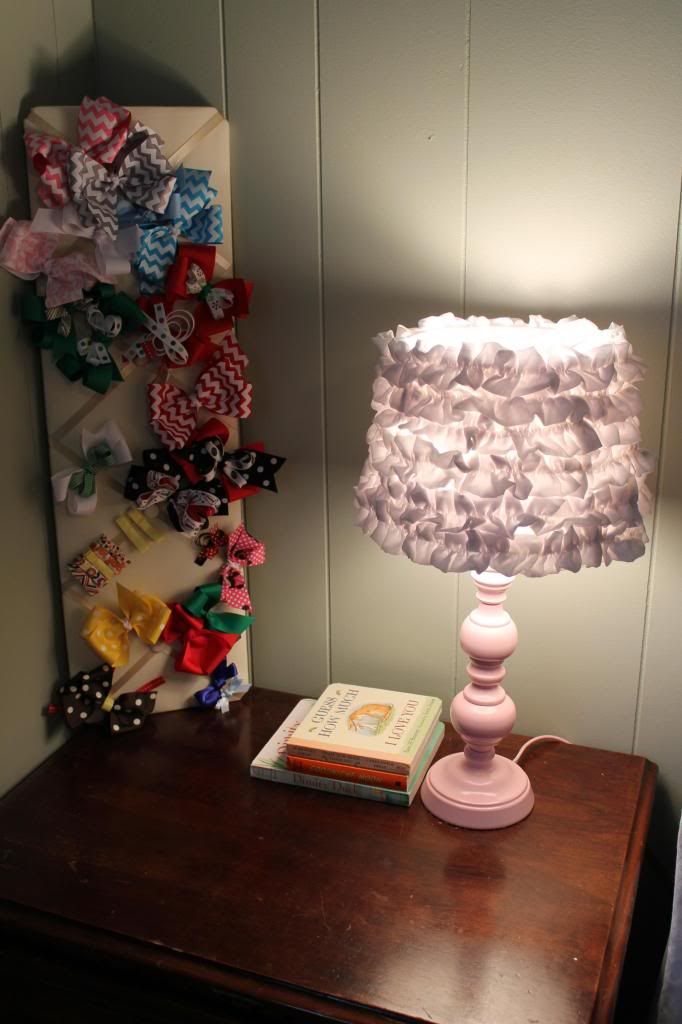
After the whole nursery came together, I decided to put the side table next to the futon and introduce the lamp to its new home. Since the walls were already painted gray, painting the lamp pink was the pretty clear choice. I toyed with painting it white and having a pink shade; but there is just something so girly about a pink curvy lamp!
I've said it before and I'll say it again- Rust-Oleum's spray paint is the best stuff ever. The selection of Krylon colors in our local stores are SUPER tempting, but Rust-Oleum's coverage can't be beat. And with a little extra work (and a few more dollars) you can find just as many beautiful R-O colors.
I keep a "cheat sheet" of R-O's colors in my home binder. I picked up the pamphlet at our local Home Depot- they only carry 5-6 colors but R-O makes 55-60 colors. I have used the pamphlet twice to color match whatever accent color I'm trying to pull in the room and then I order the paint from Amazon. Amazon's prices are comparable to buying it in the store.
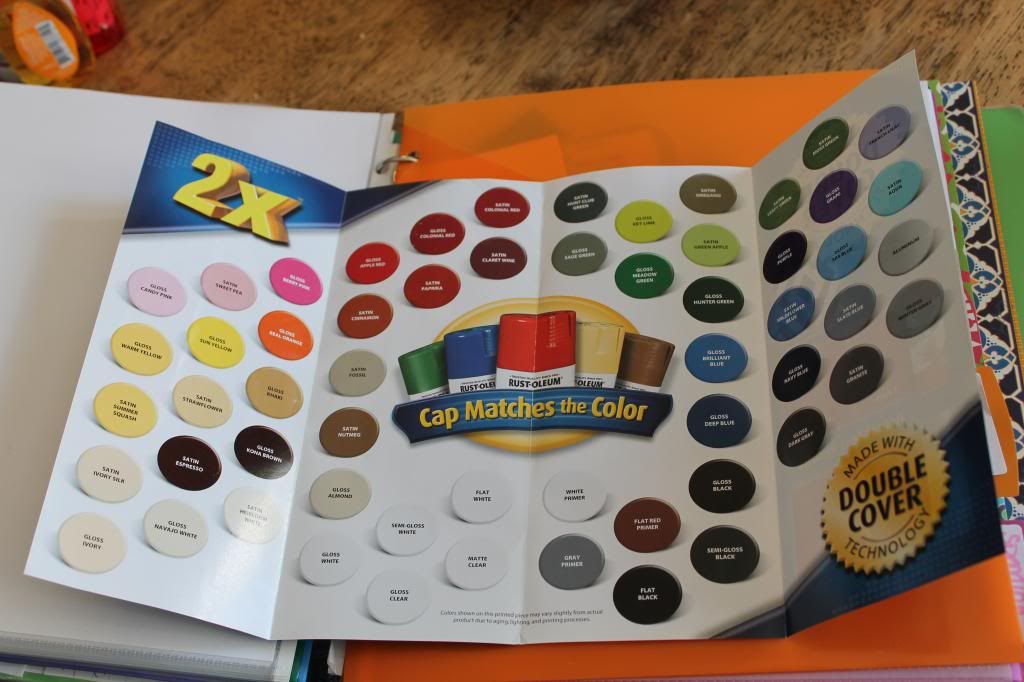
I used the Key Lime for our baskets over our laundry room cabinets. This time I ordered the Gloss Candy Pink. Once again it did NOT disappoint!


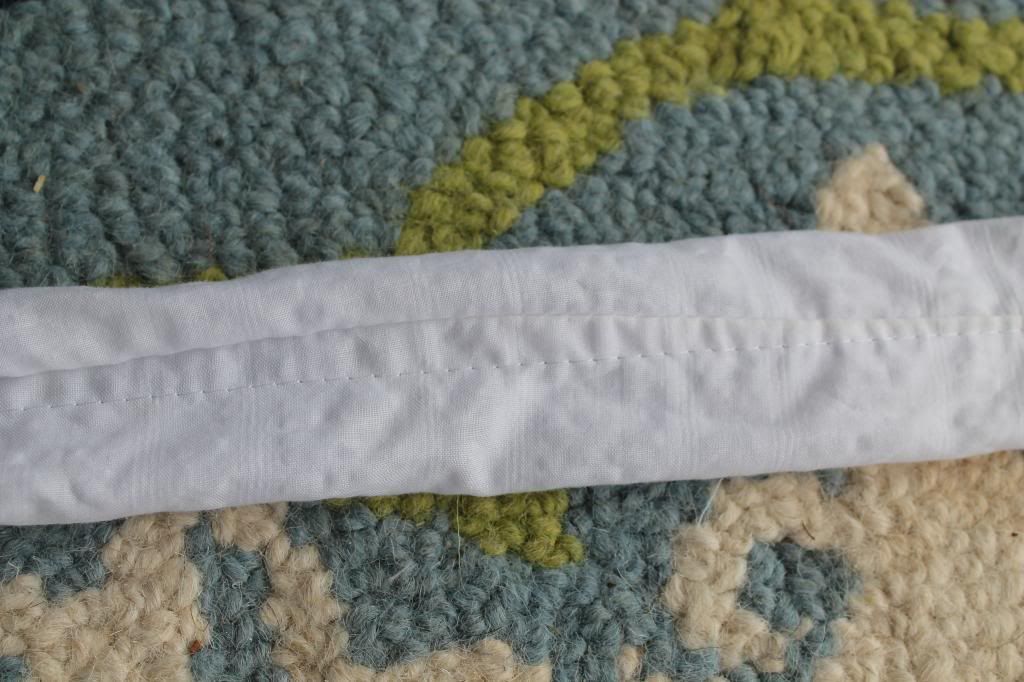
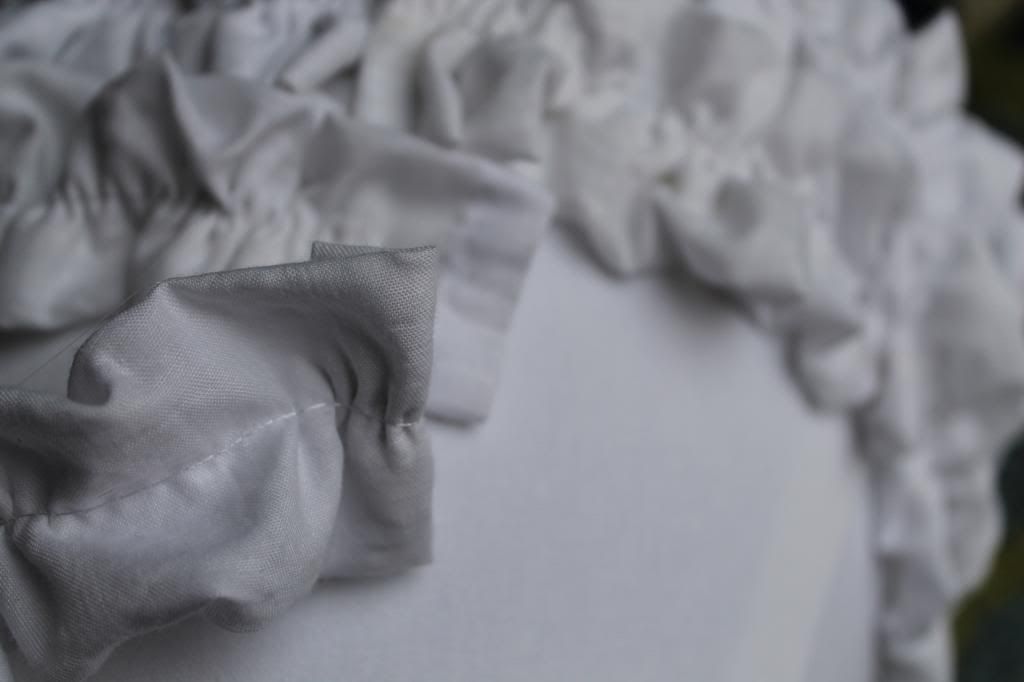
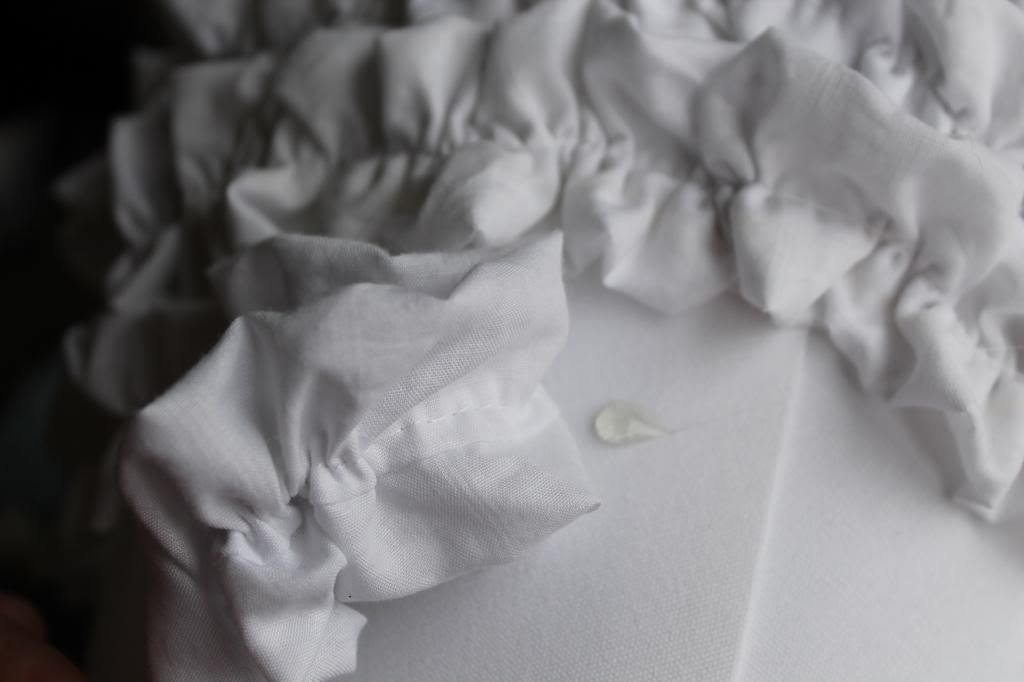
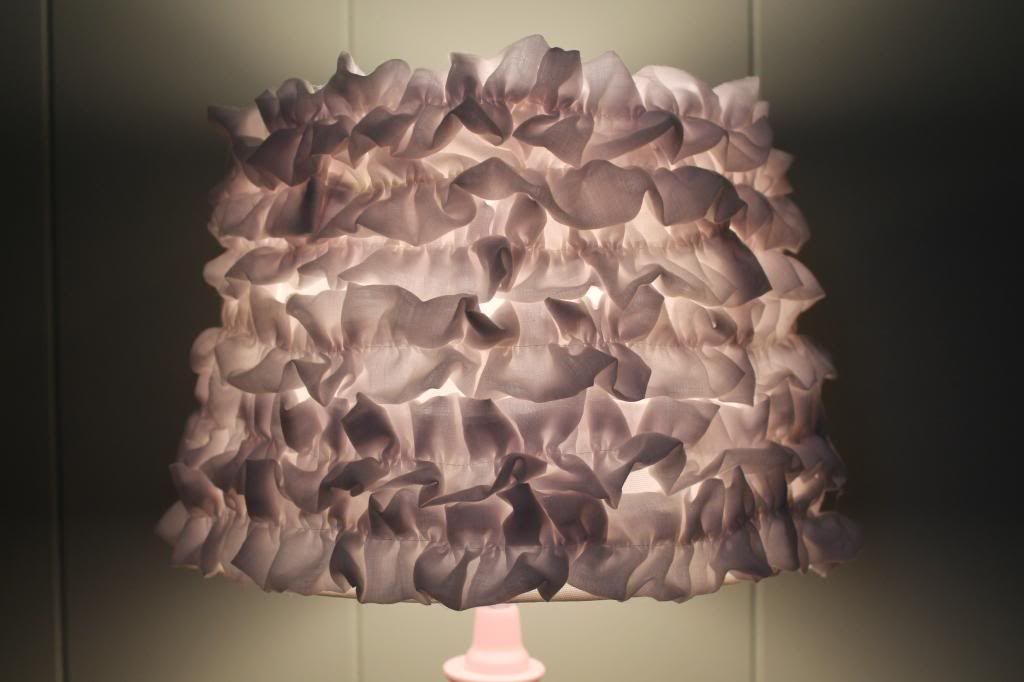
Next with the hem centered on the back of the tube, I ran a "basting" stitch (or gathering stitch) down the middle of the tube. This way there were no rough edges and my original hem was hidden on the back. This is a picture of the back- if you look closely you can see 2 lines (the hem and the basting).


Oh and for a price breakdown:
Lamp: $4
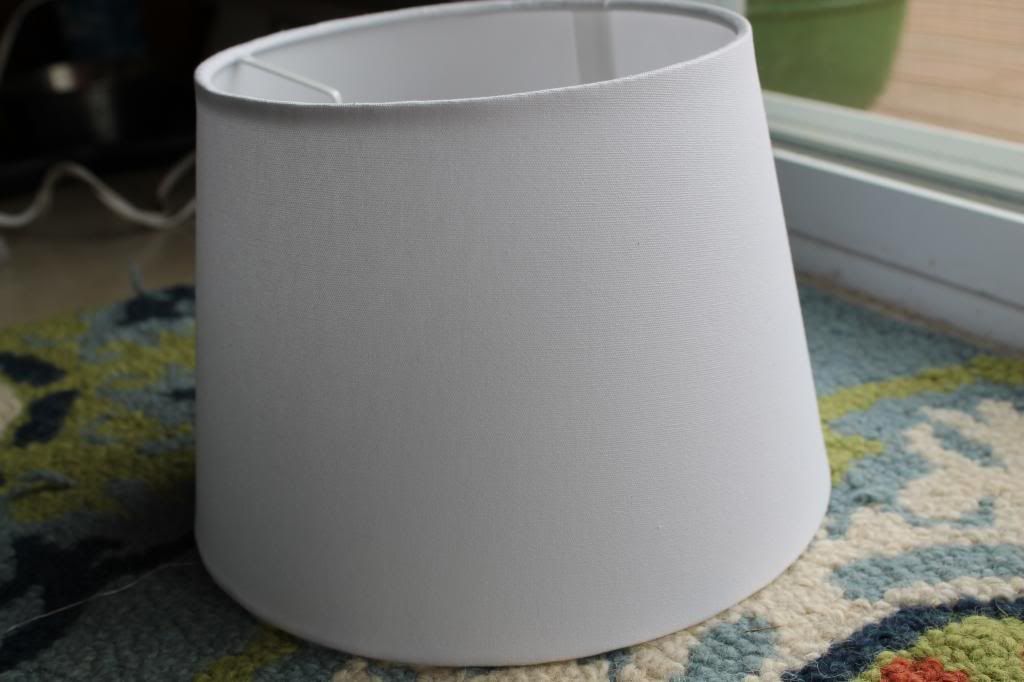
Shade: $10
Spray paint (which I used maybe 1/3 of the bottle): $9
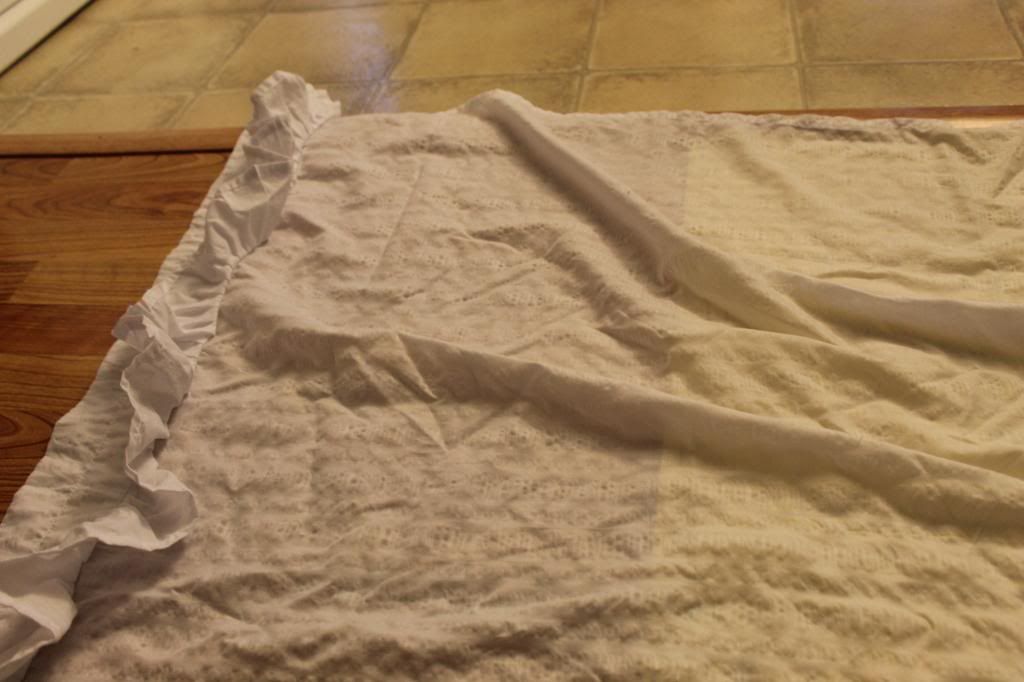
Curtain: $1
Thread/hot glue: already owned
Total: $24!
Time spent: around 3 hours (1 hour one night, and 2 hours the next afternoon)
As a comparison- a quick google search brought up this shade from Pottery Barn:

{source}
The shade alone is $49!
And here's a bubble lamp for $59:

{source}
So cute! I love it! You are so talented and thrifty.
ReplyDeleteThanks! I love finding a deal!!
ReplyDelete