
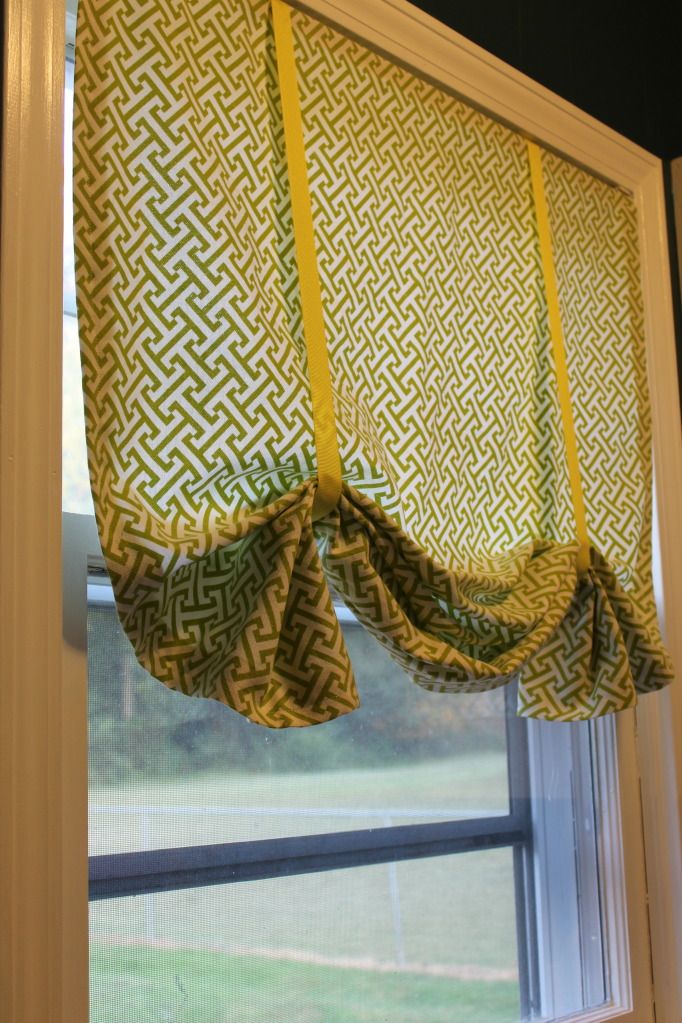
Our laundry room is slowly but surely coming along... Here is a sneak peek at our curtain. I'll explain how I did it in this post...
I started with the intention of making a faux Roman shade. Womp womp. It was a major fail. I even got to the point of sewing and it just didn't look right. Since I share the good and the bad... here's the bad.
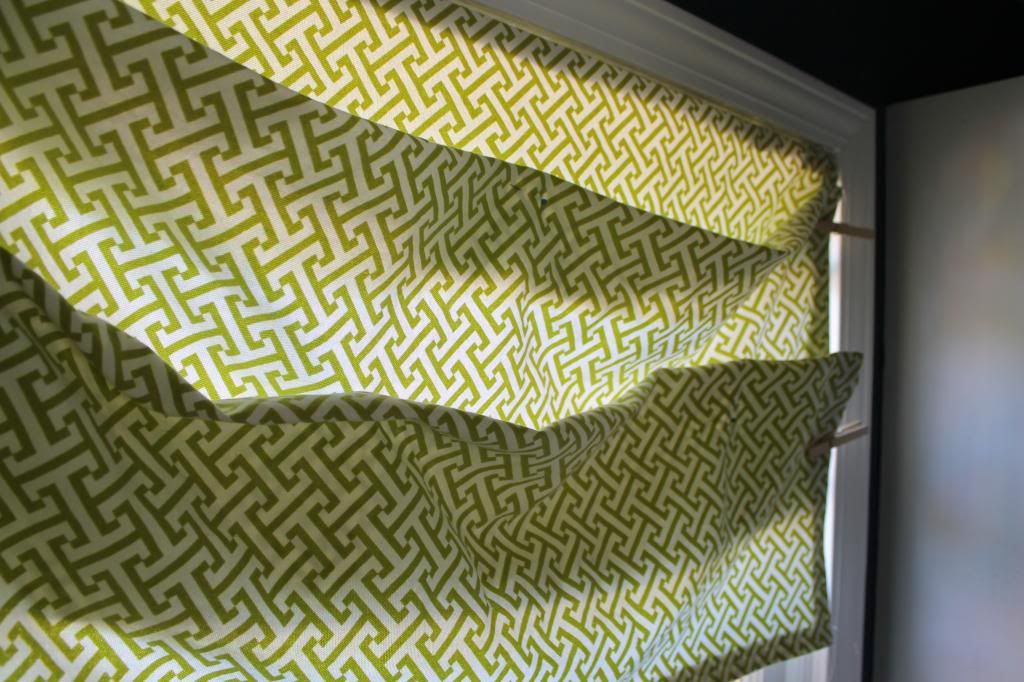
That was the stage right before I sewed it together (and I couldn't find a picture of the sewed together version). It still gives the basic reason why I hated it. See how the sun shows through some places and it's dark in others? It was really annoying. And I immediately pulled it down and re-started.
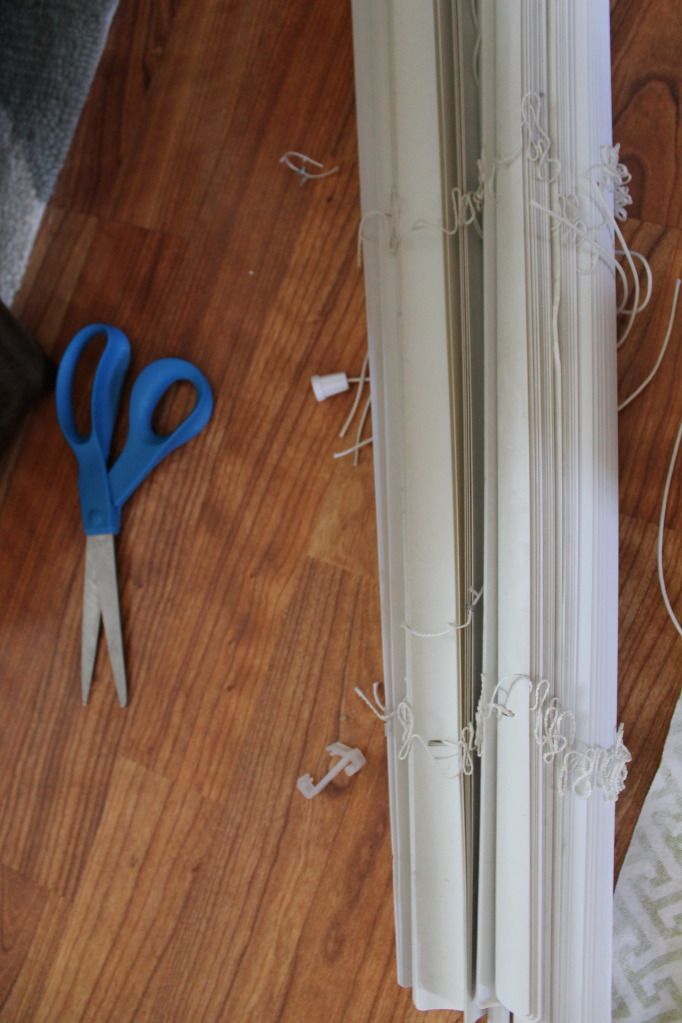
So back to square 1 it was... I started with an old mini-blind.
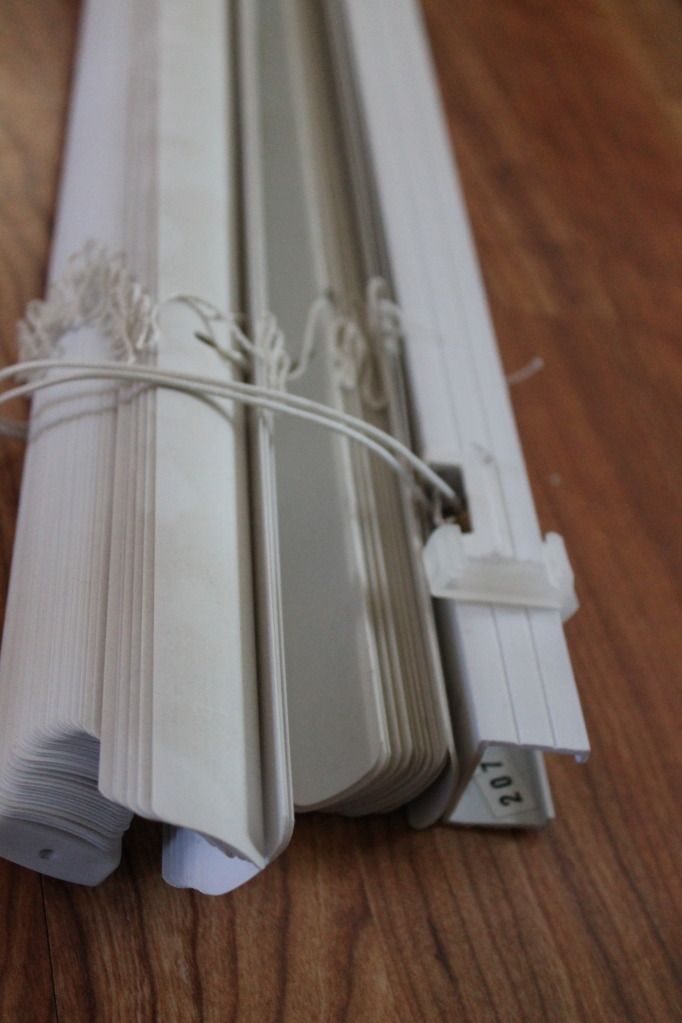
I cut all the strings so that just the the metal top part remained. This mini-blind came from the laundry room, so I knew the hardware was still mounted in the window.
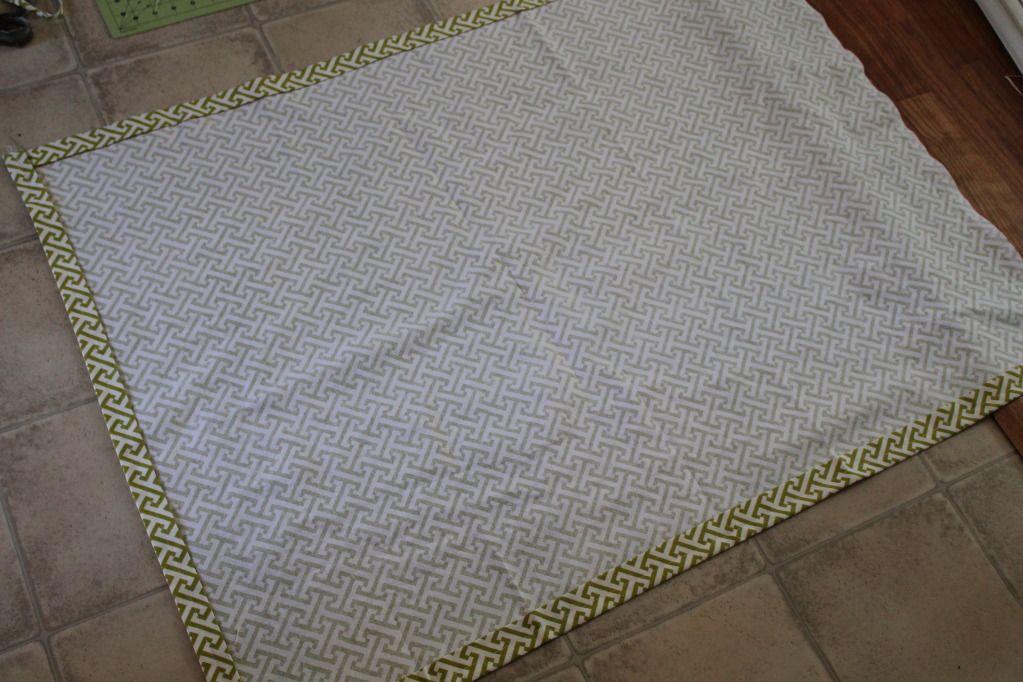
Next I hemmed the edges of the fabric on 3 sides.
The one edge that I left unhemmed I rolled and hot glued around the top of the mini-blind attachment.

Once the hot glue dried I mounted it back up in the window. This part is now hidden by the fabric.

And here are the other posts about the laundry room (and there is another one coming very soon because I found a rug at IKEA!)-
Part 1
Part 2
No comments :
Post a Comment