
Y'all. This space.
I have always wanted an area where I can work, and be creative, and not feel restricted. And I LOVE this space. Really I do. I've mentioned before that we live in a town home, and we are extremely fortunate to have this space. Basically we have 3 stories. The basement/this room that connects with a 2 car garage, the kitchen/living room/dining room on the second floor, and bedrooms upstairs.
This basement was one of the selling points for us. It gave us the garage and storage space our 70's ranch didn't offer. It also gave us that "extra room" we begged our real estate agent for. So why does everything just feel blahhhhhh? Tan walls, tan carpet, neutral furniture, NO WINDOWS. Oh yeah, did I mention no windows? Any idea how hard it is to photograph spaces with no windows? My apologies.
This is very much a 2 part process. This is just part 1. My goal for part 1 was to make it useful without spending money. Rearrange. Purge. Rework it so it would work.
So let's start at the beginning. I didn't bother to clean up. I wanted to show how restrictive it really was. When I did a project I didn't clean up, because I felt like nothing had a place. Then it got so messy that I couldn't work until it was cleaned. So I'd spend an hour cleaning, only to have it happen again. I was frustrated.


I had been pinning rooms that I drooled over on pinterest. I tried to pinpoint exactly what I loved. Was it the colors? or the work areas? or the accessories? or the organization? I wrote down everything I liked as I studied the pins. And I was determined not to spend any money right now. I've already spent a lot on this space and the contents of this space. I just needed to get it under control so I could work more efficiently.
After writing what I inspired me, I drew the layout. Josh and I share this space (half is his man land). I only have 3 walls to work with and I didn't really want to move the big furniture. I would have if it would have helped, but it didn't. This is definitely a 2 part project as you'll see. For each wall I've listed what I've done, and what I'm planning to do in a part 2 reveal.
Wall 1: work space
Here was my sketch. I'm clearly not an artist.

The furniture piece is our old entertainment center. Josh is currently using our coffee table for the TV. We try to limit pointy furniture when our children learn how to walk and toddle. Less chance for accidents. He'll most likely get a new entertainment center when we move the coffee table back upstairs. For now this entertainment center is staying.
I wanted some sort of shelf above this workspace for my inspiration magazines, some colorful markers, and extra spools of ribbon. Under that I wanted to make use of an ikea corralling tin thing we already had (used it in the laundry room in our old house). It would make the perfect place for scissors and other tools, foam brushes, etc. I also wanted to move my thread to this wall. I stand here to hoop shirts for appliqué, I iron here, and I cut fabric here. It's pretty much my only work station. And it was a pain to have to walk to another wall to match thread. The top drawer needed to hold my shipping supplies, my stabilizers, embroidery machine accessories, and all my blanks.
Not bad for a part 1 cleanup/rework!

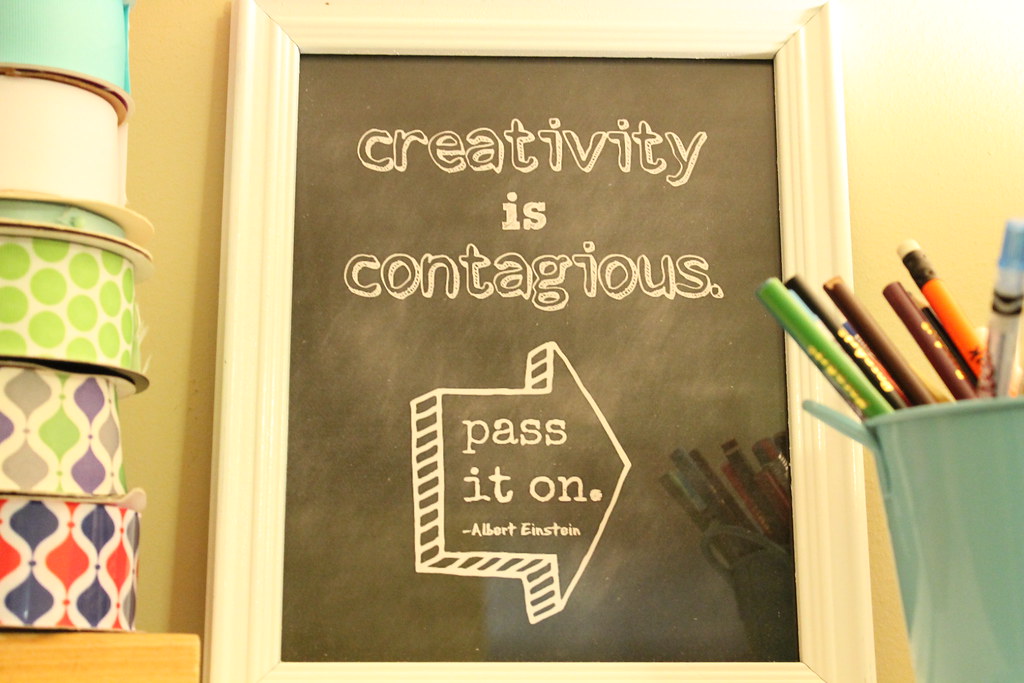

*the printables came from a quick pinterest search and clicking a few links to blogs where they were offered free.
The top drawer holds all my shipping supplies, stabilizer rolls, and my machine accessories (prewound bobbins, needles, etc).


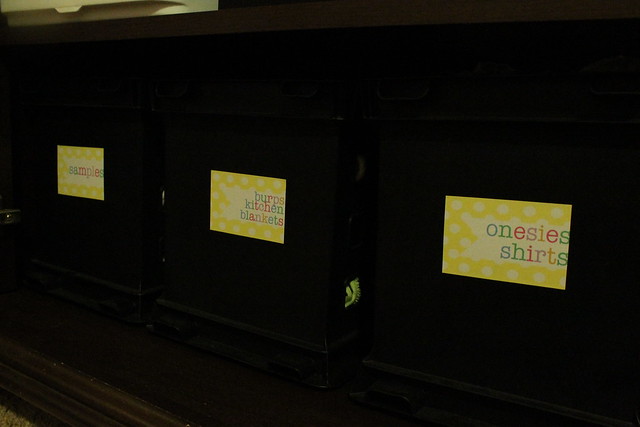
Underneath the entertainment center I used the file storage boxes that used to hold my fabric to now hold my blanks. Bibs, shirts, onesies, burp cloths, and already created samples. Amazing what some uniform happy labels can do.
Part 2 goal: paint the entertainment center white, find a task light (still not sure if this will go here or on the desk), create an ironing board surface on the top of the entertainment center (plywood, batting, fabric). Right now I use a piece of fabric folded so it doesn't damage the wood top. It's real high-tech. Maybe add some bunting? How fun and whimsey is that?
Wall 2: computer/embroidery machine
Next up is the main wall with the hutch. This is where I work at the computer digitizing designs, I sit here as shirts are made, and it's where I cut vinyl/paper on my Silhouette. There is a good bit of storage area up above and it has storage shelves behind the glass windows. Also there is a keyboard drawer with 2 other drawers (for pens, post-it notes, etc) and 2 cabinets (1 for file storage, the other for various office supplies).
Next up is the main wall with the hutch. This is where I work at the computer digitizing designs, I sit here as shirts are made, and it's where I cut vinyl/paper on my Silhouette. There is a good bit of storage area up above and it has storage shelves behind the glass windows. Also there is a keyboard drawer with 2 other drawers (for pens, post-it notes, etc) and 2 cabinets (1 for file storage, the other for various office supplies).

Nothing really changed here. It did give me the chance to go through it completely, purge what wasn't necessary, and move what could be better used elsewhere. The top is still a little raw looking.
Also on the hutch wall I reorganized my ribbon (holy disorganization) and the ribbon is color coded by the color of the letters "ribbon".


There's a place for stationery:

and a tiny hook now keeps my trimming scissors super handy.

So what's left?
Part 2 goal: Paint an accent wall. I've seen the power of these accent walls. A little paint packs a huge punch. It needs to be a light bright color. With not a lot of natural or overhead light we have quite the task. I also would like to organize the top better. When we used it in our old dining room we had rugby striped bins from the Container Store up there. LOVED them, but I'm using these in other places in the house. Also maybe add some Christmas lights (hidden of course) to brighten the top. Also clearly my chair is pitiful. I left my office chair in my classroom because we just didn't need it anymore. Now I would like something with arms and a cushion. Keeping my eyes open at thrift stores!
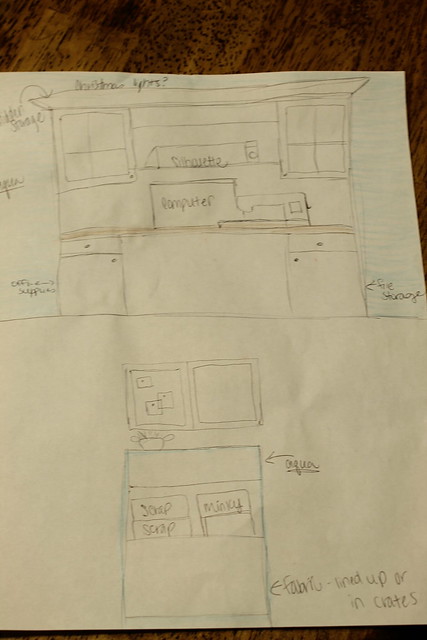
This drawing combines 2 walls (the top with the hutch is the main wall) and then the bookshelf at the bottom is the wall to the left. More on that in a second.
To the left of the hutch on the same wall I put these plastic drawers. They were to the right originally.
Eventually I would like for the plastic drawers to not be in here, but for now they stay so I added a piece of wrapping paper in the front so they all looked uniform,

and added more happy labels.

All my vinyl is held underneath the hutch. My original goal was for it to be on the other wall, but it works better here.

Wall 3: fabric storage
Moving on the left side wall. I wanted to get the fabric out of the file bins. This was a great system that especially worked when my fabric was stored in a closet. But I wanted to use the fabric to bring color and happiness to this space.
Also I love the bulletin board over it and want to utilize it more.
My fabric shelf is now organized (much like how it was originally).

The scrap bins break up the different categories (chevron, stripes, polkas, etc).

Part 2: Paint the shelf the same color as the accent wall. This will add color over here. That's really all that will have to be done for part 2!
And for some side by side before and afters:


No comments :
Post a Comment