

So here's my very unprofessional version of hooping AND getting it straight without holes or puckering!
Fold the item in half. I prefer NOT to measure because measurements are different at different areas. Also the tag can be put in crooked or off center, so if you center it to the tag it may be off. I like finding the middle by physically folding the shirt and matching the shoulder seams together.


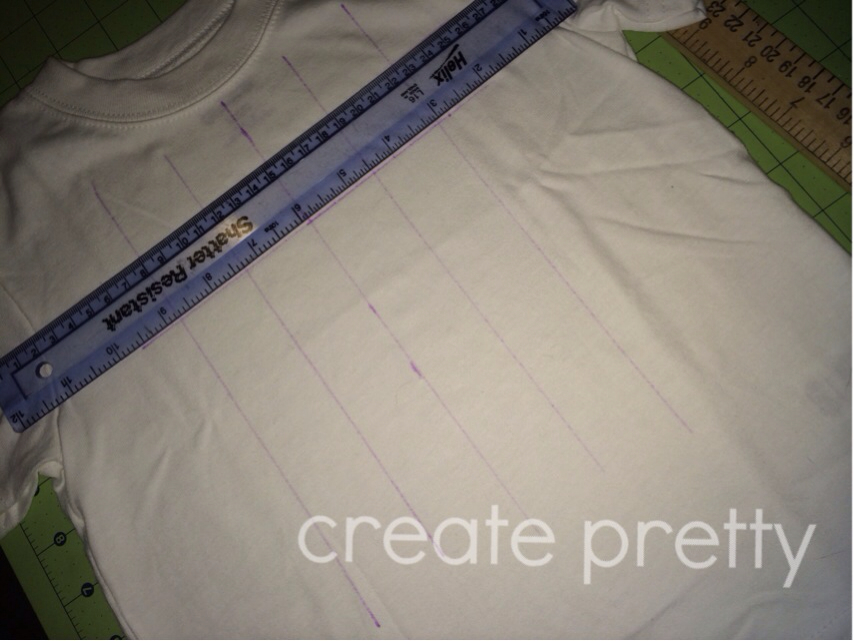
After drawing my 1st line down the center, I line up the ruler and draw 1-2 lines to the left of the center line and 1-2 lines to the right. Like this:
 Pretty straightforward right? (punny- I know I can't help it)
Then I have an unwritten rule that I start the appliqué about 1.5 inches down from the neck. If it's a really big shirt (5T+) I'll start is about 2 inches down. I measure and make a mark at the place I want the appliqué to start. Then I make straight lines with my ruler down. I kind of eyeball it against the neck to check for straightness. I usually go 4-5 lines down.


Then I have an unwritten rule that I start the appliqué about 1.5 inches down from the neck. If it's a really big shirt (5T+) I'll start is about 2 inches down. I measure and make a mark at the place I want the appliqué to start. Then I make straight lines with my ruler down. I kind of eyeball it against the neck to check for straightness. I usually go 4-5 lines down.
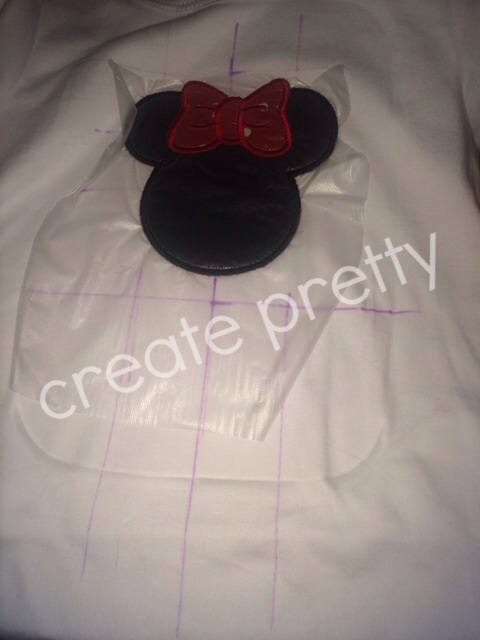
Then I put my hoop in. The bottom part of the hoop goes inside the shirt with the stabilizer. I ALWAYS use my grid. Always. No exceptions.
I line the center line of the grid up with the center line I drew. I line the top of the purple grid with the top line I drew. Then I pop the hoop together.
PSA: See how the purple line on the grid DOESN'T match with the hoop? You CANNOT go by the marking on the hoop or it won't be centered! Always use the grid (is the horse dead?). Neigh.
Pretty simple right? I use this technique on every shirt. Of course now that I have it down it only takes about a minute to get it all marked and hooped. For productivity reasons I usually always have my next 2 projects hooped while my machine is running. I love being able to pop one project off and start the next.
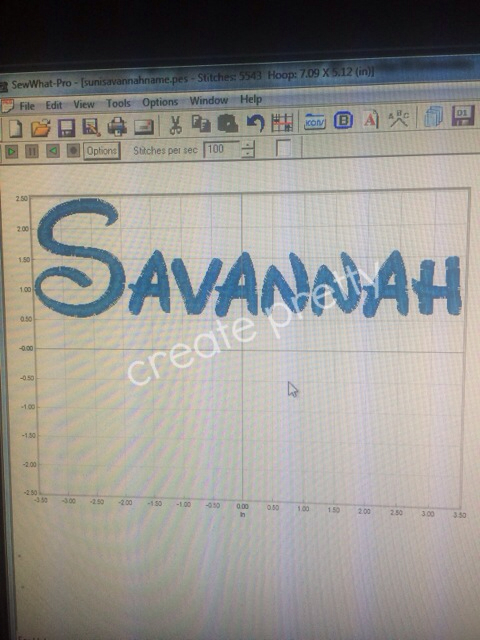
Now what about a name? I was excited about getting my bigger machine to be able to embroider a larger area. But I've found that I run into the same issue as I did with my smaller machine. If I use a 5x7 design I still usually don't have the space to add a name. About 50% of the time I get lucky and it works in one hooping. But sometimes it doesn't. So here's how to handle that. (I do have the monster 5x12 positional hoop- but many times it's just too large).
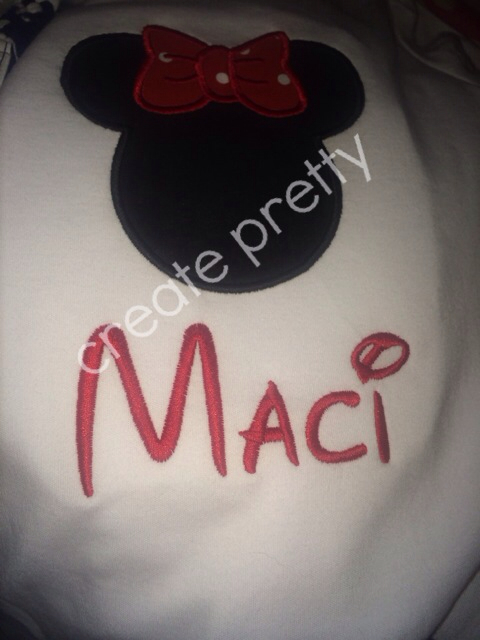
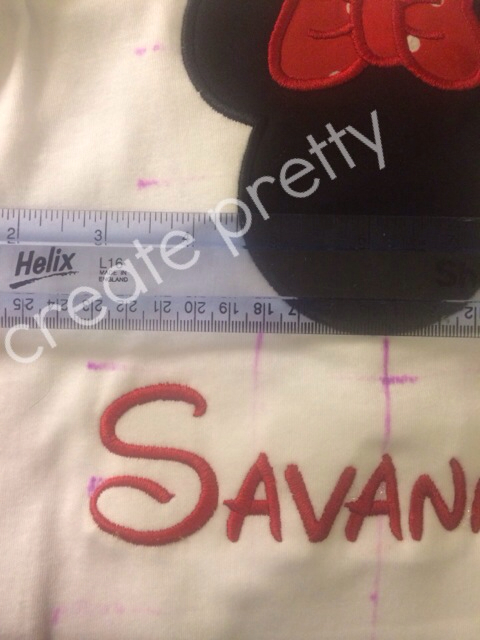
Here's an applique I recently did. The minnie head fit in my vertical hoop, but the name "Savannah" didn't- I needed my hoop flipped to 7inches. But the minnie head wouldn't fit horizontally. I was doing 2 identical shirts and one fit in just one hooping and the other didn't so I had to do my best to get the Savannah shirt to match this Maci shirt:
See how I still have my markings intact from the appliqué? (you can even see my "hoop burn" from the first hooping). That mark comes out with a squirt of water- no worries.
Once again I marked where the top of the name needed to go. That tells me where the top of my grid will go.
I needed the name to start about half an inch down, so I made my mark and lined up my grid:
Probably the MOST IMPORTANT STEP of this whole process is making sure that your design is actually at the top of the grid!!! This goes for the first appliqué too! So in my program after merging all the letters I moved it to the top.
I use Sew What Pro as my program simply because it's what I started with. It does everything I need it to do and I have learned it pretty well. There are other programs that offer other things, but I'm too scared to switch now for the learning curve! Oh and to make life a WHOLE LOT EASIER- join your stitches so it will stitch out the whole name without stopping- not letter by letter.
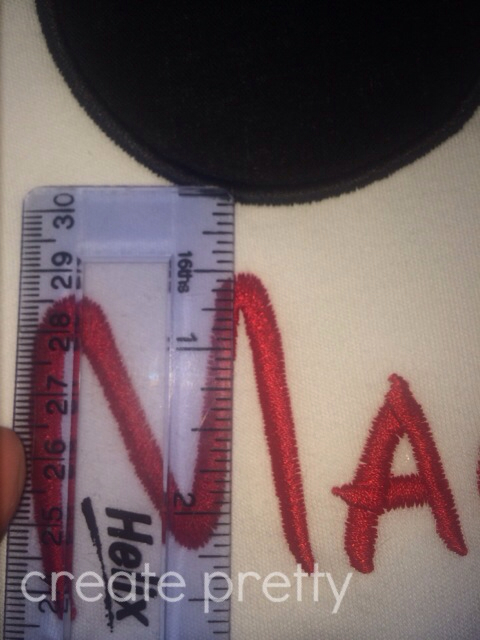
Once it was done stitching I checked to make sure that the name was about half an inch under the appliqué- Bingo!
And the finished product:
As an example of how our eyes can play tricks on us: Visually, the Savannah looks farther down on the shirt. But it's not because the M is closer to the center and therefore APPEARS closer to the appliqué. I measured 3 times after pulling it off the hoop to double and triple check!
A quick tip I learned is to always center the second center hooping to the first hooping (by extending the marking lines down). If you recenter the name to the shirt it MAY be off since the measurements down the shirt differ. It shouldn't make a difference but I did a shirt once where I centered the appliqué to the shirt and then centered the name to the shirt and the name wasn't centered on the design. It was incredibly frustrating! So I always center the name to the design!
Here's another example of how our eyes play tricks:
This name is clearly centered to the elephant. The L comes right below the tail and the M is right under the trunk, but the name looks slightly off center because the truck is so large and the tail is so skinny. I didn't have to rehoop this one so I am POSITIVE this is centered (it was centered in my program) but at quick glance it looks "heavy" on the right and light on the left.
See this start shirt. It's nearly symmetrical so the name looks perfectly centered:
Another great example:
This bird drives me NUTS because the feet are off center. But according to the design the J is under the beak and the e is under the tail. And if I centered the name to the legs it would be even more off! Haha!
So just a glimpse into the many decisions we as embroiderers have to make! I really think I have arguments with myself back and forth before finally settling on a design. And 99% of the time I center it to design (not to a portion of the design like the feet). Thankfully our computers are awesome in showing us what it will look like before it's done so I can visualize it! Isn't it crazy the number of steps that goes into simply hooping a shirt?!
No comments :
Post a Comment