
I needed a way to do the exact same thing, only from my iPhone. By the way we are almost completely an apple family so I don't speak any other language. Not sure about other phones/ways to do this.
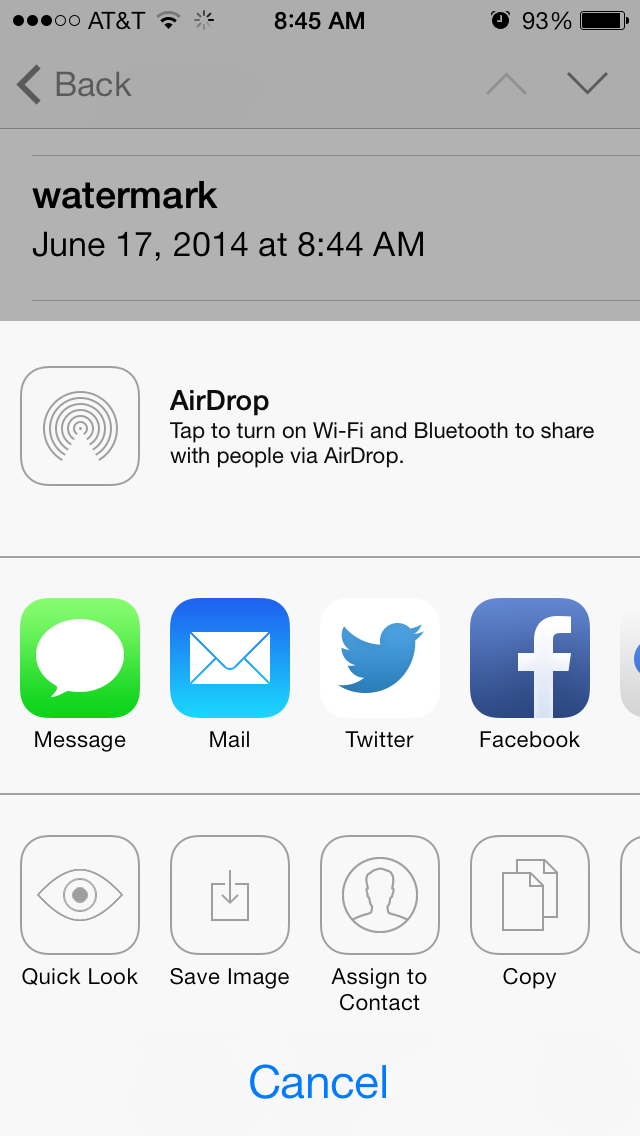
I used the exact same file as I saved before with the transparent background and I attached it in an email and sent it to myself so I could pull up the image in my phone.
Once it came through I held my finger on the picture until this screen popped up. Since the writing is so light it actually looked like a blank page, but there was a picture there!

The app was $1.99. I usually never spend money on apps, but I tried the free version and it wouldn't allow me to upload my own photo. So in the end the $1.99 was money well spent.
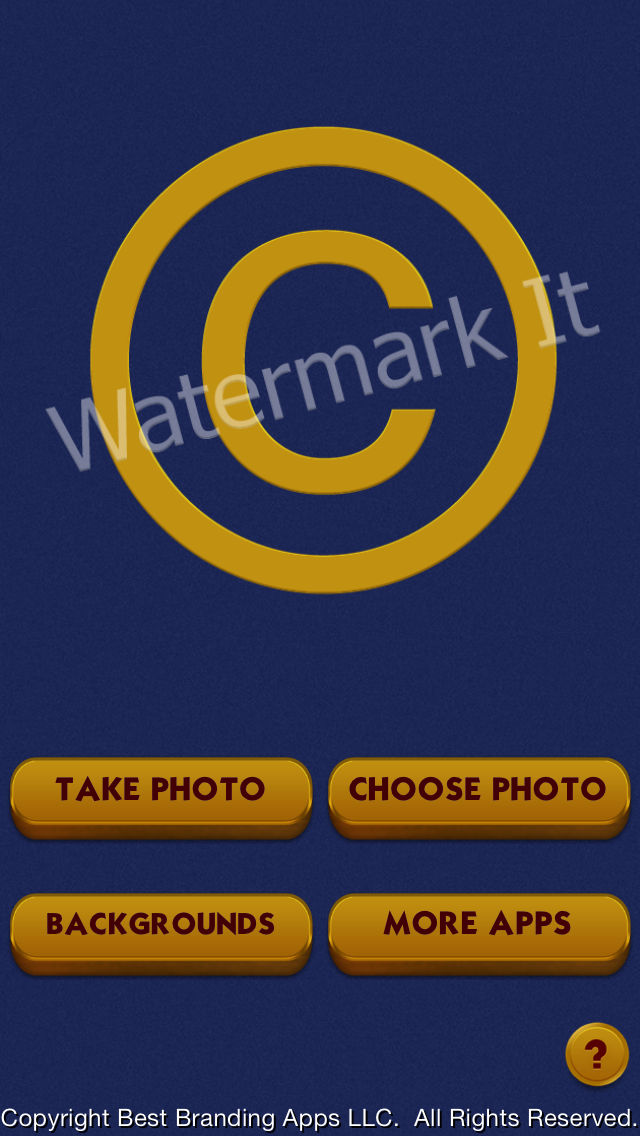
When you open the app this is what will appear:
This screen will pop up with a bunch of pre made watermarks.


But when I chose it a screen popped up "image saved successfully". Then you can click "use existing image in folder" and it will be saved there.

Click on the watermark and it will add it to your photo (It'll be really small at first- use 2 fingers to make it bigger and place it where you want it to be).
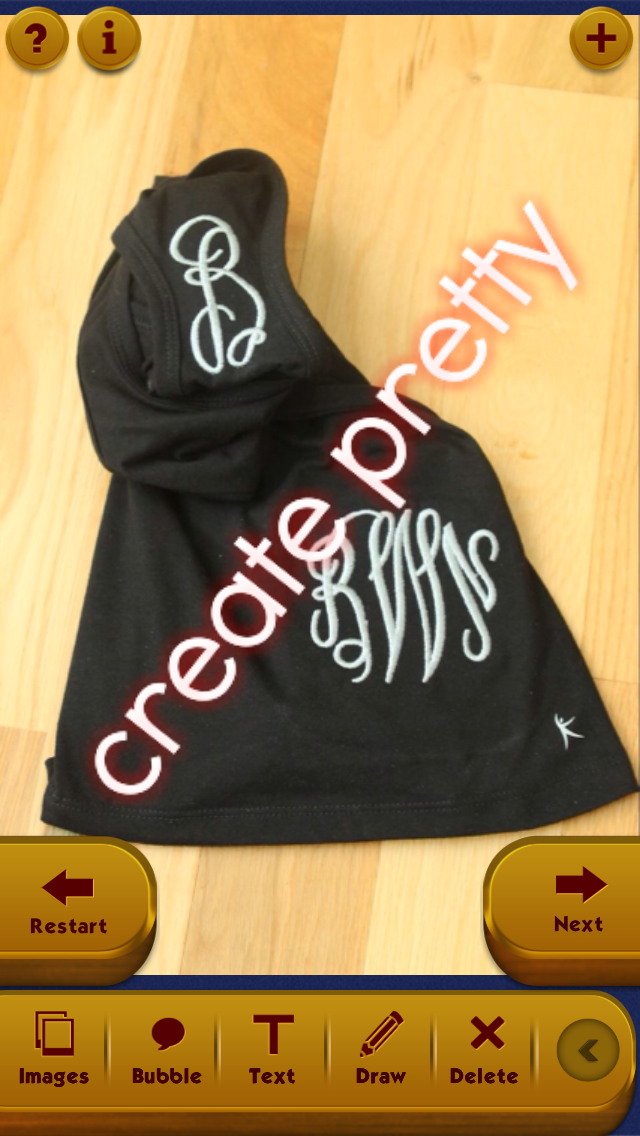

Again, the first time you do it, it may feel complicated because you are having to import the watermark first. BUT after you do that the first time, it's easy after because the image is already there. When you go back after the image is saved you open the program>choose the photo to be watermarked>click images>click your watermark>make it bigger> save! Done.
There has been major drama on some of the embroidery boards I'm on with stolen pictures and people posting other's work to their own page and passing it as their work. Figured this post was timely considering how crazy some people are!
No comments :
Post a Comment