
Moving creates some serious chaos. And getting pictures hung on the wall is going to be the death of me. I LOVE hanging pictures. But I HATE putting holes in the wall. And I want it all to be right the first time. And I know how ridiculous that statement is.
When we decided to move, I was actually excited about having different and new walls to use. But as we've settled in, I realize I WANT change. I want pictures swapped out. I want frame colors changed. But all that takes time. Heck it took me 3 years to get everything right in our old house so I'm totally ridiculous thinking I'm "behind" when we've only been here a month (TODAY!).
One thing I knew was that I wanted to fill the empty wall in our eat in kitchen. And I knew the 2 frames I wanted to use. Remember these from our old house?

Oh yeah-a throw back to how they started:

When we bought them at a thrift store, they were already fitted with picture frame wire. I did have to tweak the wires a little bit since the frames originally came with paper glued on the back.
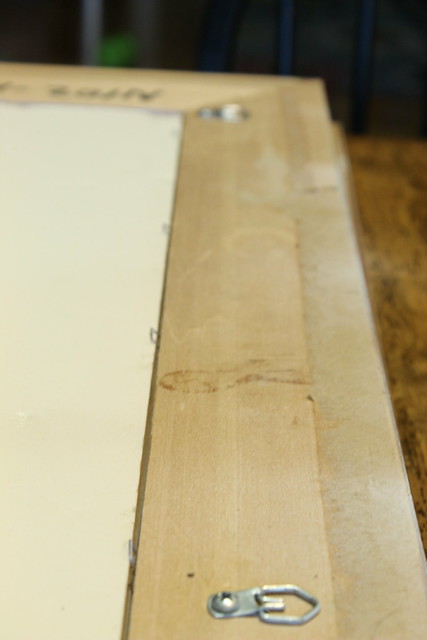
But in all the reading I've done in blog land over the past two or so years I've read that these wires aren't the best for big heavy frames. Especially big heavy frames over a TV. It was on my mental to-do list to swap the hangers out to a more heavy duty hanger, but I never got around to it. Until now.
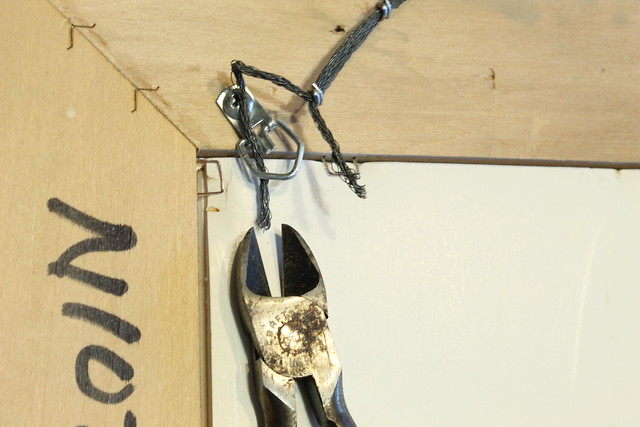
Here's what the backs looked like:


Using some wire cutters, I made the first cut and realized how blonde I really am.


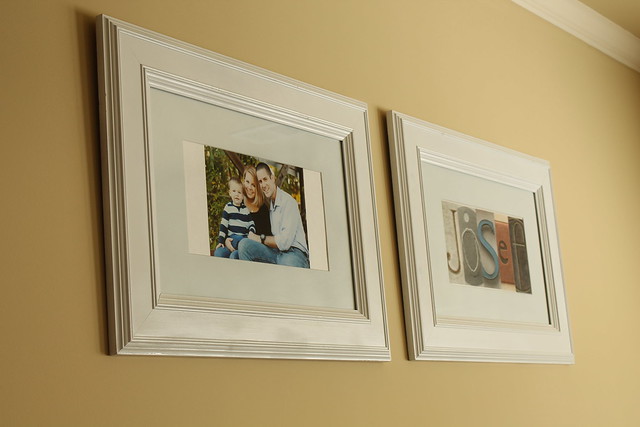
It's always a hassle to figure out where exactly to drill the holes since a good bit of measuring is involved. I did try using tape to stick on the hooks and then stick on the wall but it was really difficult to hold the frame, make sure the tape didn't stick too early and make sure the frame was level. So I went the measuring route this time.
I always find the center of the wall first. Then I knew I wanted the frames about 3 inches apart, so I measured an inch and a half over from the center-left then right. Then I figured how far over the frame hook was from the center edge. Once I had that, I measured from that hook over to the other hook and made marks on the wall. I drilled my first hole, held my breath, measured again (and double checked the level just to make sure), and drilled the second hole. That's always the moment of truth. But it worked! The second frame was harder since I had to have it level AND even with the other frame. I do the exact same thing, but I add an extra measurement- from the ceiling (or in this case crown molding) down to the top of the first frame. This helps make sure my holes are in the perfect spot.
I did mess up a hole on the second frame but it will be covered by the frame hopefully forever. Anchors leave pretty big holes so that's a good thing it'll be covered. Over all the anchors have worked perfectly (the frames have been up over a week)!!

Oh and don't be fooled- we still have piles and piles and boxes sitting around. This just happened to be the worst corner of the house. We had terrible wind/rain and half our living room got wet, so we had to quickly move the framed pictures/cardboard boxes away from the window.

*Contains affiliate links. Read my disclosures here.
No comments :
Post a Comment